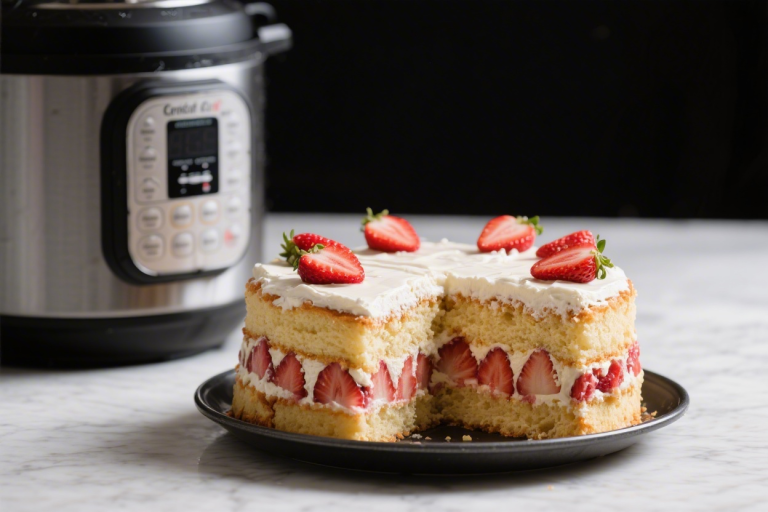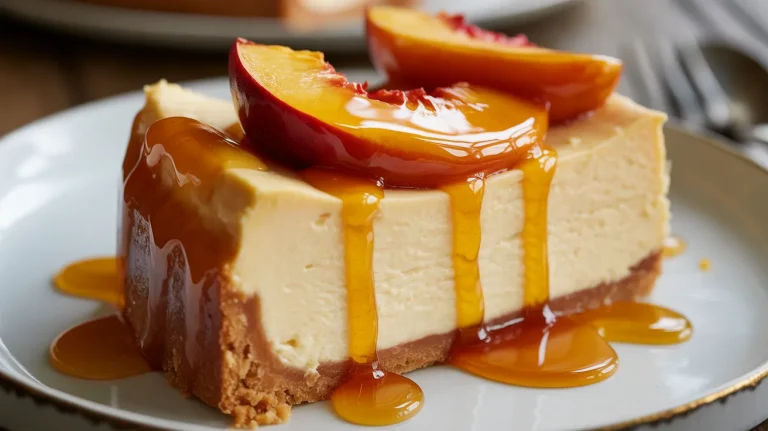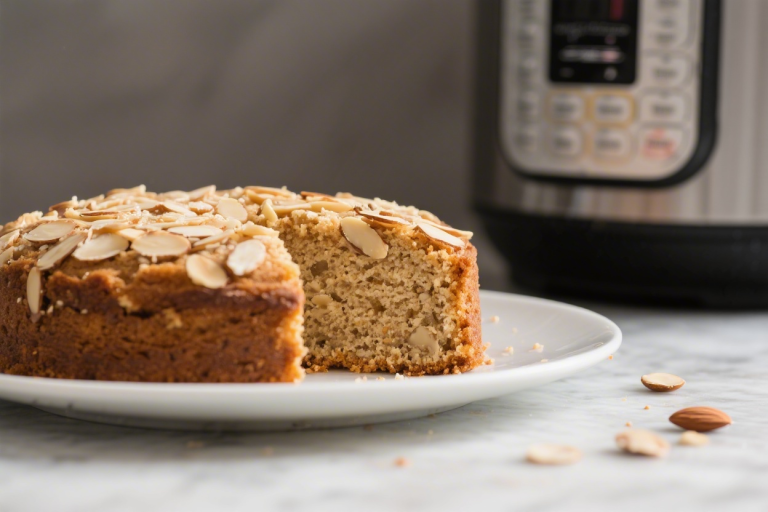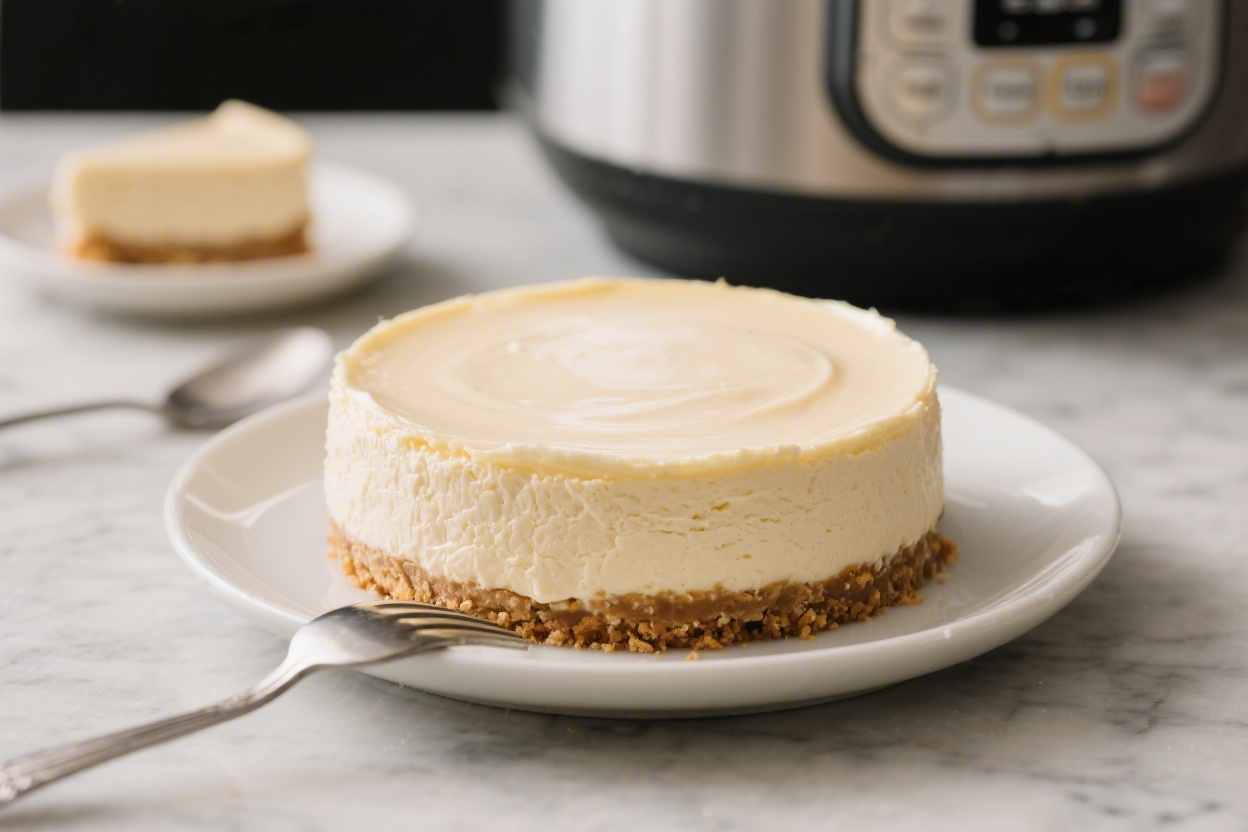
Velvet Cheesecake Without an Oven — Foolproof Pressure Cooker Method
Skip the oven and still get a creamy, velvety cheesecake with a smooth top and tender crumb. This pressure cooker method keeps the texture moist and luxurious without cracks or guesswork. If you’ve got a pressure cooker and a springform pan, you’re halfway there.
The steps are simple, the results are decadent, and the process is surprisingly relaxing. Whether it’s your first cheesecake or your fiftieth, this one delivers.
Why This Recipe Works
This cheesecake cooks gently thanks to the pressure cooker’s steam environment, which prevents overbaking and cracking. The steady moisture keeps the custard silky, while the low, even heat lets it set perfectly.
No water bath to fuss over, no oven hotspots to outsmart. With a short chill time and minimal equipment, it’s a reliable way to get a bakery-style finish at home.
Ingredients
- Cream cheese (24 oz/680 g), full-fat, room temperature
- Granulated sugar (3/4 cup/150 g)
- Sour cream (1/2 cup/120 g), room temperature
- Heavy cream (1/4 cup/60 ml)
- Large eggs (3), room temperature
- Vanilla extract (2 teaspoons)
- Lemon zest (optional, 1 teaspoon) for brightness
- Fine salt (1/4 teaspoon)
- Graham crackers (1 1/2 cups/150 g) or digestive biscuits, crushed
- Unsalted butter (5 tablespoons/70 g), melted
- Brown sugar (1 tablespoon), for the crust
- Water (1 cup/240 ml) for the pressure cooker
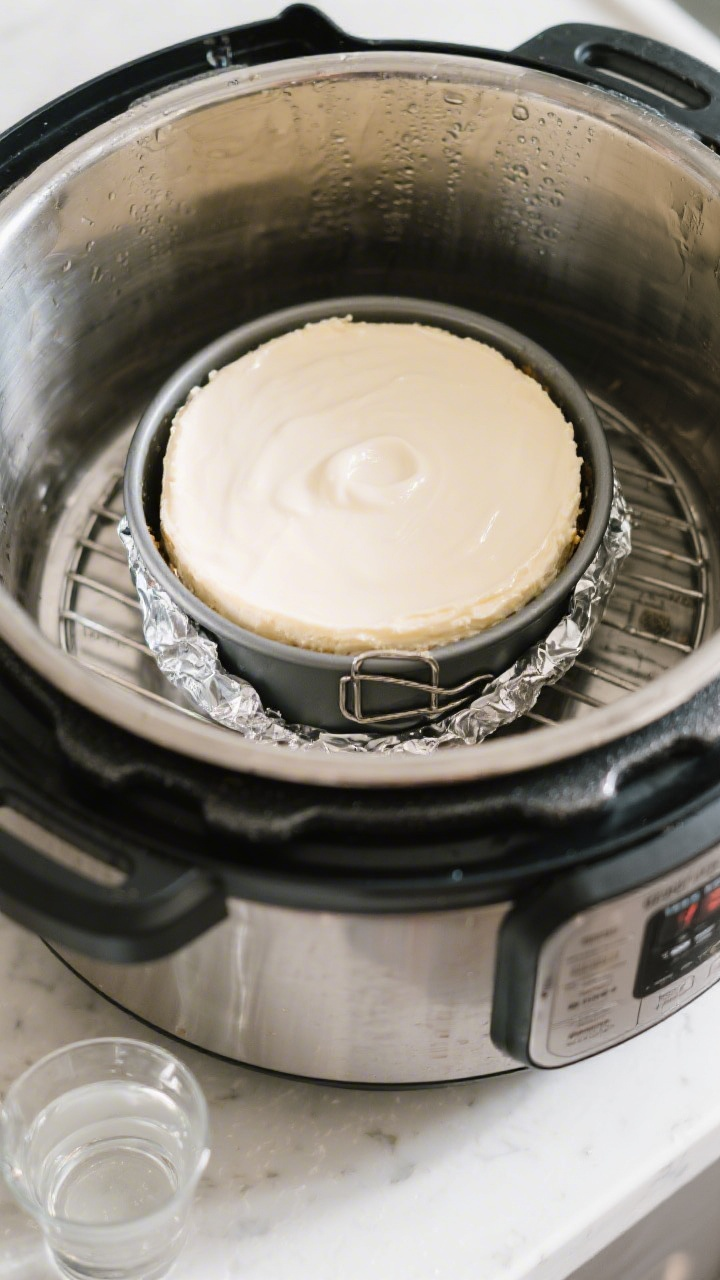
- Pan and tools: 7-inch or 8-inch springform pan (fits your cooker), foil, trivet, and a sling (foil or silicone)
Instructions
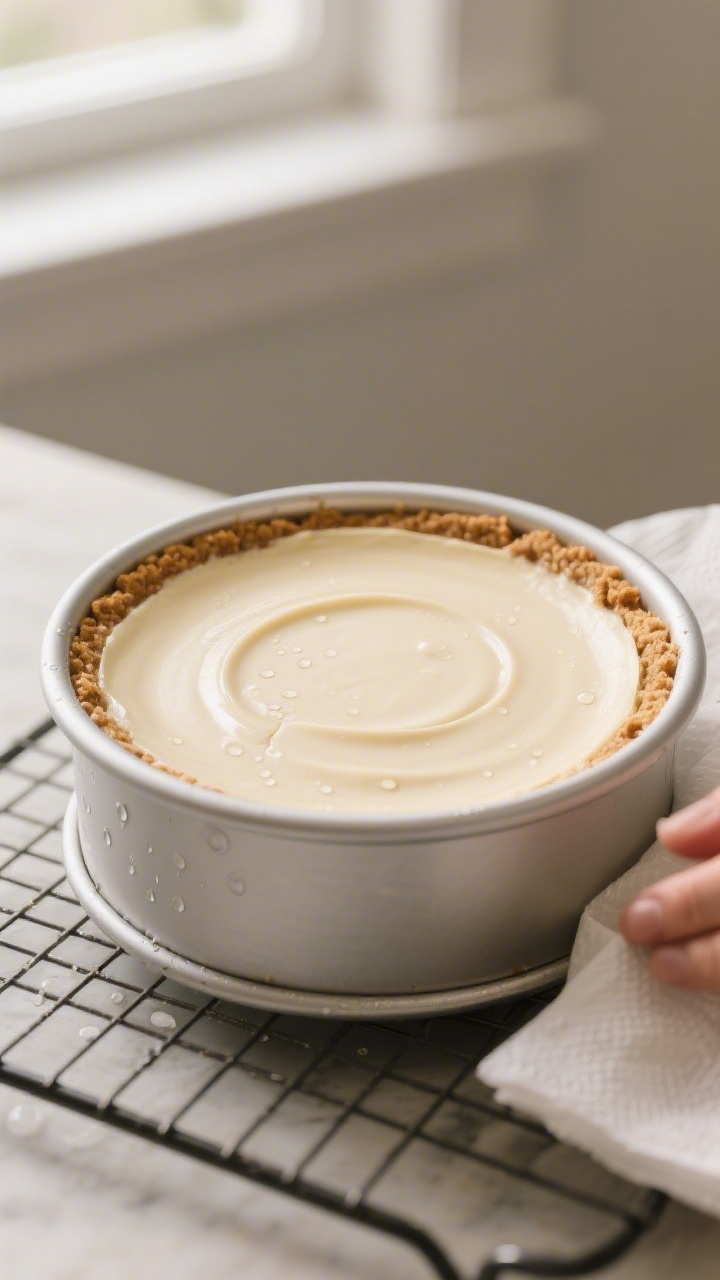
- Prepare the pan. Lightly grease a 7- or 8-inch springform pan. Line the bottom with parchment for easy release.
Wrap the outside of the pan with a layer of foil to protect from condensation.
- Make the crust. Stir crushed graham crackers, melted butter, and brown sugar until the texture resembles damp sand. Press firmly into an even layer on the bottom of the pan and slightly up the sides. Use a flat-bottomed glass to compact it well.
- Chill the crust. Refrigerate the crust for 10–15 minutes while you make the filling.
This helps it hold its shape.
- Soften the cream cheese properly. Ensure it’s truly at room temperature. Beat cream cheese with sugar and salt on medium-low until smooth and fluffy, about 2 minutes. Scrape the bowl so no lumps remain.
- Add the dairy and flavor. Mix in sour cream, heavy cream, vanilla, and optional lemon zest on low until just combined.
Keep the mixer speed low to avoid incorporating too much air.
- Add the eggs last. Beat in eggs one at a time on low speed, just until blended after each addition. Overmixing here can cause puffing and cracks.
- Fill the pan. Pour the batter over the chilled crust. Tap the pan gently on the counter a few times to release surface bubbles.
If you see large bubbles, pop them with a toothpick.
- Set up the cooker. Add 1 cup/240 ml water to the pressure cooker pot. Place a trivet inside. Use a foil or silicone sling under the pan for easy lifting.
- Pressure cook. Seal the lid and cook on High Pressure for 35–40 minutes for a 7-inch pan or 40–45 minutes for an 8-inch pan.
The center should be slightly wobbly but not liquid.
- Natural release. Let the pressure release naturally for 10 minutes, then quick-release any remaining pressure. Carefully lift out the cheesecake using the sling.
- Cool and blot. If condensation pooled on top, gently blot with a paper towel. Let the cheesecake cool to room temperature on a rack for 1 hour, still in the pan.
- Chill to set. Cover the pan and refrigerate at least 6 hours, preferably overnight.
This rest transforms the texture into that signature velvet creaminess.
- Unmold and serve. Run a thin knife around the edge, unclasp the ring, and slide the cheesecake onto a serving plate. Slice with a hot, clean knife for neat edges.
How to Store
- Refrigerate: Keep covered and chilled for up to 5 days. A cake carrier or an inverted bowl over the plate works well.
- Freeze: Freeze whole or in slices, well-wrapped, for up to 2 months.
Thaw overnight in the refrigerator.
- Toppings: Store fruit sauces separately to prevent sogginess. Add just before serving.
Health Benefits
Cheesecake is an indulgence, but you can make it a bit smarter. Using full-fat dairy means fewer stabilizers and a more satisfying texture, which can help with portion control.
Lemon zest offers natural flavor without extra sugar. If you swap part of the crust with finely ground nuts, you add healthy fats and a touch of fiber. For a lighter touch, serve smaller slices with a fresh berry compote for brightness and antioxidants.
Common Mistakes to Avoid
- Cold ingredients: Cold cream cheese leads to lumps that won’t smooth out.
Aim for room temperature.
- Overmixing the eggs: Too much air makes the cheesecake puff and crack. Mix on low and stop as soon as it’s combined.
- Skipping the foil wrap: Without it, condensation can soak the crust. A simple outer foil wrap helps keep things crisp.
- Cooking too long: An overcooked cheesecake turns dry.
Look for a set edge with a gentle wobble in the center.
- Rushing the chill: Warm cheesecake hasn’t fully set. The overnight chill gives it that velvety finish.
- Forgetting the sling: Lifting a hot pan from the cooker without support is risky. Use a sling for safety and stability.
Recipe Variations
- Chocolate Velvet: Fold in 4 oz (115 g) melted, cooled dark chocolate and 1 tablespoon cocoa powder.
Top with chocolate shavings.
- Lemon Burst: Add 2 teaspoons lemon zest and 1 tablespoon lemon juice. Serve with lemon curd swirls.
- Berry Swirl: Spoon 1/3 cup thick berry puree over the filling and swirl with a knife before cooking.
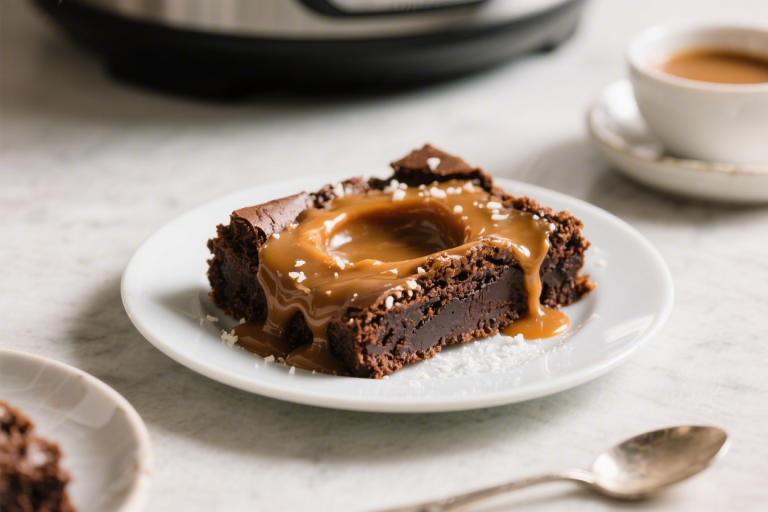
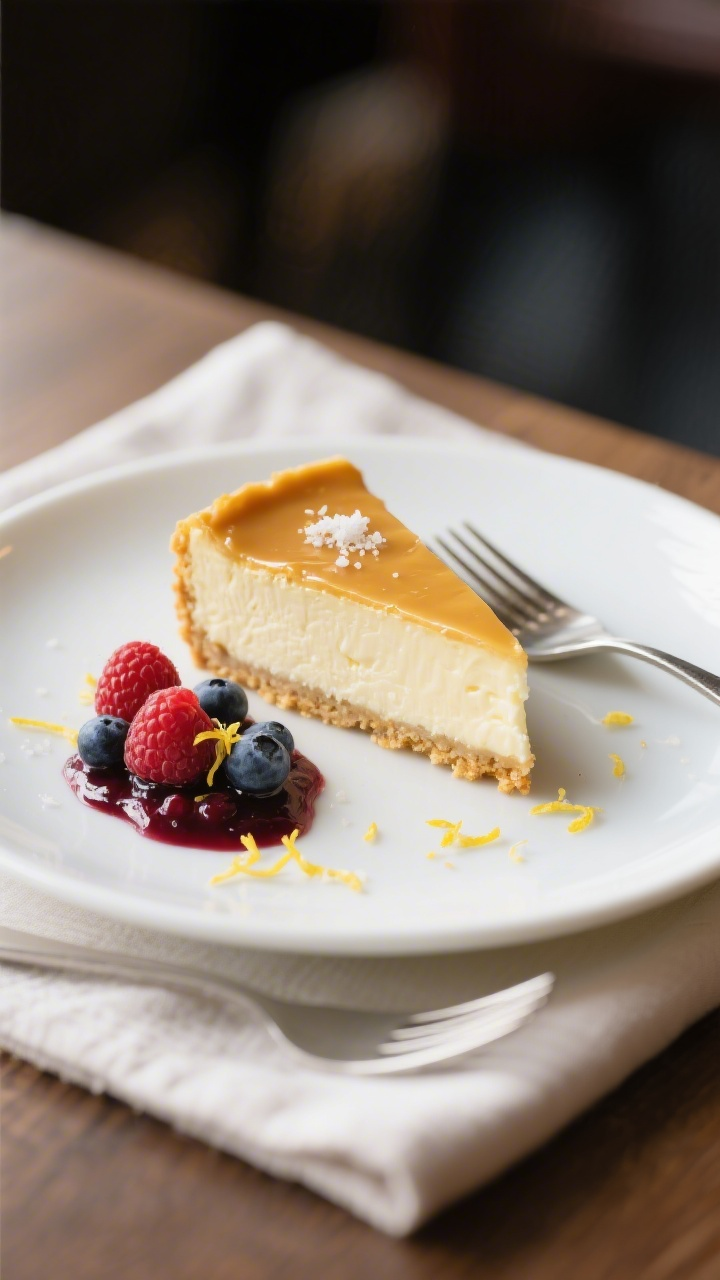
- Salted Caramel: Drizzle cooled caramel over the top after chilling and finish with a pinch of flaky salt.
- Cookie Crust: Swap graham crackers for chocolate wafers, Biscoff, or Oreos (skip the added sugar if using sandwich cookies).
- Greek Yogurt Twist: Replace half the sour cream with full-fat Greek yogurt for a tangier profile.
FAQ
Can I use a regular cake pan instead of a springform pan?
You can, but unmolding is trickier. Line the pan with a parchment sling for easier lifting, and expect slightly less tidy edges.
My pressure cooker is 6 quarts.
What pan size fits?
A 7-inch springform pan fits most 6-quart models. Always check the height clearance with the trivet and sling before filling.
How do I know when it’s done?
The edges should look set and the center should wobble like Jell-O, not slosh. If it’s too loose, return it to the cooker for 3–5 more minutes.
Why did water collect on top?
Condensation is normal in steam cooking.
Just blot gently with a paper towel. Next time, tent the pan loosely with foil to reduce droplets.
Can I reduce the sugar?
Yes, you can drop it to 1/2 cup. The texture stays creamy, but the tang will be more pronounced.
What toppings pair well?
Fresh berries, berry compote, salted caramel, lemon curd, or a thin layer of ganache.
Keep toppings light so the velvet texture shines.
Do I need to prebake the crust?
No. The pressure cooker sets the crust enough without baking. Chilling it before filling keeps it firm.
In Conclusion
This pressure cooker velvet cheesecake is simple, reliable, and elegantly smooth.
With gentle steam and steady heat, you get a crack-free finish and that melt-in-your-mouth texture every time. Keep ingredients at room temperature, don’t overmix, and give it a good chill. Serve with your favorite topping and enjoy a bakery-quality dessert without turning on the oven.
Printable Recipe Card
Want just the essential recipe details without scrolling through the article? Get our printable recipe card with just the ingredients and instructions.