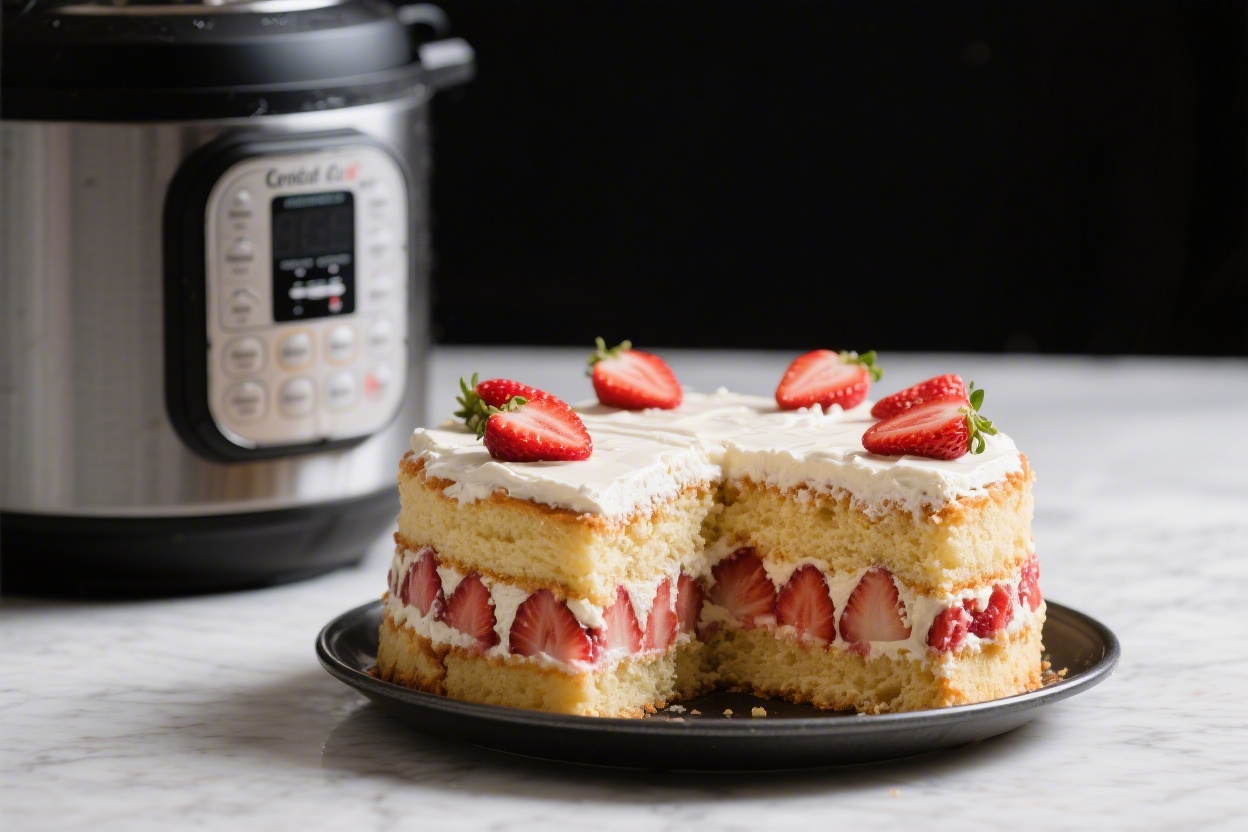
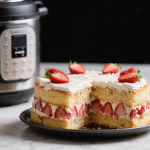
Strawberry Earthquake Cake – A Fun, Swirly, Berry-Laced Treat
This Strawberry Earthquake Cake brings gooey cream cheese swirls, juicy berries, and a tender cake base together in the pressure cooker for a dessert that feels like a celebration. It’s the kind of cake that looks rustic and dramatic on purpose—cracks, pockets, and swirls are all part of the charm. No oven?
No problem. With a pressure cooker and a simple pan, you’ll get a moist, shake-up-the-table cake that’s hard to resist. It’s great for weeknights, potlucks, and anytime you want something crowd-pleasing without baking stress.
What Makes This Special
This isn’t your average strawberry cake.
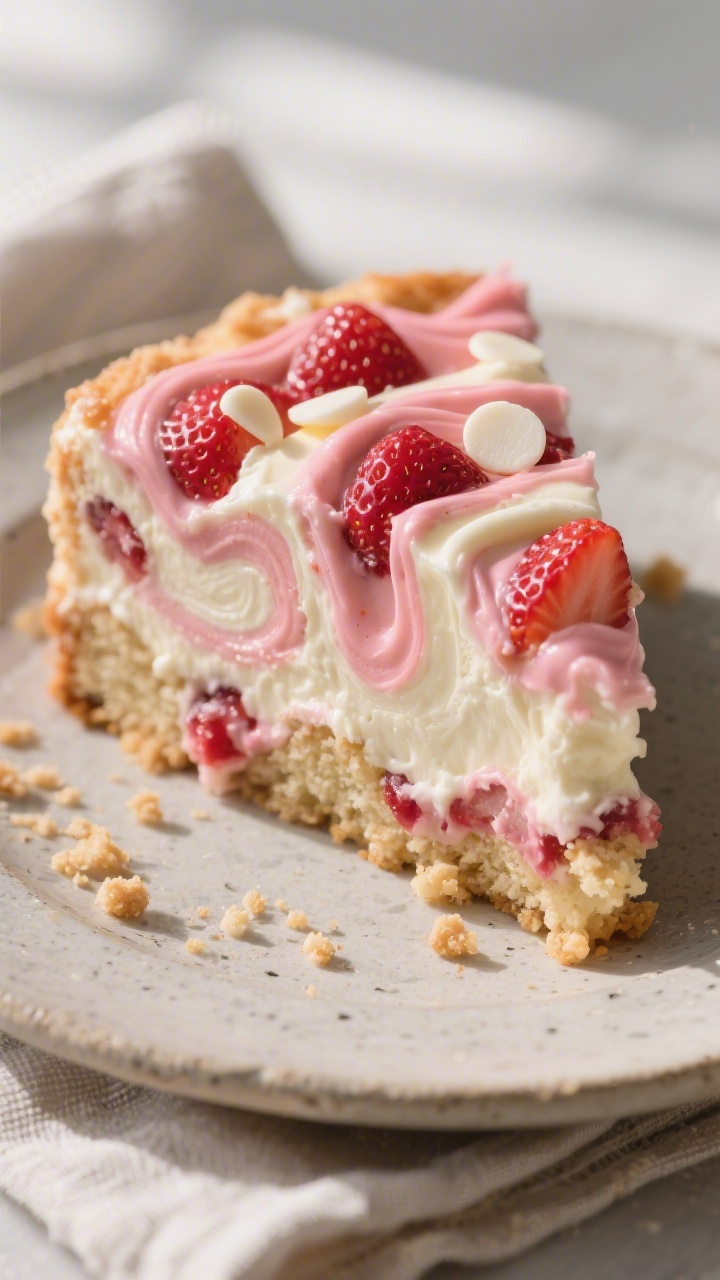
It’s an “earthquake” cake, which means the cream cheese filling shifts as it cooks, creating delicious tunnels and gooey pockets throughout the crumb. The pressure cooker locks in moisture, so you get a plush, tender texture without hovering near the oven.
- Moist and gooey: The cream cheese layer bakes into the cake, keeping it ultra-soft.
- Berry-forward: Strawberries add sweetness, tartness, and bright color.
- Fuss-free: No precise layering or fancy decorating required—swirls and cracks are the point.
- Year-round: Works with fresh or frozen strawberries.
What You’ll Need
- For the cake:
- 1 box strawberry cake mix (15.25 oz) or vanilla cake mix
- 3 large eggs
- 1/2 cup neutral oil (canola or vegetable)
- 1 cup water or milk (milk makes it richer)
- 1 cup chopped strawberries (fresh or frozen; if frozen, do not thaw)
- For the cream cheese swirl:
- 8 oz cream cheese, softened
- 1/3 cup granulated sugar
- 2 tablespoons unsalted butter, softened
- 1 teaspoon vanilla extract
- 1/8 teaspoon fine salt
- Optional add-ins:
- 1/2 cup white chocolate chips
- 1/3 cup unsweetened shredded coconut
- Zest of 1 lemon for brightness
- For the pressure cooker setup:
- 6- or 8-quart electric pressure cooker
- Trivet
- 1.5- to 2-quart round cake pan or 7-inch springform pan, greased and lined
- 1.5 cups water for the pot
- Foil sling (optional) and foil to cover the pan
Instructions

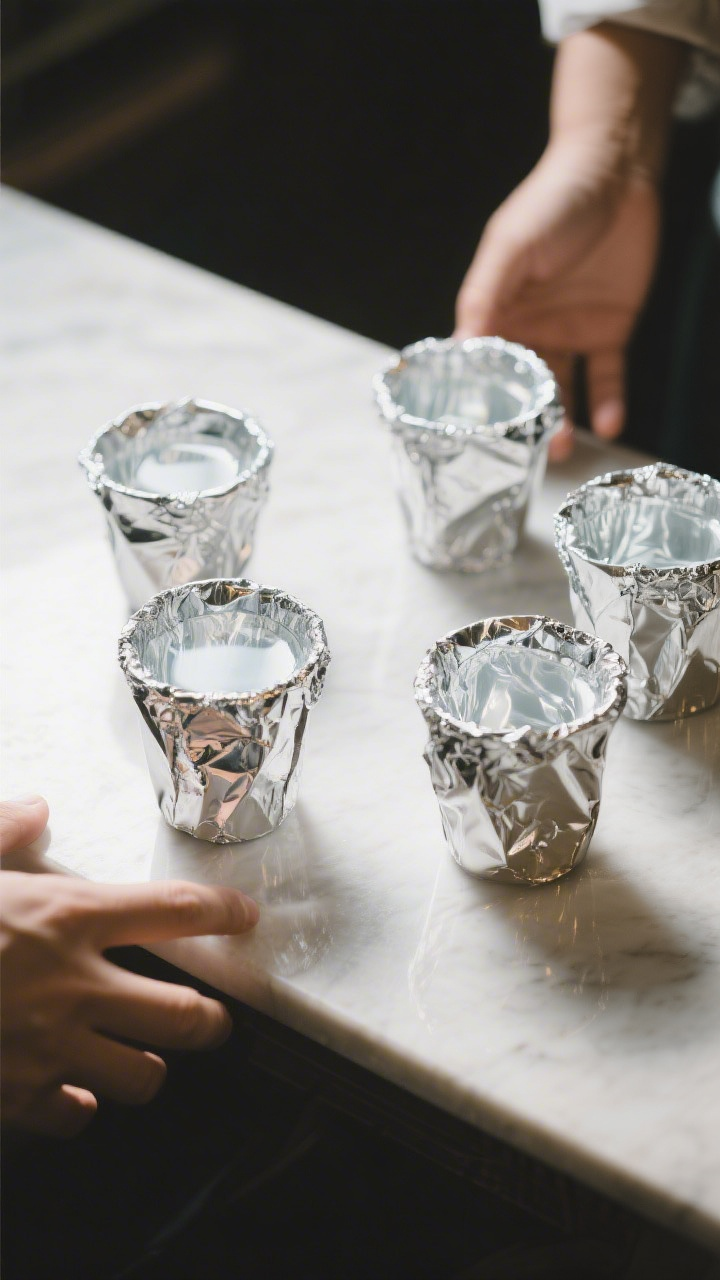
- Prep the pan and pot: Grease your cake pan and line the bottom with parchment. Add 1.5 cups water to the pressure cooker pot and set in the trivet.
- Make the cream cheese mixture: Beat cream cheese, sugar, butter, vanilla, and salt until smooth and fluffy, about 1–2 minutes.Set aside.
- Mix the cake batter: In a bowl, whisk cake mix, eggs, oil, and water or milk until smooth, about 30–45 seconds. Fold in chopped strawberries and any optional add-ins.
- Assemble: Pour about two-thirds of the cake batter into the prepared pan. Spoon the cream cheese mixture over the top in large dollops.Add the remaining batter in between the dollops. Use a butter knife to gently swirl once or twice—don’t overmix.
- Cover and load: Cover the pan tightly with foil to prevent condensation. Place the pan on the trivet (use a sling if you like).
- Pressure cook: Seal the lid.Cook on High Pressure for 45 minutes for a 7-inch pan. If using a deeper 6-inch pan, go 50–55 minutes.
- Release and check: Let pressure release naturally for 10 minutes, then quick release any remaining pressure. Carefully lift out the pan and remove the foil.
- Test doneness: The center should be set with a little jiggle from the cream cheese.A toothpick inserted into the cake portion should come out mostly clean. If needed, recover and cook an additional 5–8 minutes.
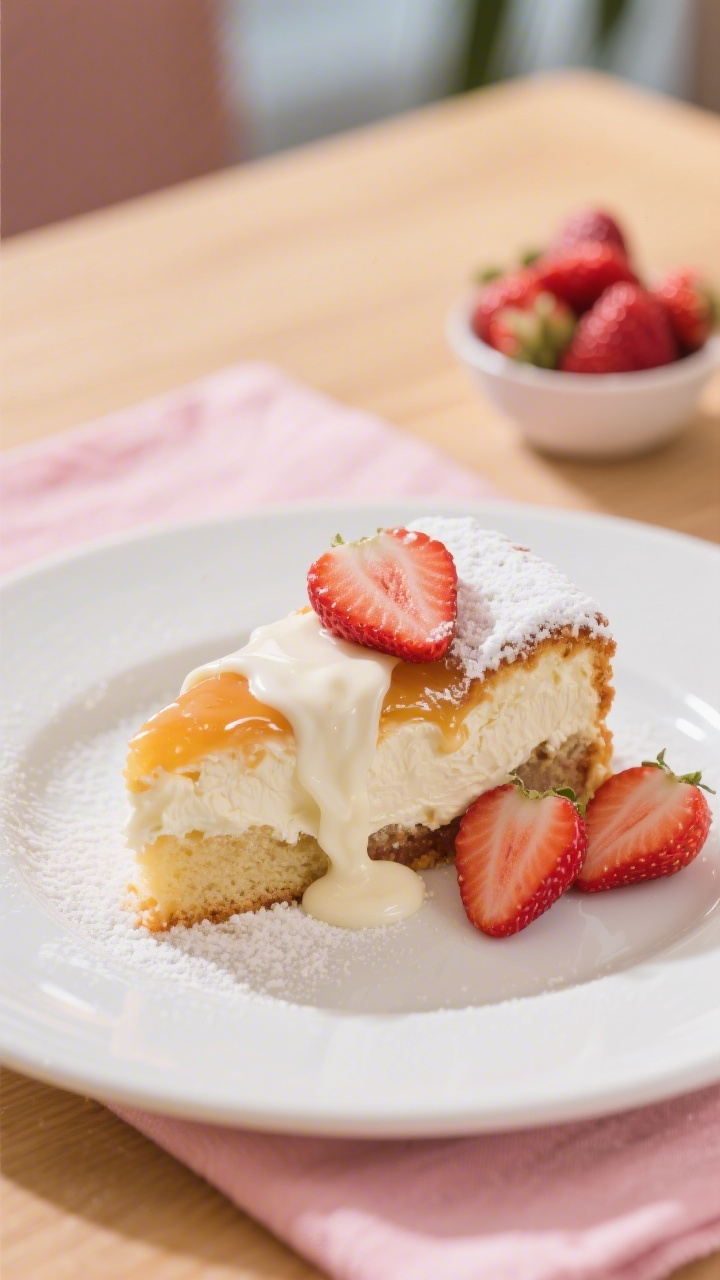
- Cool: Let the cake cool in the pan for 20–30 minutes. This helps the swirls settle and the structure set.Run a knife around the edge to loosen. Serve warm for maximum gooeyness or cool completely for cleaner slices.
- Optional finish: Dust with powdered sugar, add sliced fresh strawberries, or drizzle with melted white chocolate.
How to Store
- Room temperature: If your kitchen is cool, keep the cake loosely covered for up to 8 hours for the best texture.
- Refrigerator: Because of the cream cheese, store leftovers covered in the fridge for 3–4 days.
- Freezer: Wrap slices tightly and freeze for up to 2 months. Thaw overnight in the fridge.
- Reheat: Warm a slice in the microwave for 10–15 seconds to revive the gooey pockets.
Why This is Good for You
This is dessert, so it’s here for joy first.
Still, strawberries bring vitamin C, fiber, and antioxidants, and the pressure cooker helps lock in moisture so you can skip heavy frostings. Portion it into small squares, pair with fresh fruit, and you’ve got a sweet treat that satisfies without needing a huge slice.
What Not to Do
- Don’t over-smooth the swirl: Too much mixing blends the cream cheese fully into the batter and erases that signature “earthquake” effect.
- Don’t skip the foil cover: Condensation will drip onto the cake and make soggy spots if you leave it uncovered.
- Don’t under-grease the pan: The cream cheese layer can stick. Grease and line the base with parchment.
- Don’t overfill: Leave at least 1/2 inch of headspace in the pan to allow for rise.
- Don’t rush the cool time: The structure sets as it cools, which makes slicing cleaner and keeps the swirls intact.
Recipe Variations
- Strawberry-Lemon Swirl: Add lemon zest to the batter and 1 tablespoon lemon juice to the cream cheese mix.
- Berry Medley: Replace half the strawberries with blueberries or raspberries.
- Chocolate-Dipped Vibes: Use a chocolate cake mix, keep the strawberry add-ins, and sprinkle in mini chocolate chips.
- Almond Strawberry: Swap vanilla for almond extract and top with toasted sliced almonds after cooking.
- Coconut Cream: Add shredded coconut to the batter and a splash of coconut extract to the cream cheese layer.
FAQ
Can I use homemade cake batter instead of a boxed mix?
Yes.
Use your favorite vanilla or strawberry cake recipe that fits a 9-inch round or 8-inch square pan. Aim for a pourable, not thick, batter so it swirls nicely with the cream cheese layer.
Do I need to adjust the time for fresh vs. frozen strawberries?
Not usually. If using frozen, add them straight from the freezer and increase cook time by about 3 minutes only if the center seems underdone.
What if I don’t have a 7-inch pan?
A 6-inch deep round pan works; add 5–10 minutes to the pressure cook time.
For a wider 8-inch pan (if it fits), reduce time by 5 minutes and keep an eye on doneness.
Why cover the pan with foil?
It prevents steam from dripping onto the cake. Condensation can cause wet spots and messy texture. Foil keeps the top looking and tasting right.
How do I prevent the “burn” notice?
Make sure there’s at least 1.5 cups of water in the pot and that the trivet is in place.
The cake pan should never sit directly on the bottom of the pot.
Can I make it gluten-free?
Yes. Use a gluten-free cake mix and confirm your add-ins are gluten-free. The method and timing remain the same.
How do I know it’s done if the center looks jiggly?
Some jiggle is normal because of the cream cheese.
Check the cake portion near the center with a toothpick. If it comes out mostly clean, you’re good. If it’s wet batter, cook a few minutes longer.
Can I double the recipe?
Not in one pan.
Instead, make two separate batches or cook one after the other. Overfilling the pan can cause overflow and uneven cooking.
What’s the best way to lift the pan out?
Use a foil sling or silicone sling. It keeps your hands away from the steam and prevents accidental spills.
How can I make it less sweet?
Reduce the sugar in the cream cheese layer to 3 tablespoons and use unsweetened add-ins like fresh berries and lemon zest.
Serving with plain Greek yogurt also balances sweetness.
Wrapping Up
Strawberry Earthquake Cake in the pressure cooker is a little messy, very delicious, and totally doable. With simple ingredients and a hands-off cook, you get a moist, swirly dessert that looks impressive without extra work. Keep the foil on, don’t over-swirl, and let it cool a bit before slicing.
Once you try it, this will be your go-to for a fun, berry-filled treat any day of the week.
Strawberry Earthquake Cake in Pressure Cooker - A Fun, Swirly, Berry-Laced Treat
Ingredients
- For the cake: 1 box strawberry cake mix (15.25 oz) or vanilla cake mix
- 3 large eggs
- 1/2 cup neutral oil (canola or vegetable)
- 1 cup water or milk (milk makes it richer)
- 1 cup chopped strawberries (fresh or frozen; if frozen, do not thaw)
- For the cream cheese swirl: 8 oz cream cheese, softened
- 1/3 cup granulated sugar
- 2 tablespoons unsalted butter, softened
- 1 teaspoon vanilla extract
- 1/8 teaspoon fine salt
- Optional add-ins: 1/2 cup white chocolate chips
- 1/3 cup unsweetened shredded coconut
- Zest of 1 lemon for brightness
- For the pressure cooker setup: 6- or 8-quart electric pressure cooker
- Trivet
- 1.5- to 2-quart round cake pan or 7-inch springform pan, greased and lined
- 1.5 cups water for the pot
- Foil sling (optional) and foil to cover the pan
Instructions
- Prep the pan and pot: Grease your cake pan and line the bottom with parchment. Add 1.5 cups water to the pressure cooker pot and set in the trivet.
- Make the cream cheese mixture: Beat cream cheese, sugar, butter, vanilla, and salt until smooth and fluffy, about 1–2 minutes. Set aside.
- Mix the cake batter: In a bowl, whisk cake mix, eggs, oil, and water or milk until smooth, about 30–45 seconds. Fold in chopped strawberries and any optional add-ins.
- Assemble: Pour about two-thirds of the cake batter into the prepared pan. Spoon the cream cheese mixture over the top in large dollops. Add the remaining batter in between the dollops. Use a butter knife to gently swirl once or twice—don’t overmix.
- Cover and load: Cover the pan tightly with foil to prevent condensation. Place the pan on the trivet (use a sling if you like).
- Pressure cook: Seal the lid. Cook on High Pressure for 45 minutes for a 7-inch pan. If using a deeper 6-inch pan, go 50–55 minutes.
- Release and check: Let pressure release naturally for 10 minutes, then quick release any remaining pressure. Carefully lift out the pan and remove the foil.
- Test doneness: The center should be set with a little jiggle from the cream cheese. A toothpick inserted into the cake portion should come out mostly clean. If needed, recover and cook an additional 5–8 minutes.
- Cool: Let the cake cool in the pan for 20–30 minutes. This helps the swirls settle and the structure set. Run a knife around the edge to loosen. Serve warm for maximum gooeyness or cool completely for cleaner slices.
- Optional finish: Dust with powdered sugar, add sliced fresh strawberries, or drizzle with melted white chocolate.
Printable Recipe Card
Want just the essential recipe details without scrolling through the article? Get our printable recipe card with just the ingredients and instructions.