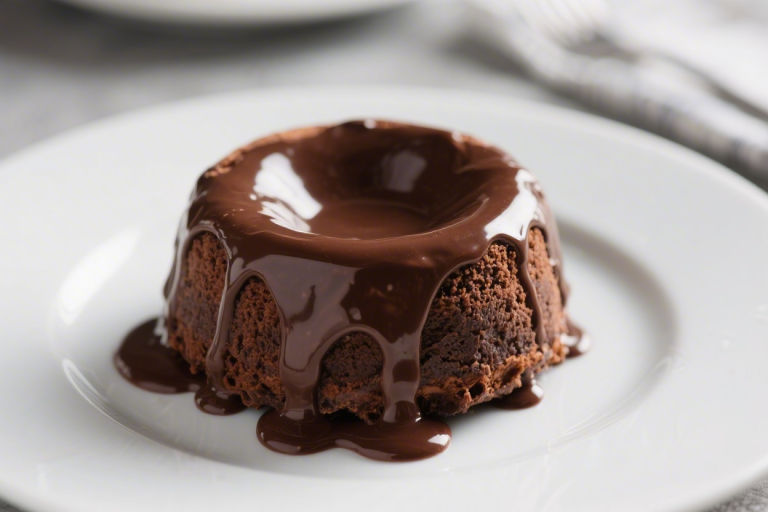
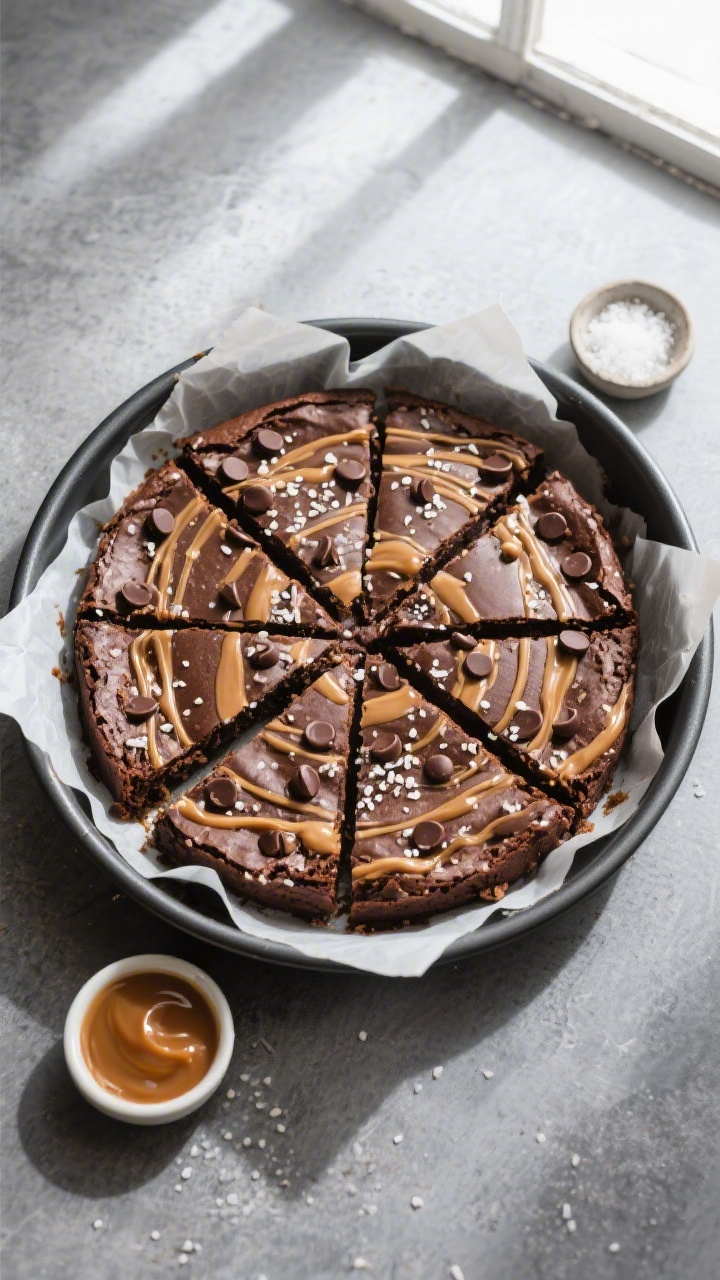
Rich & Gooey Pressure Cooker Molten Salted Caramel Brownies
If the words “molten,” “salted caramel,” and “brownies” make you perk up, this dessert is your sweet spot. These brownies deliver a fudgy center, a glossy top, and gooey pockets of caramel—all made in a pressure cooker. No need to heat up the whole kitchen or babysit a pan in the oven.
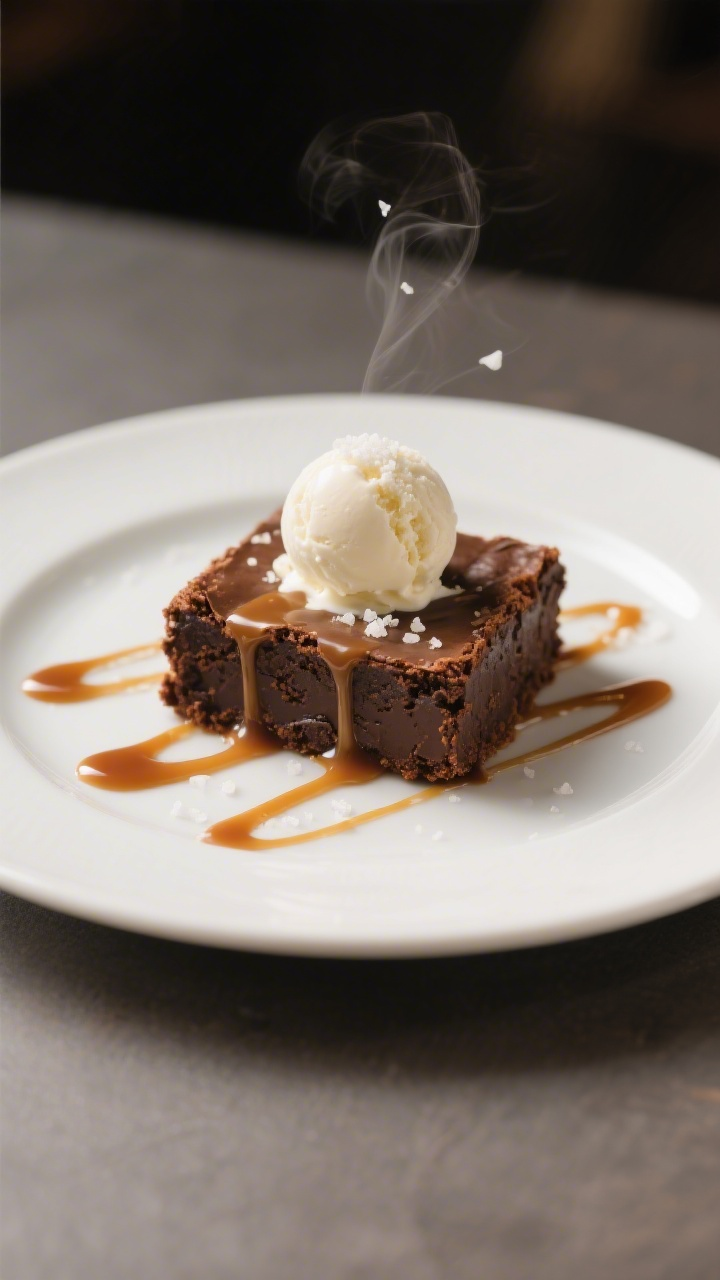
They’re fast, reliable, and perfect when you want a show-stopping treat without the fuss. Bring these to a potluck or serve them warm with ice cream, and watch them disappear.
What Makes This Special
Most brownies bake in the oven, but a pressure cooker traps moisture and keeps the texture incredibly soft and molten without drying out the edges. It’s tough to mess these up, even if you’re not a frequent baker.
The salted caramel is layered and swirled, so each slice has a mix of deep chocolate and buttery caramel. Best of all, you can make them ahead, then warm individual pieces to get that gooey center back. It’s practical and indulgent at the same time.
Ingredients
- For the brownies:
- 1/2 cup (115 g) unsalted butter
- 6 oz (170 g) semisweet or dark chocolate, chopped
- 3/4 cup (150 g) granulated sugar
- 1/3 cup (70 g) light brown sugar, packed
- 2 large eggs, at room temperature
- 1 large egg yolk
- 1 teaspoon vanilla extract
- 1/2 cup (65 g) all-purpose flour
- 3 tablespoons (18 g) unsweetened cocoa powder
- 1/2 teaspoon fine sea salt
- 1/2 teaspoon instant espresso powder (optional, boosts chocolate flavor)
- 1/2 cup (85 g) chocolate chips or chunks
- For the salted caramel:
- 12 soft caramels (store-bought) or 1/2 cup thick caramel sauce
- 2 tablespoons heavy cream
- 1/2 teaspoon flaky sea salt, plus more for topping
- For the cooker setup:
- 1 cup water (for the pressure cooker pot)
- Trivet or rack
- 7- to 8-inch round cake pan or 7-inch springform pan, greased and lined with parchment
- Foil for covering the pan
Instructions
- Prep the pan and cooker: Grease and line your cake pan with parchment, leaving some overhang for easy lifting.
Add 1 cup water to the pressure cooker. Set the trivet inside.
- Make the caramel layer: In a small saucepan or microwave-safe bowl, warm the caramels with the heavy cream in short bursts, stirring until smooth. Stir in the flaky sea salt.
Set aside to thicken slightly.
- Melt the chocolate and butter: In a heatproof bowl, microwave the butter and chopped chocolate in 20–30 second bursts, stirring between each, until smooth. Let cool 3–4 minutes so it’s warm but not hot.
- Whisk in sugars and eggs: Whisk the granulated sugar and brown sugar into the melted chocolate. Add the eggs, egg yolk, and vanilla.
Whisk until glossy and slightly thick, about 30–45 seconds.
- Fold in dry ingredients: Sift in flour, cocoa powder, salt, and espresso powder (if using). Fold gently until just combined. Stir in chocolate chips.
The batter will be thick.
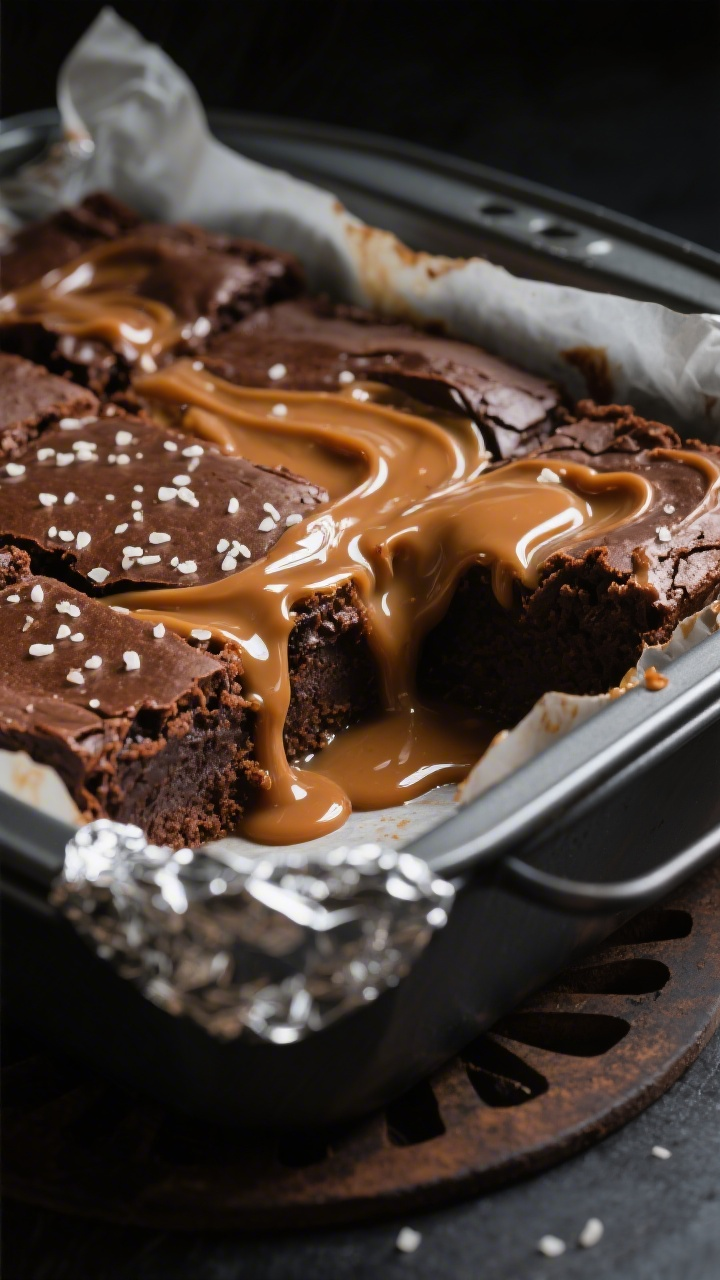
- Layer the batter and caramel: Spread half the batter into the prepared pan. Dollop half the caramel over the batter. Swirl lightly with a knife.
Add the remaining batter, then the remaining caramel. Swirl again. Sprinkle a pinch of flaky salt on top.
- Cover and set up: Tightly cover the pan with foil to prevent condensation from dripping onto the brownies.
Place the pan on a sling (a strip of folded foil) if you need help lowering it onto the trivet.
- Pressure cook: Seal the lid. Cook on High Pressure for 35 minutes. When it’s done, let pressure naturally release for 10 minutes, then quick-release any remaining steam.
- Check doneness: Carefully lift out the pan, remove the foil, and check the center.
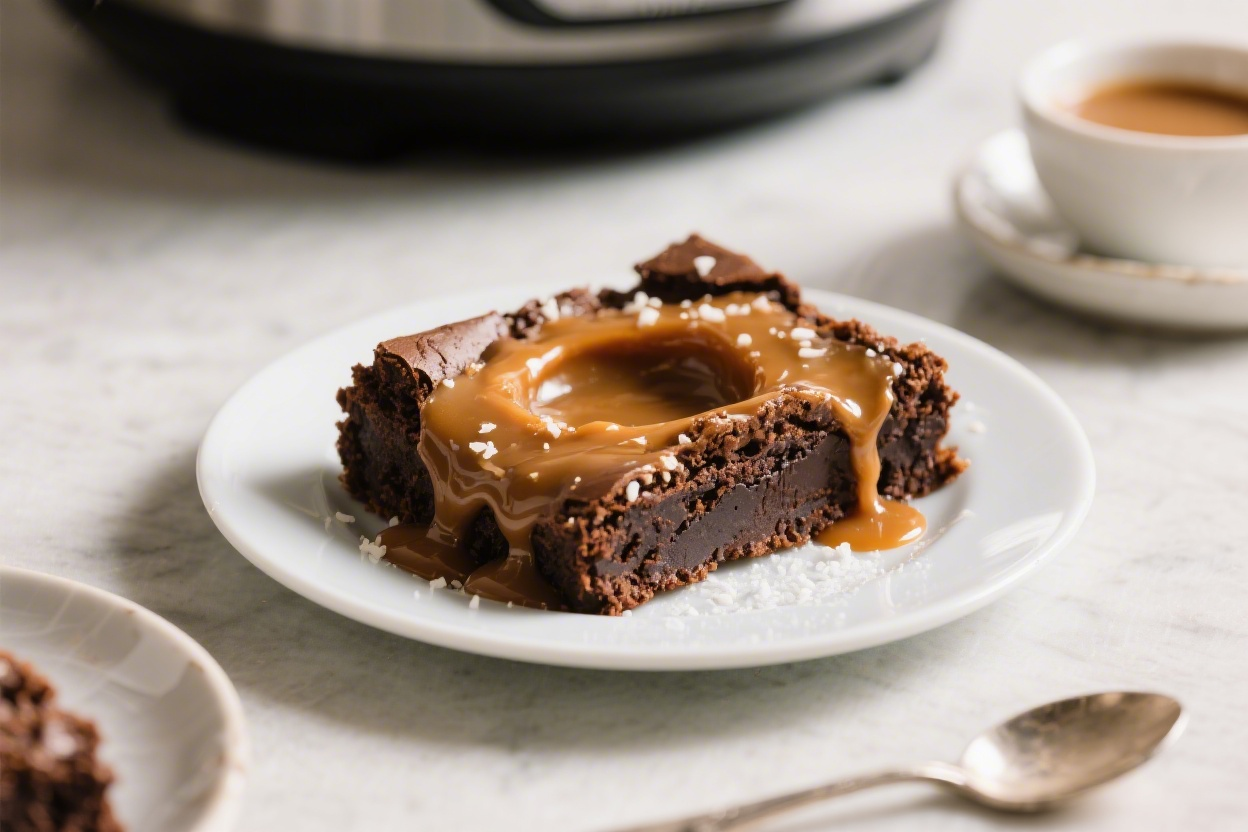
It should look set at the edges and slightly glossy and soft in the middle—molten, not liquid. If it seems too loose, recover and pressure cook 3–5 more minutes.
- Finish and cool: Let the brownies cool in the pan for 20–30 minutes. They continue to set as they rest.
For cleaner slices, chill 45–60 minutes, then cut. For a gooier experience, serve warm.
- Serve: Top with a light sprinkle of flaky salt. Great plain, or add vanilla ice cream or whipped cream.
Storage Instructions
- Room temperature: Store in an airtight container up to 2 days.
- Refrigerator: Keeps 4–5 days.
Reheat individual squares in the microwave for 10–15 seconds to revive the molten center.
- Freezer: Wrap slices tightly and freeze up to 2 months. Thaw overnight in the fridge, then warm briefly before serving.
Why This is Good for You
This is dessert, so it’s here for joy first. But there are a few wins worth noting.
Dark chocolate contains flavanols, which can support mood and provide antioxidants. Making brownies in a pressure cooker uses steam and steady heat, so you avoid overbaking and keep portions satisfying and rich—meaning a small piece goes a long way. When you slice and freeze extras, you’re also building in portion control instead of polishing off the pan.
Pitfalls to Watch Out For
- Runny center: A glossy, soft middle is good; a liquid center is not.
If it wiggles like a wave, give it 3–5 more minutes under pressure.
- Condensation on top: This is the big one with pressure cooking. Cover the pan tightly with foil to keep water off the batter.
- Overmixing the batter: Fold until just combined. Overmixing leads to tough brownies.
- Using too much caramel: It can prevent the batter from setting in the middle.
Stick to the amounts listed or use a thick caramel sauce.
- Wrong pan size: A pan larger than 8 inches spreads the batter too thin and alters timing. A 7-inch pan gives the best height and molten texture.
Variations You Can Try
- Peanut butter swirl: Swap half the caramel with warmed peanut butter. Add roasted peanuts for crunch.
- Espresso caramel: Stir 1 teaspoon instant espresso into the caramel for a mocha vibe.
- Gluten-free: Use a 1:1 gluten-free all-purpose blend.
Don’t overbake—GF brownies can dry quickly.
- Nutty crunch: Fold in 1/2 cup toasted pecans or walnuts.
- Extra dark: Use 70–72% chocolate and increase cocoa to 1/4 cup, reducing flour to 1/3 cup.
- Spiced caramel: Add a pinch of cinnamon and a tiny dash of cayenne to the caramel for warmth and a subtle kick.
FAQ
Can I make these without a pressure cooker?
Yes. Bake in a 350°F (175°C) oven in a lined 8-inch pan for about 25–30 minutes. The center should look just set and slightly soft.
Start checking at 22 minutes.
Do I need a springform pan?
No, but it’s convenient. A standard 7–8 inch round cake pan works well. Line with parchment and leave a long overhang to lift the brownies out cleanly.
Will the brownies taste salty?
No.
The flaky salt highlights sweetness and balances the caramel. If you’re sensitive to salt, start with a small pinch and add more on top to taste.
Can I use jarred caramel sauce?
Yes. Choose a thicker sauce so it doesn’t disappear into the batter.
If it’s thin, simmer briefly to reduce or add a few soft caramels to thicken.
How do I get a shiny, crackly top?
Whisk the sugars into the warm chocolate mixture until glossy, then add the eggs and beat briefly. That emulsification helps form the classic shiny crust.
What if I don’t have espresso powder?
Skip it or substitute an equal amount of very fine instant coffee. It deepens the chocolate flavor but won’t make the brownies taste like coffee.
Can I double the recipe?
You can, but you’ll need two pans and to cook in batches.
Don’t stack pans unless your cooker manual specifically allows it, and increase cook time slightly if your batter layer is thicker.
How do I reheat for the molten effect?
Microwave a chilled slice for 10–15 seconds or warm it in a 300°F (150°C) oven for 5–7 minutes. The caramel softens and the center turns fudgy again.
Is it safe to cover the pan with foil in a pressure cooker?
Yes. Covering the pan is common for pot-in-pot desserts.
It prevents drips and doesn’t interfere with pressure buildup since the cooker’s liquid is separate in the main pot.
Can I use milk chocolate instead of dark?
You can, but the brownies will be sweeter and less intense. If using milk chocolate, reduce the granulated sugar by 2 tablespoons to keep balance.
Final Thoughts
These pressure cooker molten salted caramel brownies prove you don’t need an oven to bake something unforgettable. The method is simple, the texture is lush, and the caramel swirl makes them feel special without extra work.
Keep the ingredients on hand, and you’re always 45 minutes away from a crowd-pleasing dessert. Whether it’s a casual weeknight or a party, this pan of rich, gooey squares never fails to win fans.
Printable Recipe Card
Want just the essential recipe details without scrolling through the article? Get our printable recipe card with just the ingredients and instructions.