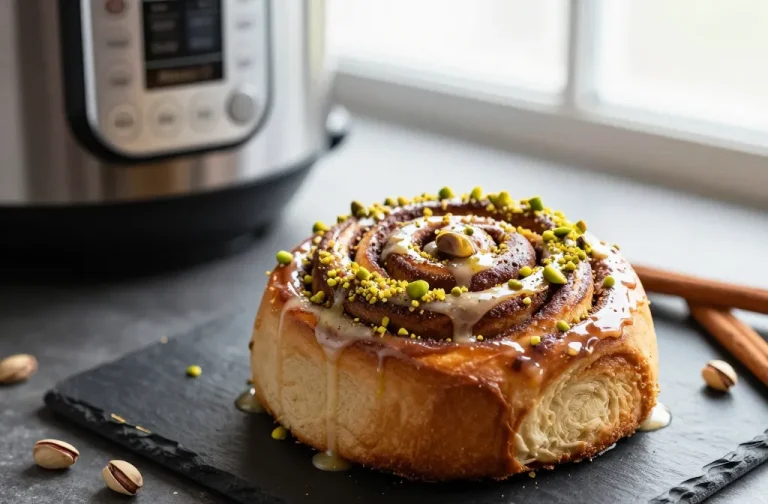
Chocolate Lava Pressure Cake: A Rich, Molten Dessert Made Fast
If you love a warm, gooey center wrapped in a tender chocolate cake, this is your kind of dessert. Chocolate Lava Pressure Cake gives you that classic restaurant-style lava experience using a pressure cooker or Instant Pot. It’s quick, surprisingly simple, and perfect when you want something impressive without turning on the oven.
Serve it to guests or keep it as your secret weeknight treat. Either way, you’ll get a decadent payoff in under an hour.
What Makes This Special

This cake combines the drama of a molten center with the convenience of a pressure cooker. No fancy equipment beyond a trivet and ramekins.
The moist environment creates a soft, delicate crumb while protecting that fudgy middle. You can portion it individually or make one larger cake, and it stays consistent and reliable every time. It’s the kind of recipe that looks complicated but is actually very forgiving.
Ingredients & Shopping List
- Semi-sweet chocolate chips or chopped bar chocolate (6 ounces)
- Unsalted butter (1/2 cup, plus extra for greasing)
- Granulated sugar (1/2 cup)
- Light brown sugar (2 tablespoons, packed)
- Large eggs (2 whole) and egg yolks (2)
- Vanilla extract (1 teaspoon)
- All-purpose flour (1/3 cup)
- Unsweetened cocoa powder (1 tablespoon, plus extra for dusting)
- Fine sea salt (1/4 teaspoon)
- Espresso powder (optional, 1/2 teaspoon, for deeper chocolate flavor)
- Powdered sugar (for dusting, optional)
- Heavy cream or vanilla ice cream (optional, for serving)
- Water (1 cup for the pressure cooker)
Instructions
- Prep the ramekins. Grease 4 to 6 heatproof ramekins (6-ounce size works well) with butter.Dust lightly with cocoa powder, tapping out the excess. This helps the cakes release cleanly.
- Melt chocolate and butter. In a microwave-safe bowl or over a double boiler, melt the chocolate and butter together until smooth. Stir gently and let it cool for 2–3 minutes so it’s warm but not hot.
- Whisk the eggs and sugars. In a separate bowl, whisk the granulated sugar, brown sugar, 2 eggs, and 2 yolks until glossy and slightly thick, about 30–45 seconds.Add the vanilla and stir.
- Combine the mixtures. Slowly pour the warm chocolate mixture into the egg mixture, whisking constantly. You want everything fully combined and silky.
- Add dry ingredients. Sift in the flour, cocoa powder, salt, and espresso powder if using. Fold gently with a spatula until just combined.Do not overmix.
- Fill the ramekins. Divide the batter evenly among the prepared ramekins, filling each about 3/4 full.
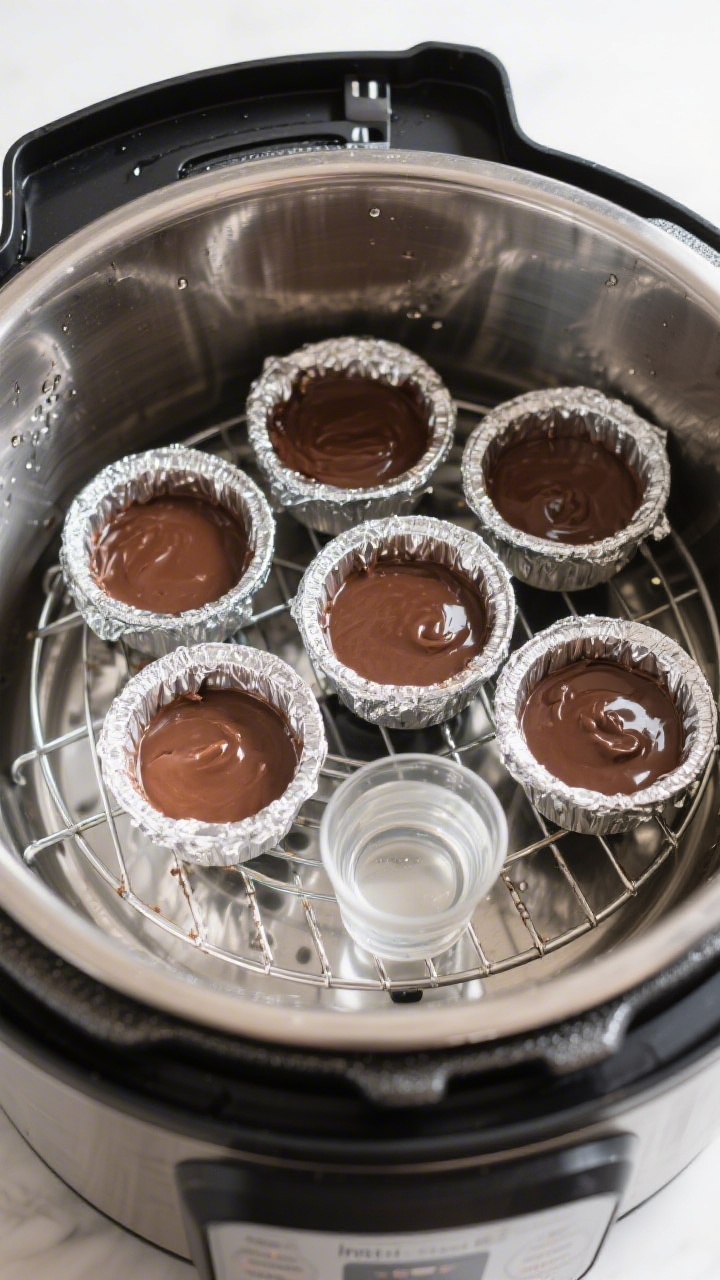
- Set up the pressure cooker. Add 1 cup of water to the pot. Place a trivet inside. Arrange the ramekins on the trivet.If stacking, place a small piece of foil or a rack between layers to keep them level. Loosely tent the tops with foil to prevent water droplets from landing on the batter.
- Pressure cook. Seal the lid and cook on High Pressure for 7–9 minutes for a molten center. Thicker ramekins or a larger single dish may need up to 10 minutes.The edges should be set, with a soft, jiggly center.
- Quick release. When the timer ends, perform a quick release. Carefully remove the ramekins with tongs. Rest them for 1–2 minutes; the carryover heat will finish setting the edges without cooking the center.
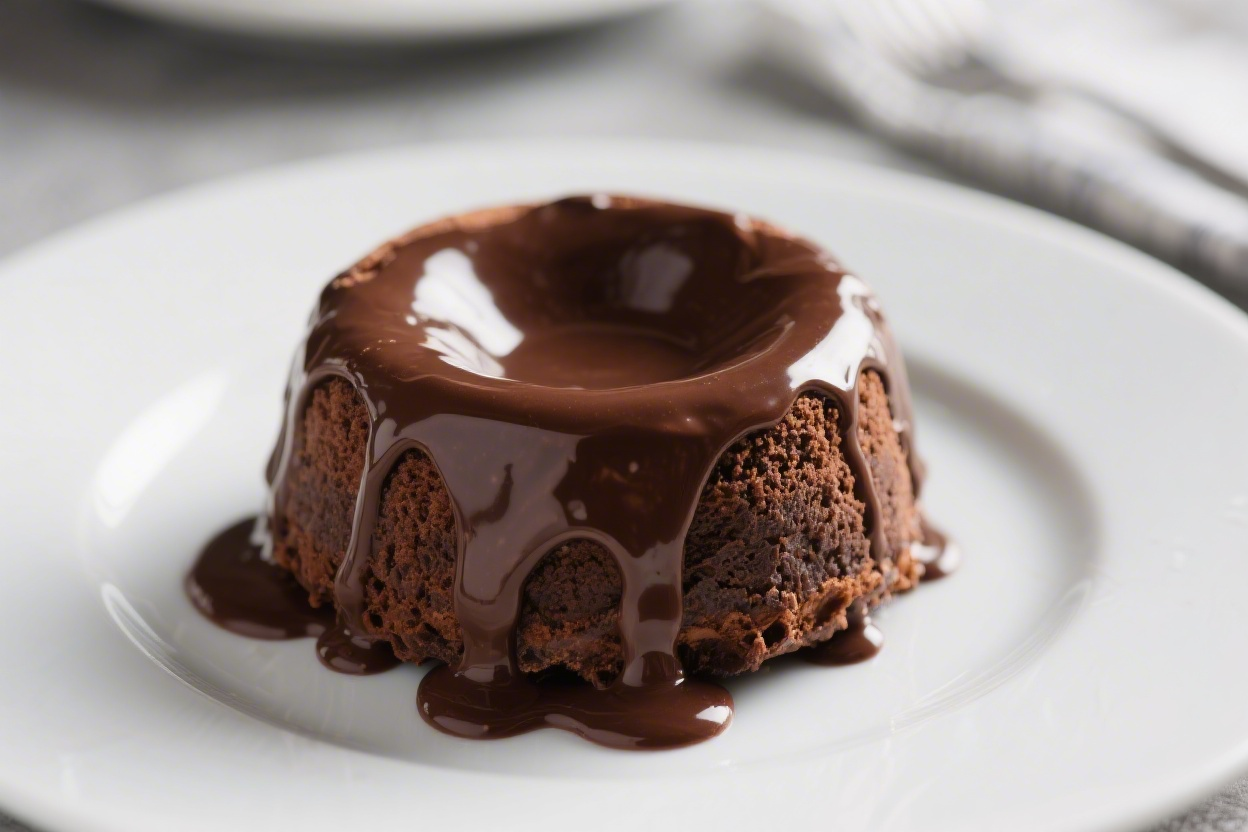
- Serve. Run a thin knife around the edges and invert onto plates, or serve directly in the ramekins.Dust with powdered sugar and add a scoop of vanilla ice cream or a drizzle of lightly whipped cream.
Keeping It Fresh
These cakes are best enjoyed immediately because the center firms up as they sit. If you need to make them ahead, refrigerate the batter in the ramekins, covered, for up to 24 hours. Add 1 extra minute to the pressure cook time when starting from cold.
Leftover cooked cakes can be stored in an airtight container in the fridge for up to 2 days. Reheat briefly in the microwave until just warm, but expect a less molten center.

Benefits of This Recipe
- Fast and reliable: The pressure cooker delivers consistent results in under 30 minutes of cook time.
- Restaurant-worthy: You get that dramatic lava flow without fussy techniques.
- Scalable: Make two for date night or a full batch for guests—same method, same payoff.
- Minimal cleanup: One batter bowl, a few ramekins, and the pressure cooker insert.
- Flexible flavors: Add espresso, citrus zest, or liqueur to play with the profile.
Common Mistakes to Avoid
- Overcooking: Even one extra minute can set the center too much. Start with less time; you can always add a minute and pressure again.
- Skipping the foil tent: Condensation can make the tops soggy.A loose foil cover keeps the texture right.
- Overmixing the batter: Too much stirring tightens the crumb. Fold gently until just combined.
- Not greasing and dusting the ramekins: This step is key for a clean release and smooth sides.
- Using cold ingredients: Room-temperature eggs help the batter emulsify for a smoother, glossier finish.
Variations You Can Try
- Salted caramel core: Spoon a teaspoon of thick caramel into the center before cooking. Sprinkle with flaky sea salt after unmolding.
- Peanut butter swirl: Dollop warm peanut butter into the batter and swirl with a toothpick.
- Orange-chocolate twist: Add 1 teaspoon of orange zest and a splash of orange liqueur.
- Mint chocolate: Stir in 1/2 teaspoon peppermint extract and garnish with crushed peppermint candy.
- Gluten-free: Swap in a 1:1 gluten-free flour blend.The texture remains soft and fudgy.
- Dairy-free: Use dairy-free chocolate and plant-based butter. Choose a neutral-flavored option for best results.
FAQ
Can I make one large lava cake instead of individual servings?
Yes. Use a well-greased 6- to 7-inch round cake pan that fits in your pressure cooker.
Increase the cook time to about 10–12 minutes on High Pressure. The center should still wobble when you jiggle the pan.
What chocolate works best?
Choose good-quality semi-sweet or dark chocolate in the 55%–70% range. Chips are convenient, but chopped bars melt more smoothly and often taste richer.
Avoid chocolate labeled “baking melts,” which can have a waxy texture.
How do I know when it’s done?
The edges should look set and slightly pull from the sides, while the center remains soft and jiggly. If you tap the ramekin and the whole cake ripples, add 1 more minute under pressure.
Can I make it without eggs?
Lava cakes rely on eggs for structure and that custardy center. Egg substitutes won’t give the same molten texture.
If you need an egg-free option, try a dairy-free chocolate pudding cake instead.
How do I prevent the tops from getting wet?
Loosely tent each ramekin with foil. Also make sure you’re placing them on a trivet above the water and not directly in it. After cooking, blot any condensation with a paper towel before unmolding.
What if my Instant Pot says “Burn”?
That alert usually happens when there isn’t enough liquid under the trivet.
Ensure there’s a full cup of water and that nothing is touching the bottom of the pot.
Can I flavor the batter with liqueur?
Absolutely. Add 1 tablespoon of coffee liqueur, orange liqueur, or Irish cream. Reduce the vanilla slightly to balance the flavor.
How should I serve it?
Serve warm with a cold contrast: vanilla ice cream, lightly sweetened whipped cream, or a dollop of crème fraîche.
Fresh berries or a dusting of cocoa also work nicely.
Can I freeze the batter?
Yes. Portion the batter into greased, foil-wrapped ramekins and freeze for up to one month. Cook from frozen at High Pressure for 10–11 minutes, checking for that signature jiggle.
In Conclusion
Chocolate Lava Pressure Cake proves that indulgence doesn’t have to be complicated.
With a handful of pantry staples, a pressure cooker, and a few minutes of active time, you can turn out a dessert that feels special any night of the week. Keep an eye on the timing, treat your ramekins well, and you’ll get a gorgeous molten center every time. Warm, rich, and ready fast—this is one recipe you’ll reach for again and again.
Chocolate Lava Pressure Cake - A Rich, Molten Dessert Made Fast
Ingredients
- Semi-sweet chocolate chips or chopped bar chocolate (6 ounces)
- Unsalted butter (1/2 cup, plus extra for greasing)
- Granulated sugar (1/2 cup)
- Light brown sugar (2 tablespoons, packed)
- Large eggs (2 whole) and egg yolks (2)
- Vanilla extract (1 teaspoon)
- All-purpose flour (1/3 cup)
- Unsweetened cocoa powder (1 tablespoon, plus extra for dusting)
- Fine sea salt (1/4 teaspoon)
- Espresso powder (optional, 1/2 teaspoon, for deeper chocolate flavor)
- Powdered sugar (for dusting, optional)
- Heavy cream or vanilla ice cream (optional, for serving)
- Water (1 cup for the pressure cooker)
Instructions
- Prep the ramekins. Grease 4 to 6 heatproof ramekins (6-ounce size works well) with butter. Dust lightly with cocoa powder, tapping out the excess. This helps the cakes release cleanly.
- Melt chocolate and butter. In a microwave-safe bowl or over a double boiler, melt the chocolate and butter together until smooth. Stir gently and let it cool for 2–3 minutes so it’s warm but not hot.
- Whisk the eggs and sugars. In a separate bowl, whisk the granulated sugar, brown sugar, 2 eggs, and 2 yolks until glossy and slightly thick, about 30–45 seconds. Add the vanilla and stir.
- Combine the mixtures. Slowly pour the warm chocolate mixture into the egg mixture, whisking constantly. You want everything fully combined and silky.
- Add dry ingredients. Sift in the flour, cocoa powder, salt, and espresso powder if using. Fold gently with a spatula until just combined. Do not overmix.
- Fill the ramekins. Divide the batter evenly among the prepared ramekins, filling each about 3/4 full.
- Set up the pressure cooker. Add 1 cup of water to the pot. Place a trivet inside. Arrange the ramekins on the trivet. If stacking, place a small piece of foil or a rack between layers to keep them level. Loosely tent the tops with foil to prevent water droplets from landing on the batter.
- Pressure cook. Seal the lid and cook on High Pressure for 7–9 minutes for a molten center. Thicker ramekins or a larger single dish may need up to 10 minutes. The edges should be set, with a soft, jiggly center.
- Quick release. When the timer ends, perform a quick release. Carefully remove the ramekins with tongs. Rest them for 1–2 minutes; the carryover heat will finish setting the edges without cooking the center.
- Serve. Run a thin knife around the edges and invert onto plates, or serve directly in the ramekins. Dust with powdered sugar and add a scoop of vanilla ice cream or a drizzle of lightly whipped cream.
Printable Recipe Card
Want just the essential recipe details without scrolling through the article? Get our printable recipe card with just the ingredients and instructions.