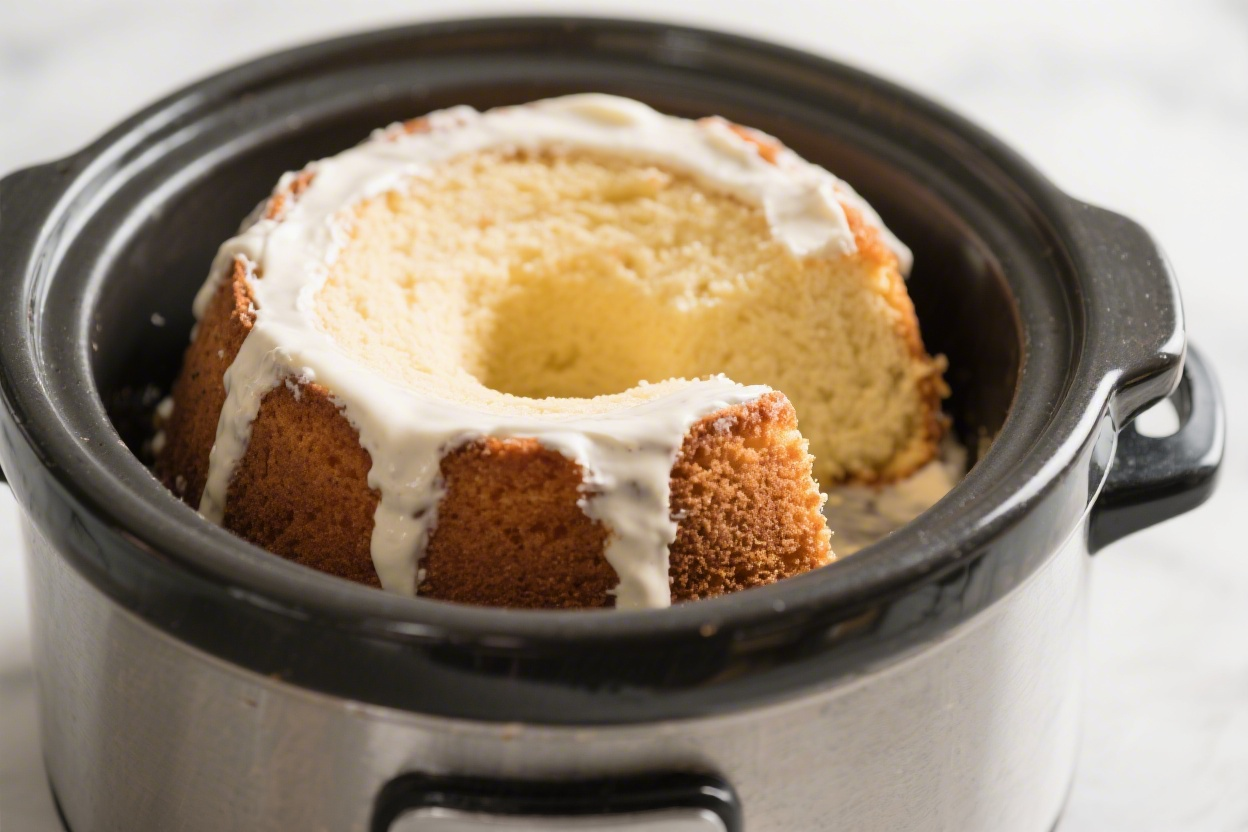
Classic & Easy One‑Pot Pressure Cooker Vanilla Cake
A homemade vanilla cake doesn’t need an hour in the oven or a pile of dishes. With a pressure cooker and one mixing bowl, you can turn everyday ingredients into a soft, fragrant cake that feels special. This method is perfect for small kitchens, hot days, or anyone who wants a no‑stress dessert.
The crumb turns out tender, the top stays pale and even, and the flavor is pure vanilla comfort. If you’re new to pressure‑cooker baking, don’t worry, this is a friendly, forgiving recipe you’ll come back to again and again.
What Makes This Recipe So Good
- One bowl, one pot: You mix the batter in one bowl and “bake” it in the pressure cooker. Cleanup is easy.
- Moist, even texture: Steam heat keeps the cake soft and prevents dryness.
It stays plush for days.
- Reliable for beginners: No oven timing stress. If you follow the cues, you’ll get a consistent result.
- Everyday ingredients: Butter, sugar, eggs, flour, milk, and vanilla—nothing fancy, just classic flavor.
- Flexible size: Works well in a 6‑ to 7‑inch round pan, which fits most stovetop burners and electric pressure cookers.
Ingredients
- 1 cup (200 g) granulated sugar
- 1/2 cup (115 g) unsalted butter, softened
- 2 large eggs, room temperature
- 1 1/2 cups (190 g) all‑purpose flour
- 1 1/2 tsp baking powder
- 1/4 tsp fine salt
- 1/2 cup (120 ml) whole milk, room temperature
- 2 tsp pure vanilla extract
- 1–2 tbsp neutral oil or butter for greasing the pan
- 1–1 1/2 cups (240–360 ml) water for the pressure cooker pot (amount depends on model; see manual)
- Optional: 1–2 tbsp sugar for dusting the pan for a light crust
How to Make It
- Prep the cake pan: Use a 6‑ or 7‑inch round cake pan that fits inside your pressure cooker. Grease it well with oil or butter.
Line the bottom with parchment and lightly grease the parchment. If you like a delicate crust, dust the sides with sugar and tap out the excess.
- Set up the cooker: Add water to the pressure cooker’s inner pot. Place a trivet or metal rack at the bottom so the cake pan sits above the water.
You’re steaming, not boiling.
- Cream butter and sugar: In a mixing bowl, beat the softened butter and sugar together until pale and fluffy, about 2–3 minutes. This step builds structure and helps the cake rise.
- Add eggs and vanilla: Beat in the eggs one at a time, mixing well after each. Stir in the vanilla.
If the mixture looks slightly curdled, don’t panic; it will smooth out with the flour.
- Combine dry ingredients: In a separate small bowl, whisk flour, baking powder, and salt. This prevents clumps and ensures even leavening.
- Mix the batter gently: Add half the dry mix to the butter mixture and stir just until combined. Add the milk and mix gently.
Add the remaining dry mix and stir only until no dry streaks remain. Do not overmix, or the cake can turn dense.
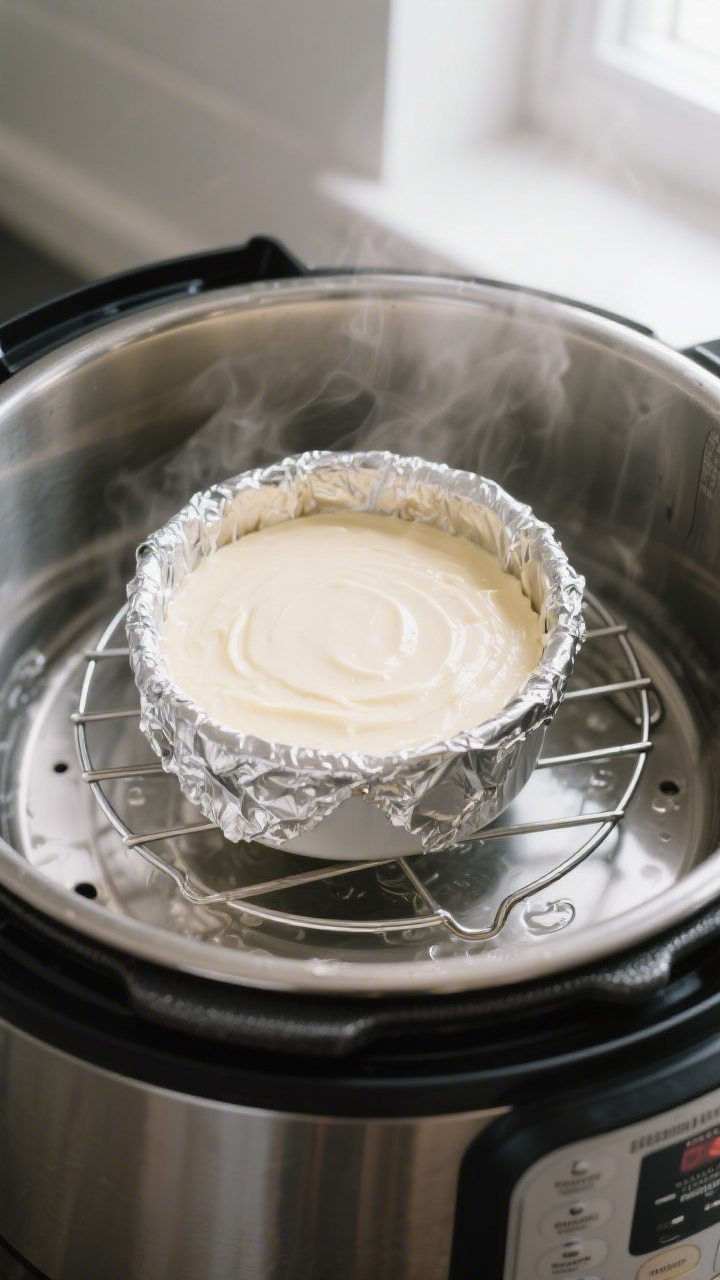
- Pan and cover: Transfer the batter to the prepared pan and smooth the top. Cover the pan tightly with foil to prevent condensation from dripping onto the cake surface.
- Load the cooker: Place the covered pan on the trivet inside the cooker. Seal the lid.
For electric pressure cookers, set to High Pressure for 30–35 minutes. For stovetop models, bring to pressure over medium heat and cook for 25–30 minutes at steady pressure. Times can vary slightly by model and pan size.
- Natural release: Let pressure release naturally for 10 minutes, then quick‑release any remaining pressure.
Carefully lift out the pan using tongs or a sling.
- Check doneness: Remove the foil. A toothpick inserted in the center should come out clean or with a few moist crumbs. If it’s very wet, re‑cover and cook under pressure for another 3–5 minutes.
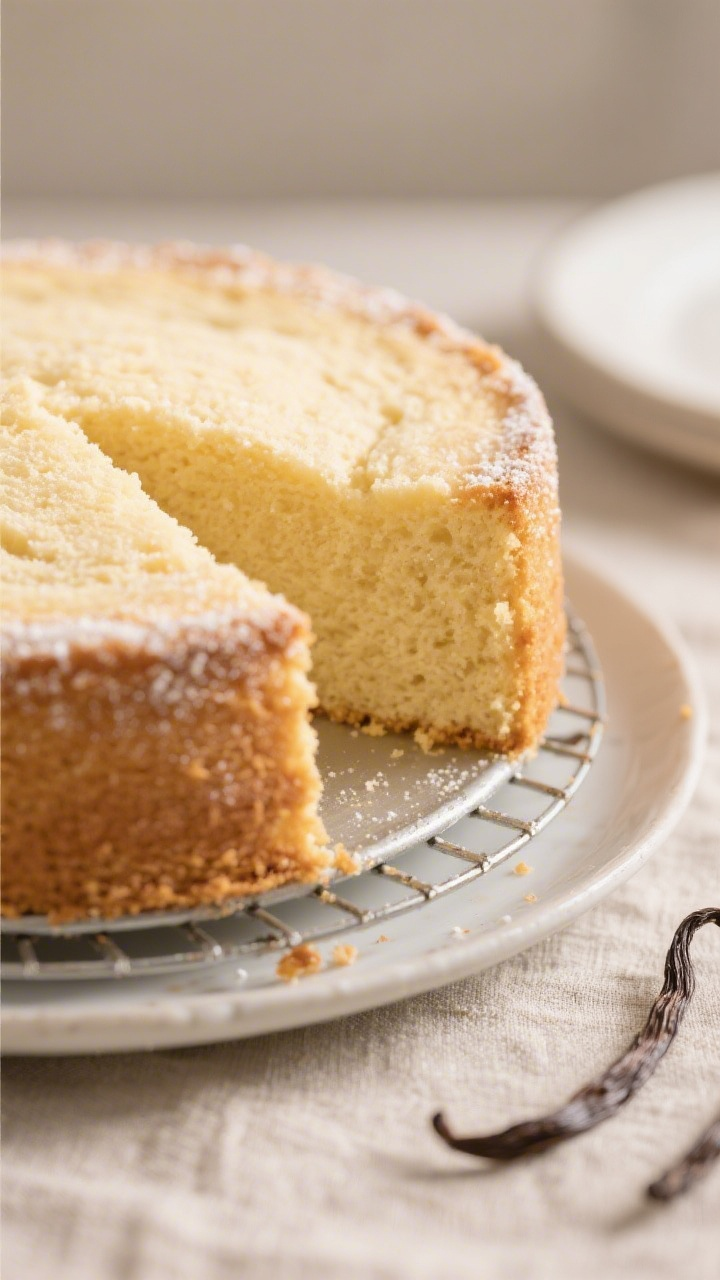
- Cool and unmold: Let the cake rest in the pan for 10 minutes.
Run a thin knife around the edge, invert onto a rack, peel off parchment, and flip right‑side up. Cool completely before slicing for the neatest pieces.
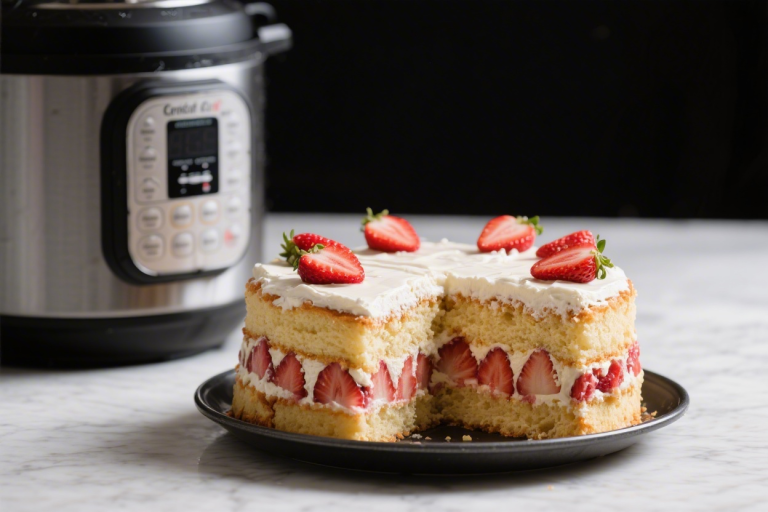
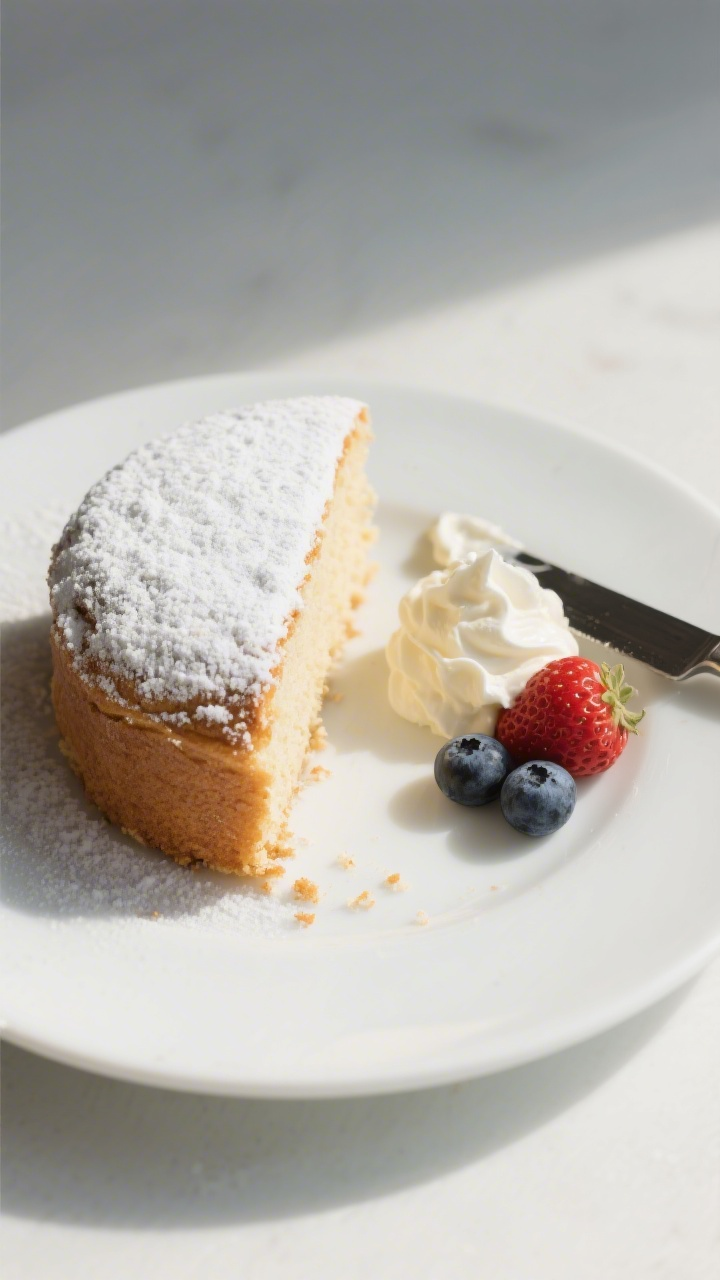
- Serve simply: Dust with powdered sugar, top with whipped cream, or add fresh berries. The vanilla shines on its own, so keep toppings light.
Storage Instructions
- Room temperature: Store covered or in an airtight container for up to 2 days.
- Refrigerator: Wrap tightly and refrigerate for up to 5 days.
Bring to room temperature before serving for best texture.
- Freezer: Wrap slices individually, then place in a freezer bag. Freeze up to 2 months. Thaw at room temperature or warm gently in the microwave.
- Moisture tip: Slip a small piece of parchment between slices to prevent sticking and keep the crumb intact.
Health Benefits
- Portion control: A 6–7 inch cake makes reasonable portions, helping you enjoy dessert without overdoing it.
- Less added fat than some cakes: This recipe uses a modest amount of butter compared to rich layer cakes.
- Protein from eggs and milk: They add a bit of satiety and structure, helping the cake feel more satisfying.
- Steam cooking: Gentle, moist heat means you don’t need extra syrups or heavy frostings to keep the cake tender.
What Not to Do
- Don’t skip the trivet: Setting the pan directly in water will lead to a soggy bottom and uneven cooking.
- Don’t overmix the batter: Overworking flour develops gluten, which makes the cake tough.
- Don’t forget to cover the pan: Foil prevents water droplets from marring the top and changing the texture.
- Don’t guess on water: Too little water can trigger a burn warning; too much can splash into the pan.
Follow your cooker’s minimum requirement.
- Don’t rush the release: A brief natural release helps the crumb set so the cake doesn’t collapse.
Variations You Can Try
- Lemon vanilla: Add 1 tbsp lemon zest and swap 2 tbsp of the milk for fresh lemon juice. Glaze with a simple lemon‑powdered sugar drizzle.
- Vanilla bean: Use 1 tsp vanilla paste or scrape 1/2 a vanilla bean for speckled aromatics.
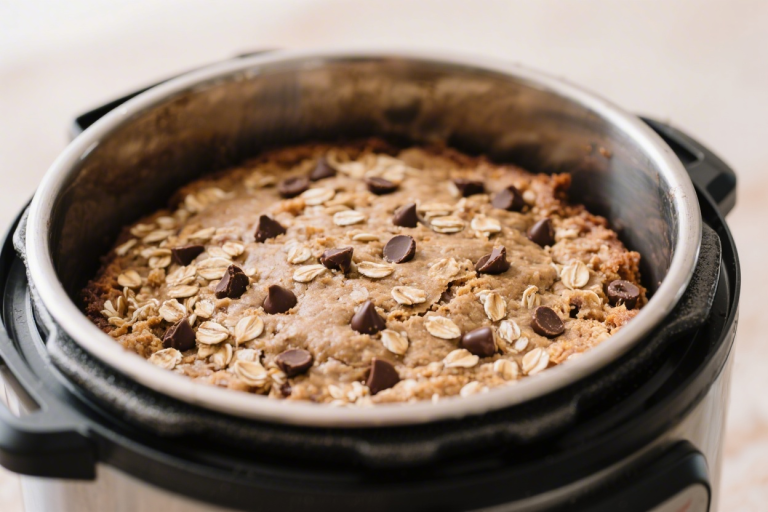
- Chocolate chip:</-strong> Fold 1/2 cup mini chocolate chips into the batter. Toss chips with 1 tsp flour so they don’t sink.
- Cardamom twist: Add 1/2 tsp ground cardamom for a warm, floral note that pairs beautifully with vanilla.
- Gluten‑free: Substitute a 1:1 gluten‑free baking blend with xanthan gum.
Check doneness early; some blends cook slightly faster.
- Dairy‑free: Swap butter for a neutral oil (1/2 cup) or dairy‑free butter, and use unsweetened almond or oat milk.
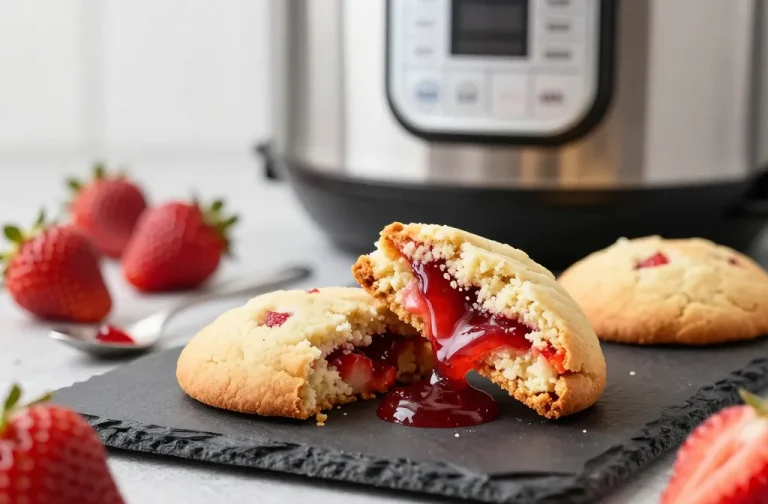
- Jam swirl:</-strong> Spoon 3–4 teaspoons of your favorite jam on top of the batter and marble lightly with a skewer.
FAQ
Can I make this without eggs?
Yes. Replace each egg with 1/4 cup unsweetened applesauce or 3 tablespoons aquafaba (whipped lightly). Add an extra 1/4 teaspoon baking powder to help lift.
Expect a slightly denser crumb but great flavor.
Which pan works best inside a pressure cooker?
A 6‑ or 7‑inch aluminum or stainless steel round pan, 2 inches deep, works well. Avoid thick glass; it slows cooking. Springform pans can leak, so line and wrap the base with foil if you use one.
How do I prevent the “burn” message in an electric pressure cooker?
Use the manufacturer’s minimum water amount (usually 1–1 1/2 cups), ensure the trivet is in place, and keep the cake pan covered with foil.
Also, make sure the sealing ring and valve are seated correctly.
Why is my cake gummy on top?
Condensation likely dripped onto the batter or it was slightly undercooked. Always cover the pan tightly with foil, and if the tester shows wet batter, cook for 3–5 more minutes under pressure.
Can I double the recipe?
It’s better to make two separate cakes rather than one deeper cake. A very thick batter layer can cook unevenly in the pressure cooker.
Do I need to preheat the pressure cooker?
No preheating is necessary.
The cook time starts once pressure is reached. Just ensure there’s enough water and the trivet is set.
Can I frost this cake?
Absolutely. A simple vanilla or cream‑cheese frosting is lovely.
Let the cake cool completely first so the frosting doesn’t melt.
In Conclusion
This Classic Vanilla One‑Pot Pressure Cooker Cake delivers everything you want in a homemade dessert: soft crumb, clean vanilla flavor, and nearly zero fuss. It’s a smart technique for busy days and warm kitchens, and it works beautifully even if you’ve never baked in a pressure cooker before. Keep the steps simple, cover the pan, and let steam do the work.
You’ll end up with a dependable, tender cake that feels like comfort with every slice.
Classic Vanilla One‑Pot Pressure Cooker Cake – Soft, Simple, and Fuss-Free
Ingredients
- 1 cup (200 g) granulated sugar
- 1/2 cup (115 g) unsalted butter, softened
- 2 large eggs, room temperature
- 1 1/2 cups (190 g) all‑purpose flour
- 1 1/2 tsp baking powder
- 1/4 tsp fine salt
- 1/2 cup (120 ml) whole milk, room temperature
- 2 tsp pure vanilla extract
- 1–2 tbsp neutral oil or butter for greasing the pan
- 1–1 1/2 cups (240–360 ml) water for the pressure cooker pot (amount depends on model; see manual)
- Optional: 1–2 tbsp sugar for dusting the pan for a light crust
Instructions
- Prep the cake pan: Use a 6‑ or 7‑inch round cake pan that fits inside your pressure cooker. Grease it well with oil or butter. Line the bottom with parchment and lightly grease the parchment. If you like a delicate crust, dust the sides with sugar and tap out the excess.
- Set up the cooker: Add water to the pressure cooker’s inner pot. Place a trivet or metal rack at the bottom so the cake pan sits above the water. You’re steaming, not boiling.
- Cream butter and sugar: In a mixing bowl, beat the softened butter and sugar together until pale and fluffy, about 2–3 minutes. This step builds structure and helps the cake rise.
- Add eggs and vanilla: Beat in the eggs one at a time, mixing well after each. Stir in the vanilla. If the mixture looks slightly curdled, don’t panic; it will smooth out with the flour.
- Combine dry ingredients: In a separate small bowl, whisk flour, baking powder, and salt. This prevents clumps and ensures even leavening.
- Mix the batter gently: Add half the dry mix to the butter mixture and stir just until combined. Add the milk and mix gently. Add the remaining dry mix and stir only until no dry streaks remain. Do not overmix, or the cake can turn dense.
- Pan and cover: Transfer the batter to the prepared pan and smooth the top. Cover the pan tightly with foil to prevent condensation from dripping onto the cake surface.
- Load the cooker: Place the covered pan on the trivet inside the cooker. Seal the lid. For electric pressure cookers, set to High Pressure for 30–35 minutes. For stovetop models, bring to pressure over medium heat and cook for 25–30 minutes at steady pressure. Times can vary slightly by model and pan size.
- Natural release: Let pressure release naturally for 10 minutes, then quick‑release any remaining pressure. Carefully lift out the pan using tongs or a sling.
- Check doneness: Remove the foil. A toothpick inserted in the center should come out clean or with a few moist crumbs. If it’s very wet, re‑cover and cook under pressure for another 3–5 minutes.
- Cool and unmold: Let the cake rest in the pan for 10 minutes. Run a thin knife around the edge, invert onto a rack, peel off parchment, and flip right‑side up. Cool completely before slicing for the neatest pieces.
- Serve simply: Dust with powdered sugar, top with whipped cream, or add fresh berries. The vanilla shines on its own, so keep toppings light.
Printable Recipe Card
Want just the essential recipe details without scrolling through the article? Get our printable recipe card with just the ingredients and instructions.