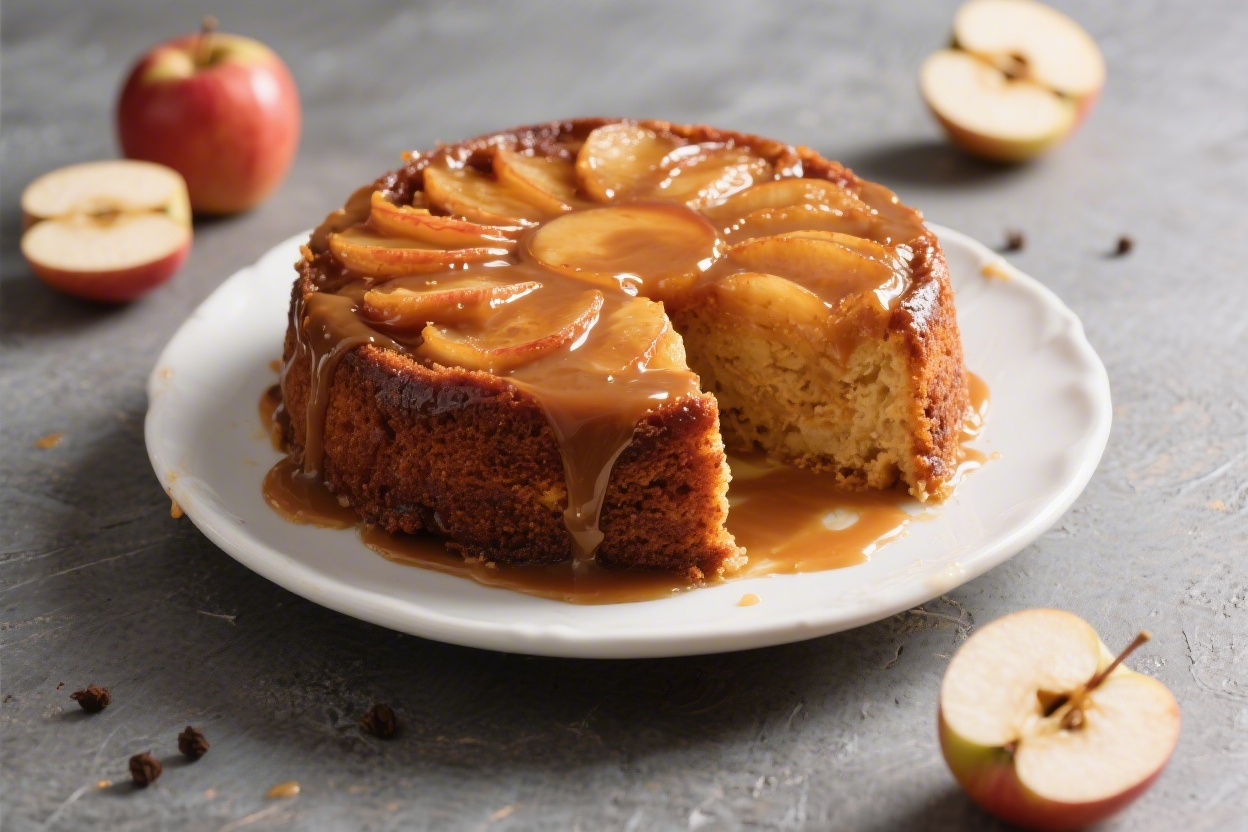
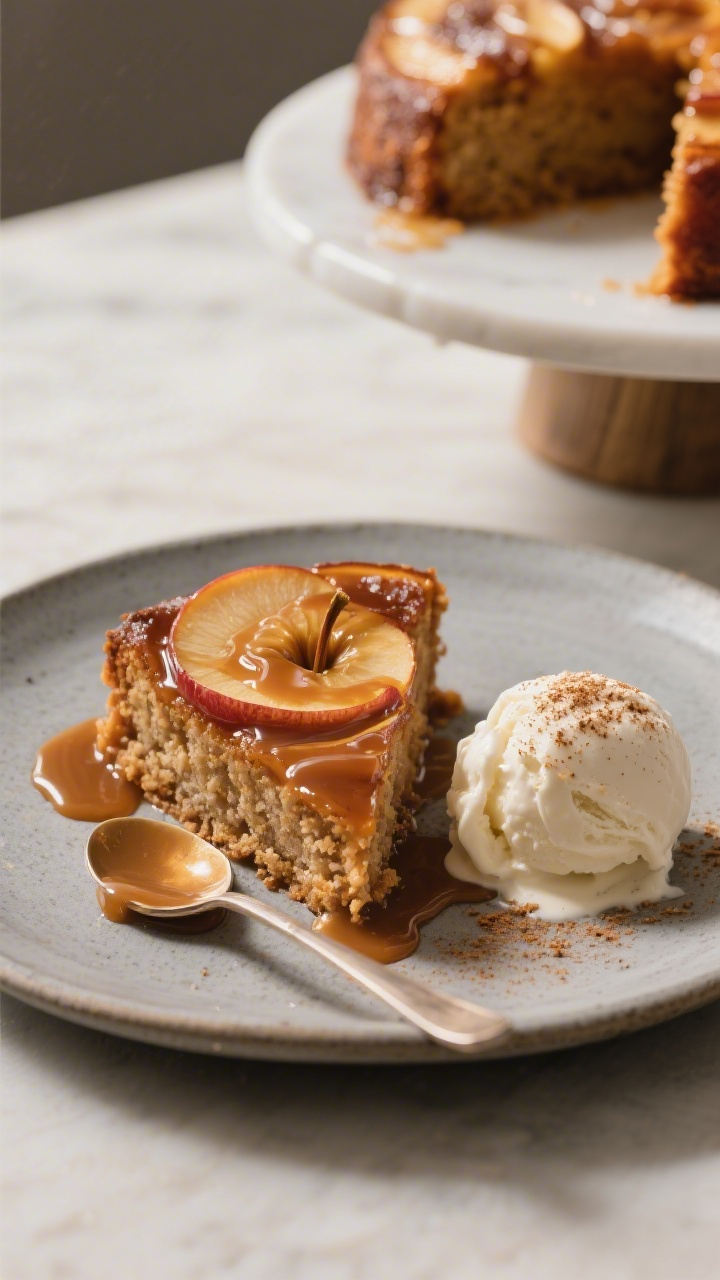
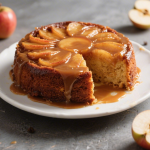
Must-Have Drizzly Caramel Apple Upside‑Down Cake
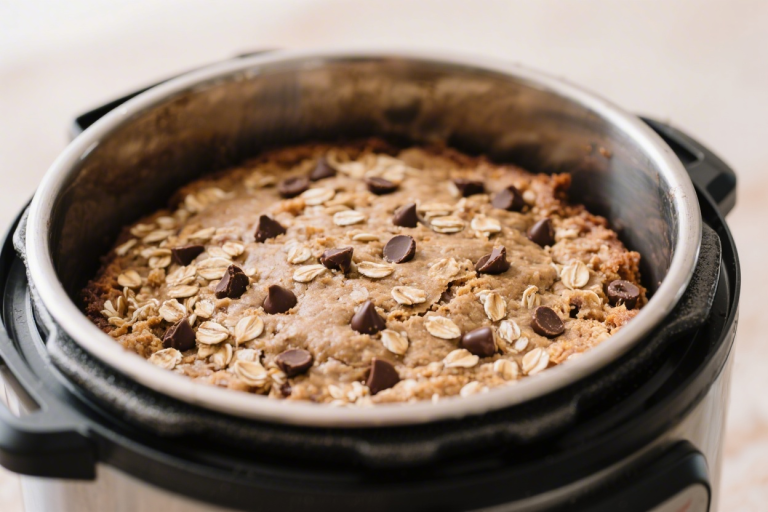
This is the cozy dessert you want when you’re craving fall flavors without turning on the oven. Tender apples, warm spices, and a buttery caramel topping make this cake feel special, yet it’s simple to pull off in a pressure cooker. The texture comes out moist and plush, with that classic upside-down gloss on top.
It’s a crowd-pleaser for holidays, potlucks, or just a quiet weekend treat. If you’ve never baked in a pressure cooker, this is the perfect place to start.
Why This Recipe Works
Steaming the cake under pressure keeps it incredibly moist, preventing dryness you sometimes get in the oven. The caramel topping melts into the apples and seeps into the crumb, creating a buttery, saucy finish without babysitting a skillet.
The batter is simple and forgiving, so you don’t need fancy techniques or special tools beyond a trivet and a round pan that fits your cooker. Best of all, the whole process is low-effort and reliable, so your upside-down moment always lands.
Ingredients You’ll Need
- Apples: 2 medium firm apples (Granny Smith, Honeycrisp, or Pink Lady), peeled, cored, and sliced 1/4 inch thick
- Brown sugar: 1/2 cup, packed (for the caramel layer)
- Unsalted butter: 6 tablespoons, divided (4 tbsp for caramel, 2 tbsp melted for batter)
- Granulated sugar: 1/2 cup
- All-purpose flour: 1 cup, spooned and leveled
- Baking powder: 1 1/2 teaspoons
- Fine salt: 1/4 teaspoon
- Ground cinnamon: 1 teaspoon
- Ground nutmeg: 1/8 teaspoon (optional)
- Egg: 1 large, room temperature
- Whole milk: 1/2 cup, room temperature (or buttermilk for extra tenderness)
- Vanilla extract: 1 1/2 teaspoons
- Lemon juice: 1 teaspoon (to keep apples bright and balance sweetness)
- Water: 1 cup for the pressure cooker pot
- Pan: 7-inch or 8-inch round cake pan that fits in your pressure cooker (or a 6-cup bundt insert)
- Nonstick spray or butter for greasing the pan
- Foil to cover the pan
How to Make It Instructions
- Prep the pan: Grease the cake pan well. Line the bottom with a circle of parchment for extra insurance, then grease the parchment, too.
- Make the caramel layer: Melt 4 tablespoons butter.Stir in the brown sugar until glossy. Spread this mixture evenly across the bottom of the pan.
- Arrange the apples: Toss apple slices with lemon juice. Fan them over the caramel in a neat, overlapping pattern.Keep it snug—apples shrink as they cook.
- Whisk dry ingredients: In a bowl, combine flour, baking powder, salt, cinnamon, and nutmeg. Set aside.
- Mix wet ingredients: In another bowl, whisk egg, granulated sugar, melted 2 tablespoons butter, milk, and vanilla until smooth.
- Combine: Add dry ingredients to wet and stir just until the flour disappears. The batter should be thick but pourable.Don’t overmix.
- Fill the pan: Spoon batter over the apples and spread gently to the edges. Tap the pan once on the counter to settle it.
- Cover: Wrap the top tightly with foil to prevent condensation from dripping onto the cake.
- Set up the cooker: Pour 1 cup of water into the pressure cooker. Place the trivet inside.Lower the cake pan onto the trivet using a sling or carefully with tongs.
- Cook: Seal the lid and set to high pressure for 35 minutes (for a 7-inch pan; 8-inch may need 30–32 minutes because of the thinner layer).
- Release pressure: Let pressure naturally release for 10 minutes, then quick release any remaining steam.
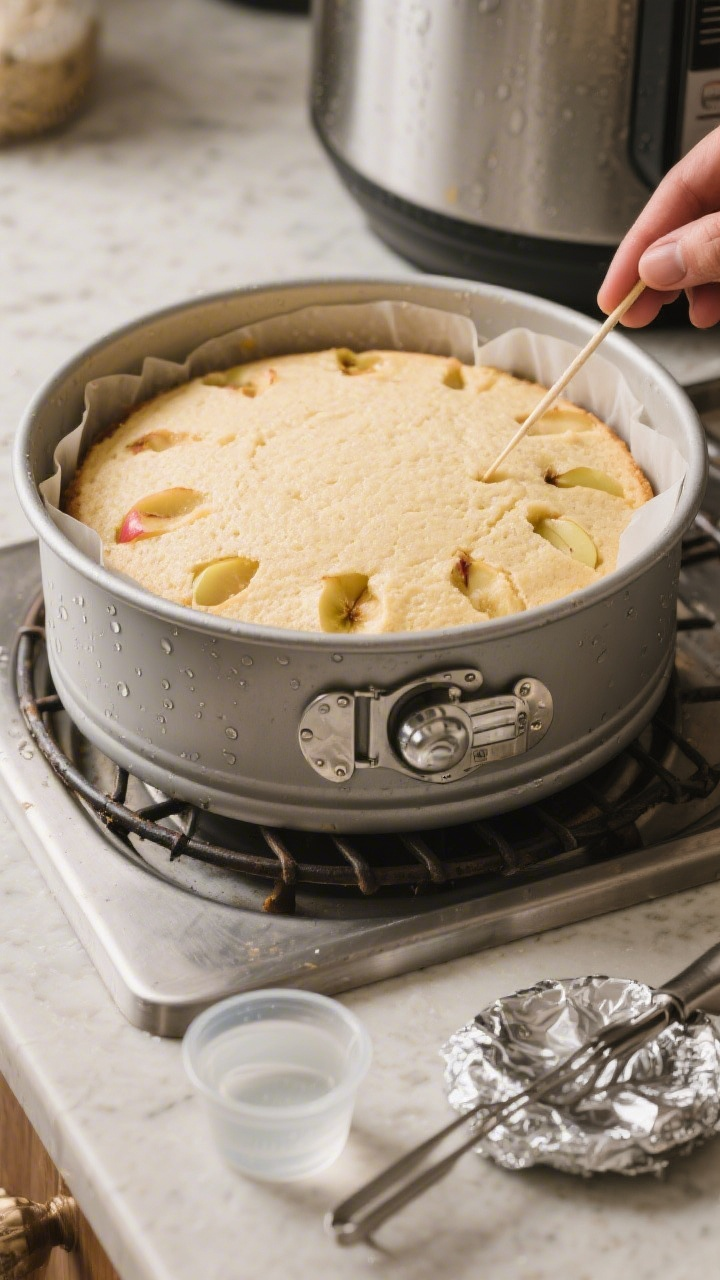
- Check doneness: Uncover and insert a toothpick into the cake portion (not the apples). It should come out clean or with a few moist crumbs. If wet, re-cover and cook 3–5 minutes more.
- Cool briefly: Let the cake rest in the pan for 10 minutes.Run a thin knife around the edge.
- Invert: Place a serving plate over the pan and flip confidently. Lift the pan and peel off the parchment. If any apples stick, just nudge them back on.
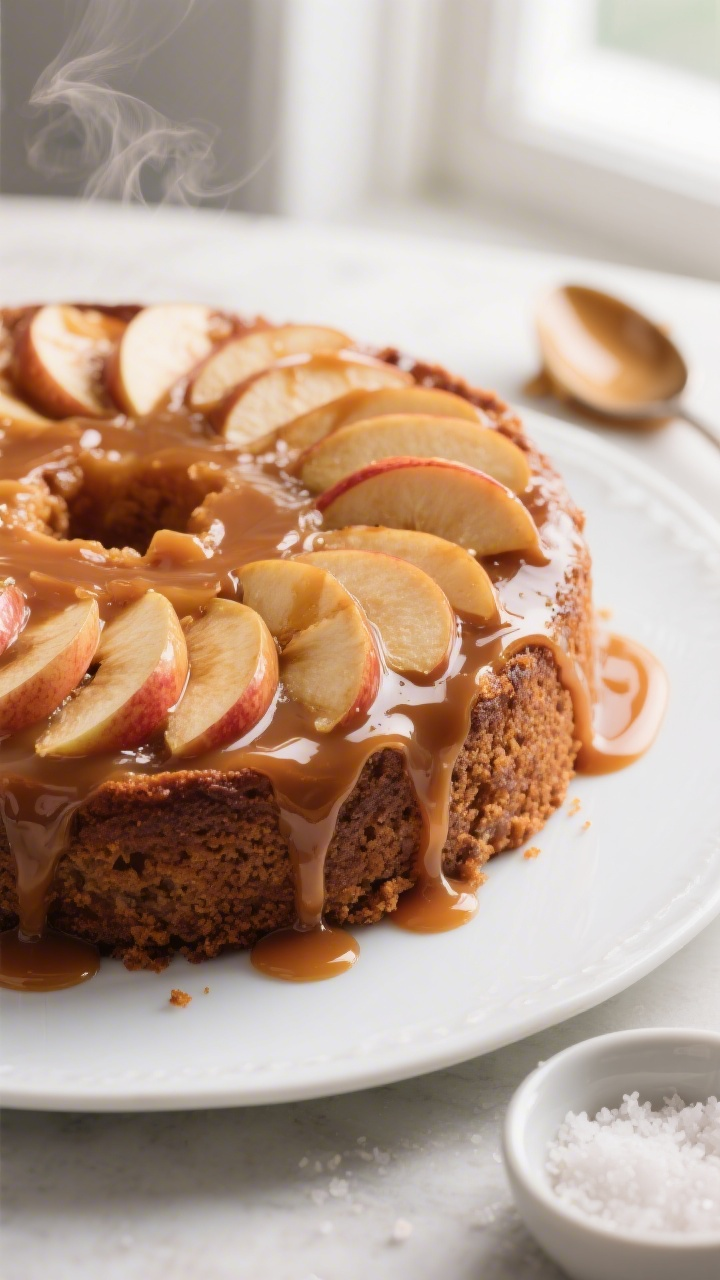
- Serve: Spoon any caramel from the pan over the top.Serve warm with vanilla ice cream or lightly sweetened whipped cream.
Keeping It Fresh
Let the cake cool completely before covering. Store at room temperature, tightly wrapped, for up to 2 days. For longer storage, refrigerate for 4–5 days.
Reheat slices in the microwave for 10–15 seconds to bring back the gooey caramel shine. You can also freeze tightly wrapped wedges for up to a month; thaw in the fridge and warm before serving.
Benefits of This Recipe
- Oven-free baking: Great for hot days, tiny kitchens, or when your oven is busy with other dishes.
- Foolproof moisture: Pressure cooking keeps the crumb soft and tender.
- Short ingredient list: Pantry basics plus apples get you a showy dessert.
- Make-ahead friendly: Tastes even better a few hours after cooking as flavors meld.
- Flexible: Works with different apple varieties and pan shapes that fit your cooker.
Pitfalls to Watch Out For
- Too much batter: Overfilling can cause a gummy center. Aim for the pan to be no more than two-thirds full.
- Skipping the foil: Uncovered batter collects condensation, leading to a wet top and diluted caramel.
- Overmixing: This can toughen the cake.Stir only until the flour streaks are gone.
- Undercooked apples: Slice apples evenly so they soften at the same rate. Thicker slices need a few extra minutes.
- Inverting too soon: Give it that 10-minute rest so the caramel thickens slightly and the cake sets.
Recipe Variations
- Salted caramel twist: Sprinkle 1/2 teaspoon flaky sea salt over the caramel layer before adding apples.
- Maple spice: Replace half the brown sugar with maple syrup and add a pinch of cloves.
- Nutty crunch: Scatter 1/3 cup chopped toasted pecans or walnuts over the caramel before layering apples.
- Buttermilk batter: Use buttermilk instead of milk and add 1/4 teaspoon baking soda for extra tenderness.
- Gluten-free: Swap with a 1:1 gluten-free baking blend; ensure it includes xanthan gum for structure.
- Bourbon apple: Stir 1 tablespoon bourbon into the caramel mixture for depth and warmth.
FAQ
Can I use a springform pan?
You can, but wrap the outside in foil very well to prevent leaks. A solid cake pan is safer for liquids like caramel.
If you do use springform, line the base with parchment and double-wrap to keep water out.
What apples are best for this cake?
Firm, slightly tart apples hold their shape and balance the caramel. Granny Smith, Honeycrisp, and Pink Lady are top picks. Avoid mealy varieties that turn mushy under pressure.
How do I prevent a soggy cake?
Cover the pan tightly with foil, measure the water in the pot (1 cup), and allow the 10-minute natural release.
Also, let the cake rest before inverting so excess steam escapes.
Can I double the recipe?
Not in one pan. Instead, make two separate cakes back-to-back. A deeper single cake often won’t set evenly in a pressure cooker.
What if I don’t have parchment?
Grease the pan thoroughly and dust with a little flour.
It’s not as foolproof as parchment, but it helps. Be gentle when inverting and coax any stuck apples back into place.
How do I know it’s done without overcooking?
Check with a toothpick in the cake portion. It should come out mostly clean.
The top may look pale compared to oven-baked cakes—that’s normal for steamed desserts.
Can I reduce the sugar?
Yes. Reduce granulated sugar in the batter to 1/3 cup and brown sugar to 6 tablespoons. The texture remains soft, though the caramel layer will be less saucy.
Will dairy alternatives work?
Yes.
Use a rich, unsweetened non-dairy milk like oat or soy. Replace butter in the caramel with vegan butter and in the batter with neutral oil or vegan butter.
What size pressure cooker is best?
A 6-quart cooker fits most 7-inch and some 8-inch pans. An 8-quart cooker offers more flexibility and easier lifting.
Always confirm your pan fits on the trivet with the lid closing comfortably.
Can I caramelize the sugar first?
If you prefer a deeper caramel, melt the brown sugar and butter in a skillet until bubbling and slightly thick, then pour into the pan. Work quickly to arrange apples before it firms up.
Final Thoughts
This Pressure Cooker Caramel Apple Upside‑Down Cake gives you all the warm, cozy flavors of a classic bake with almost no fuss. It’s tender, glossy, and wonderfully apple-forward, and it turns out consistently in the pressure cooker.
Keep this one in your back pocket for holidays, impromptu gatherings, or any time you want dessert to taste like a hug. One bite, and you’ll wonder why you ever waited for the oven to preheat.
Pressure Cooker Caramel Apple Upside‑Down Cake - Cozy, Moist, and Ready Fast
Ingredients
- Apples: 2 medium firm apples (Granny Smith, Honeycrisp, or Pink Lady), peeled, cored, and sliced 1/4 inch thick
- Brown sugar: 1/2 cup, packed (for the caramel layer)
- Unsalted butter: 6 tablespoons, divided (4 tbsp for caramel, 2 tbsp melted for batter)
- Granulated sugar: 1/2 cup
- All-purpose flour: 1 cup, spooned and leveled
- Baking powder: 1 1/2 teaspoons
- Fine salt: 1/4 teaspoon
- Ground cinnamon: 1 teaspoon
- Ground nutmeg: 1/8 teaspoon (optional)
- Egg: 1 large, room temperature
- Whole milk: 1/2 cup, room temperature (or buttermilk for extra tenderness)
- Vanilla extract: 1 1/2 teaspoons
- Lemon juice: 1 teaspoon (to keep apples bright and balance sweetness)
- Water: 1 cup for the pressure cooker pot
- Pan: 7-inch or 8-inch round cake pan that fits in your pressure cooker (or a 6-cup bundt insert)
- Nonstick spray or butter for greasing the pan
- Foil to cover the pan
Instructions
- Prep the pan: Grease the cake pan well. Line the bottom with a circle of parchment for extra insurance, then grease the parchment, too.
- Make the caramel layer: Melt 4 tablespoons butter. Stir in the brown sugar until glossy. Spread this mixture evenly across the bottom of the pan.
- Arrange the apples: Toss apple slices with lemon juice. Fan them over the caramel in a neat, overlapping pattern. Keep it snug—apples shrink as they cook.
- Whisk dry ingredients: In a bowl, combine flour, baking powder, salt, cinnamon, and nutmeg. Set aside.
- Mix wet ingredients: In another bowl, whisk egg, granulated sugar, melted 2 tablespoons butter, milk, and vanilla until smooth.
- Combine: Add dry ingredients to wet and stir just until the flour disappears. The batter should be thick but pourable. Don’t overmix.
- Fill the pan: Spoon batter over the apples and spread gently to the edges. Tap the pan once on the counter to settle it.
- Cover: Wrap the top tightly with foil to prevent condensation from dripping onto the cake.
- Set up the cooker: Pour 1 cup of water into the pressure cooker. Place the trivet inside. Lower the cake pan onto the trivet using a sling or carefully with tongs.
- Cook: Seal the lid and set to high pressure for 35 minutes (for a 7-inch pan; 8-inch may need 30–32 minutes because of the thinner layer).
- Release pressure: Let pressure naturally release for 10 minutes, then quick release any remaining steam.
- Check doneness: Uncover and insert a toothpick into the cake portion (not the apples). It should come out clean or with a few moist crumbs. If wet, re-cover and cook 3–5 minutes more.
- Cool briefly: Let the cake rest in the pan for 10 minutes. Run a thin knife around the edge.
- Invert: Place a serving plate over the pan and flip confidently. Lift the pan and peel off the parchment. If any apples stick, just nudge them back on.
- Serve: Spoon any caramel from the pan over the top. Serve warm with vanilla ice cream or lightly sweetened whipped cream.
Printable Recipe Card
Want just the essential recipe details without scrolling through the article? Get our printable recipe card with just the ingredients and instructions.