Why Is My Pressure Cooker Not Coming to Pressure? Here Are 10 Common Causes & Easy Fixes
There is nothing more frustrating than waiting for a meal to cook only to realize your pressure cooker will not seal. Why is my pressure cooker not coming to pressure? Causes and fixes are often simpler than you think. In this list, I will walk you through the ten most common issues, including simple gasket checks, so you can get your dinner back on track without any extra stress.
1. Worn or Damaged Silicone Sealing Ring
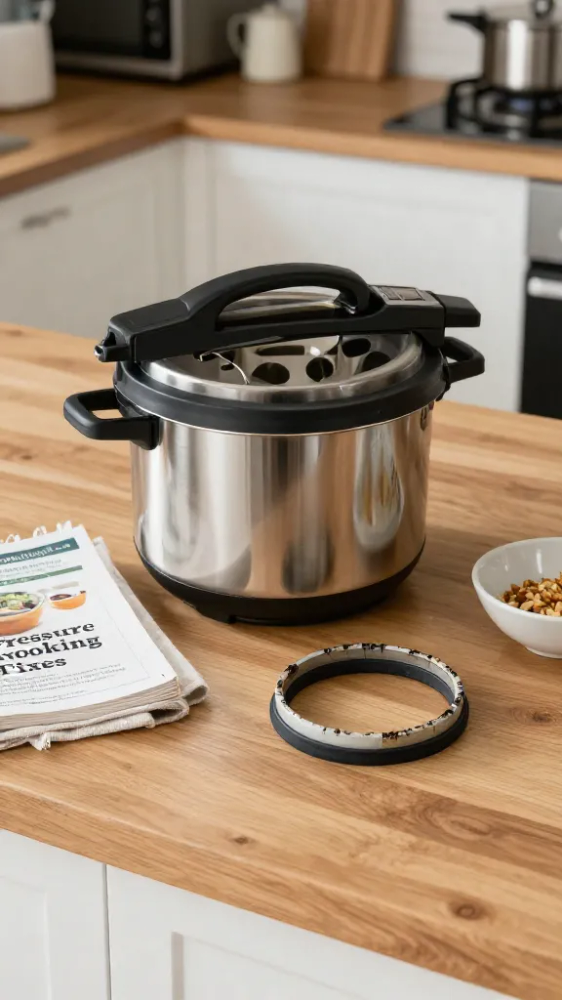
Your pressure cooker relies on a perfect seal to trap steam, so even a tiny crack in the silicone ring ruins the whole process. If that ring looks brittle, stretched out, or has visible chunks missing, it simply cannot hold the necessary pressure inside the pot. Its similar to a washer on a garden hose, it can go bad over time due to normal wear and tear.
You should inspect the gasket every few months for signs of wear. If you notice it feels sticky or has absorbed strong food odors that won’t wash away, it is time for a replacement.
Most manufacturers recommend swapping these out at least once a year if you use your cooker regularly. A fresh, flexible ring often solves the problem instantly and makes your cooker feel brand new again.
Make sure you buy the specific size that matches your model number, as generic rings rarely create the right fit. Once you have the new part, push it firmly into the groove of the lid to ensure it sits completely flat.


2. Food Particles Stuck in the Steam Release Valve
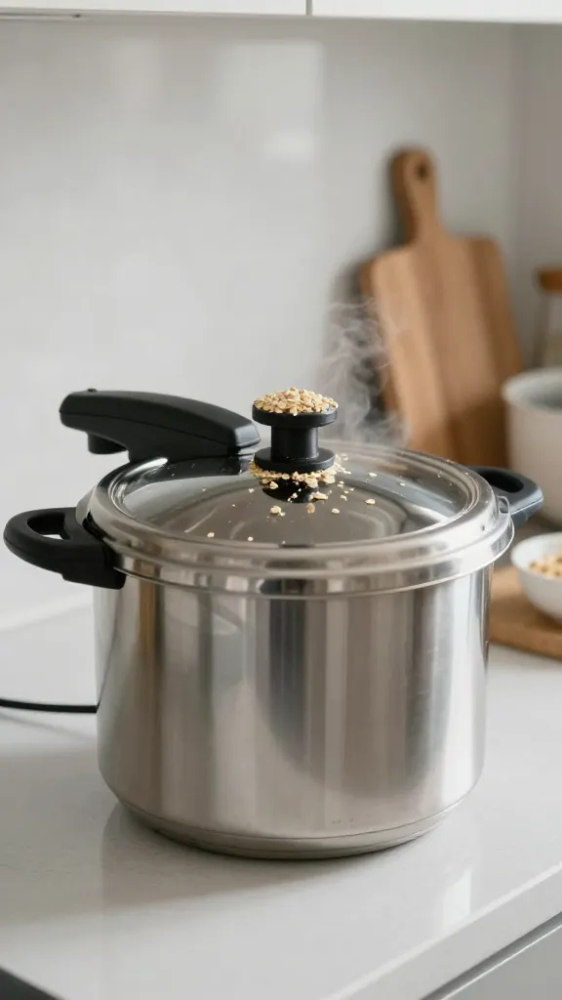
You might notice your cooker struggling if you recently made a thick soup or a batch of oatmeal. Tiny bits of food can easily fly up and lodge themselves inside the steam release valve during the boiling process.
When this happens, the valve cannot close properly to build up the necessary pressure. Instead of sealing tight, the cooker just leaks steam from the top because the debris creates an uneven gap.
To fix this, simply pull the valve off and hold it under warm running water. You should also use a toothpick to gently poke through the hole to ensure no hidden residue remains stuck inside.
If you see light passing through the opening, you have successfully cleared the blockage. Always double check this part before you start your next meal to avoid a messy kitchen disaster.
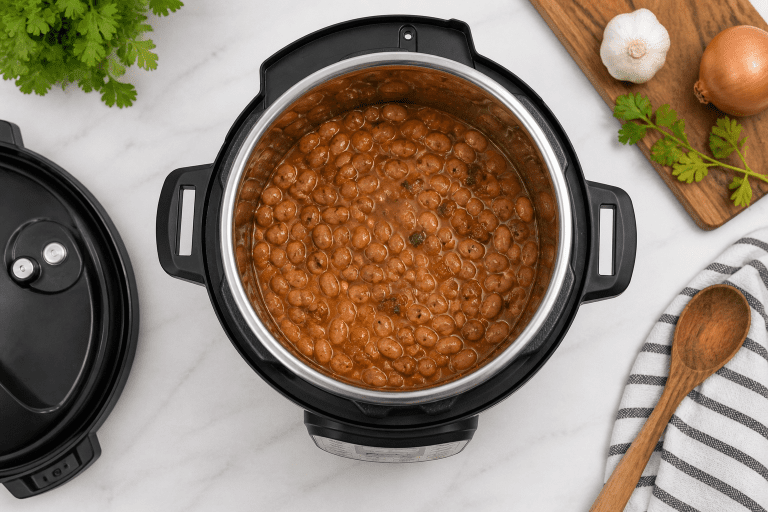
3. Not Enough Liquid to Create Steam
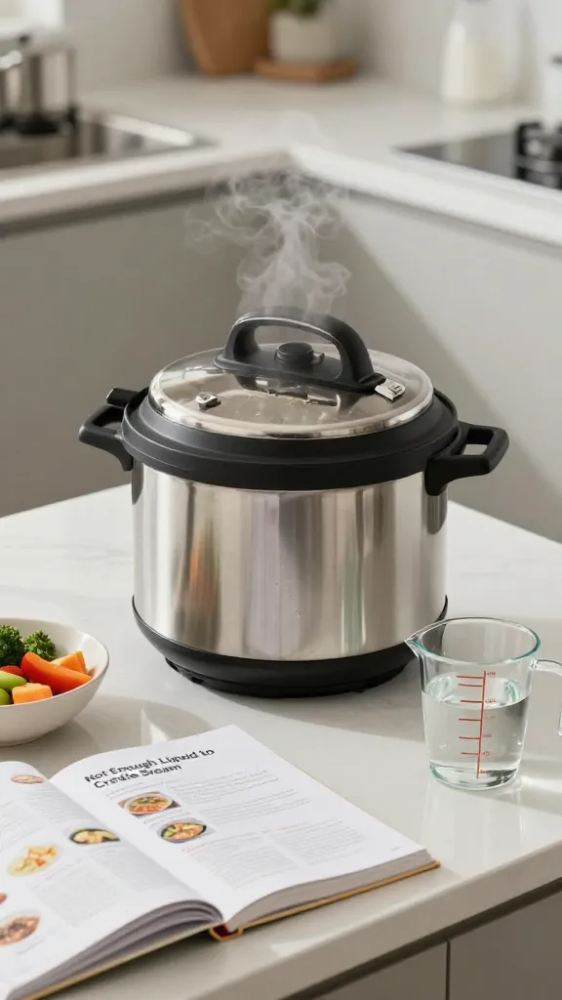
Your pressure cooker is basically a steam engine, and it simply won’t run without enough water to generate that internal pressure. If you don’t add at least one cup of thin liquid like water, broth, or juice, the pot will never reach the boiling point required to seal the lid.
You should always check your user manual for the specific minimum liquid requirement, as some models need more than others to function correctly. If you are cooking thick sauces or stews, remember that these ingredients don’t release moisture like plain vegetables do. Adding a little extra water will keep your sensors happy and prevent that annoying burn error from popping up on your screen.
4. Overfilled Pot Blocking the Airflow
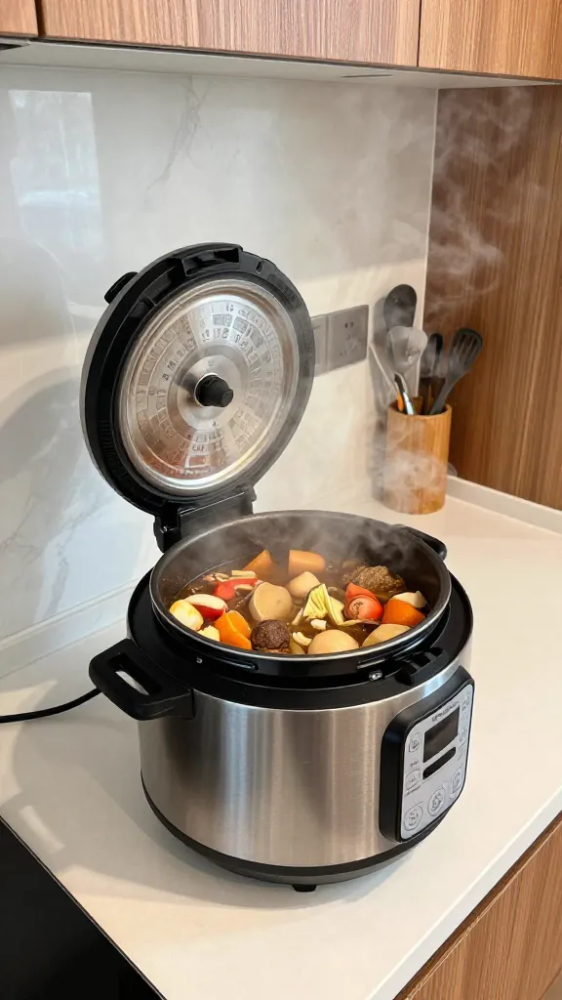
It is easy to get excited and fill your pot to the brim, but that is usually why your meal is not pressurized. These cookers need a fair amount of empty space at the top to build up the necessary steam.
When you pack food past the fill line, the liquid bubbles up and clogs the pressure valve. This prevents the unit from sealing properly and can even cause a messy eruption.
- Never fill the pot past the two-thirds mark for most ingredients.
- Stick to the half-full line when cooking grains or beans that expand.
- Check the interior markings carefully before adding your water or broth.
- Keep the vent clear of any small food particles or loose foam.
If you keep the volume down, you will have plenty of room for that essential steam to circulate.
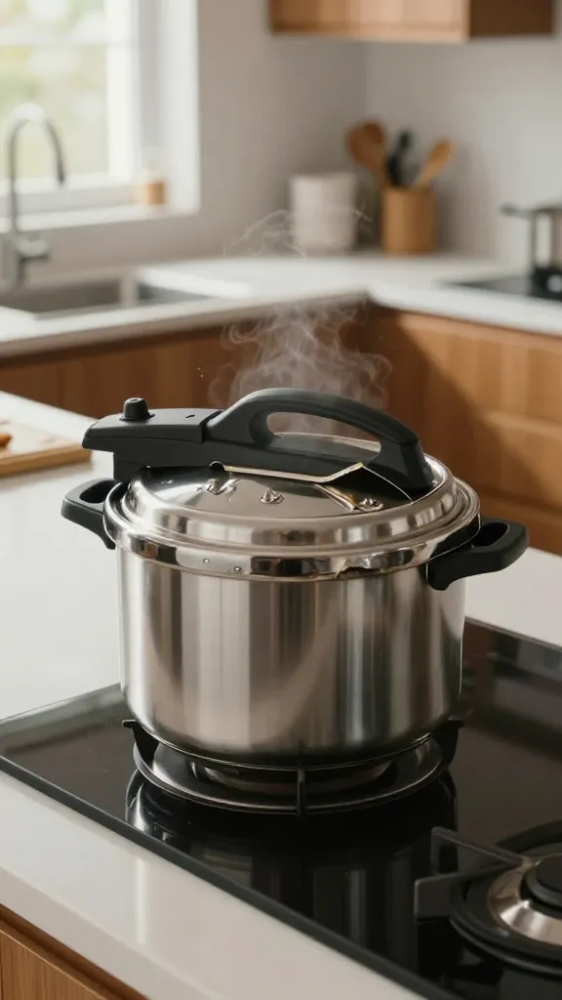
5. Incorrect Lid Alignment or Locking
Most of the time, the lid is just sitting slightly off-center. If the pot doesn’t seal, it can’t trap the steam needed to build pressure.
Take a look at the rim of your cooker. Most models have a small alignment mark or an arrow that needs to line up perfectly with the base.
You should also double check that the locking mechanism is actually engaged. Sometimes the lid feels closed, but the handle hasn’t fully clicked into the locked position.
Try lifting the lid gently once it feels shut. If it wiggles or lifts at all, it isn’t locked, and you need to twist it again until you hear that solid click.
Don’t force it if you feel resistance, because that might mean the gasket is pinched. Just back it off and try again to make sure everything sits flat.
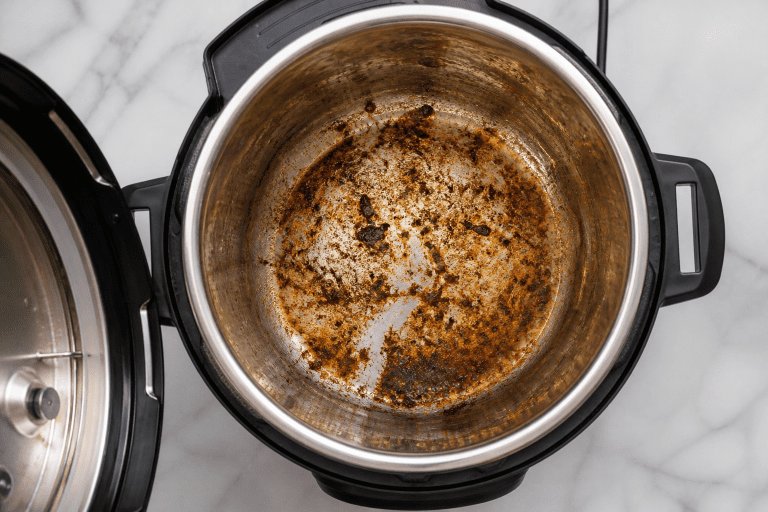
6. Thick Sauces Scorching on the Bottom
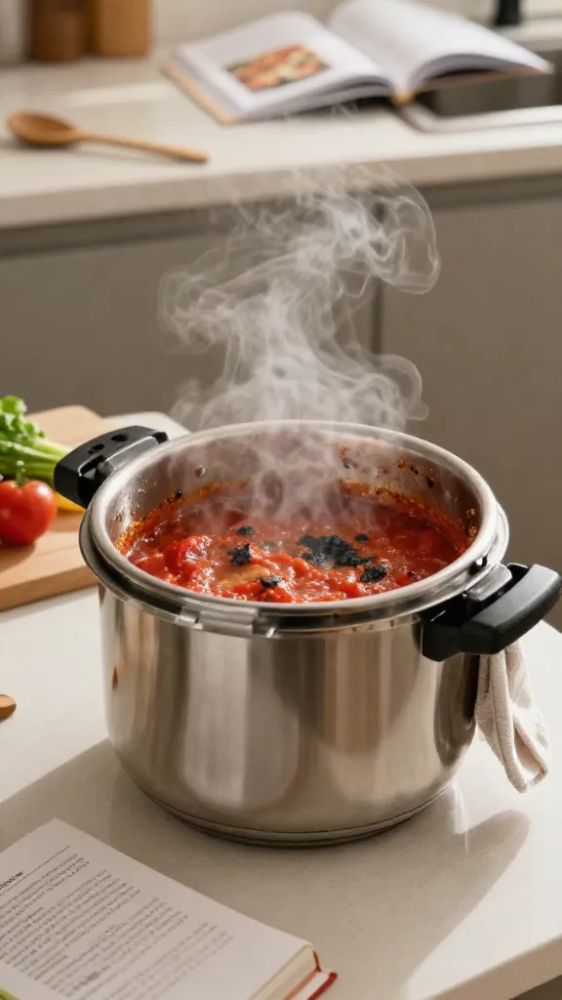
Thick liquids like tomato sauce, cream, or gravy often settle at the bottom of your pot. Because they are dense, they don’t circulate well and can quickly burn before the machine builds enough steam.
When the sensor detects that burnt layer, it often stops the heating cycle to prevent a fire hazard. This prevents your cooker from ever reaching full pressure.
- Layering your ingredients keeps thicker components away from the direct heat source at the bottom.
- Diluting your sauce with a little extra water or broth helps the liquid reach a boil faster.
- Deglazing the pot after browning your meat ensures no stuck bits are left behind to trigger a burn error.
- Using the pot-in-pot method keeps the thick mixture contained in a separate bowl inside the main cooker.
Try to keep the bottom of your inner pot as clear as possible. A thin layer of water or broth underneath your thick ingredients usually solves the problem for good.
7. Frozen Foods Increasing Heat Up Time
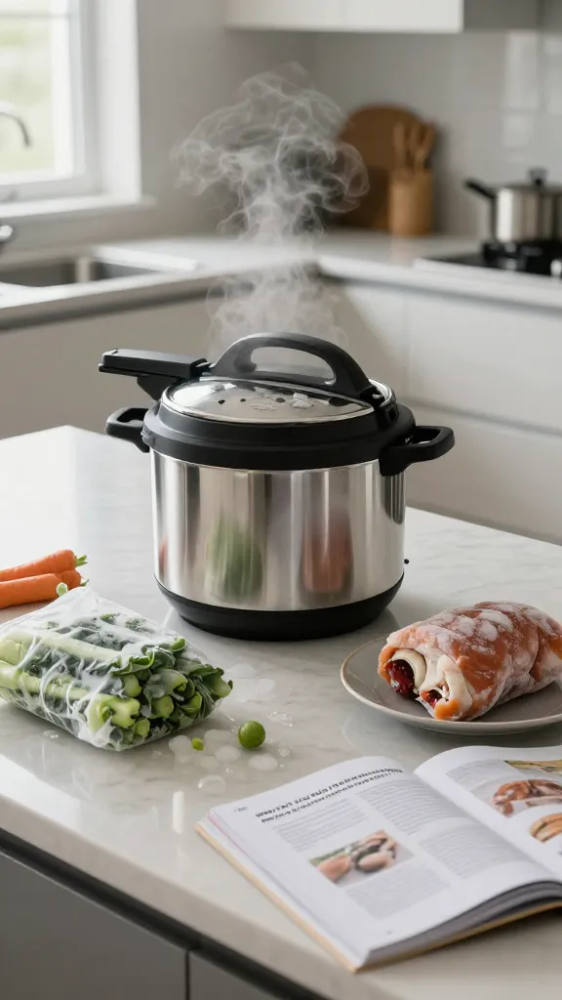
Tossing a frozen roast or a bag of icy veggies straight into your cooker is a tempting time saver. However, the frozen center acts like a giant ice cube that keeps the internal temperature from rising, which prevents the machine from sealing properly.
You might be tempted to just increase the cook time, but that often leads to mushy exteriors while the middle stays raw. It is much better to thaw your ingredients in the fridge overnight or use the defrost setting on your microwave before you start.
If you are in a real hurry, you can run cold water over the sealed plastic bag of frozen food to speed things up. This simple step ensures your meal hits pressure quickly and cooks evenly throughout every single bite.
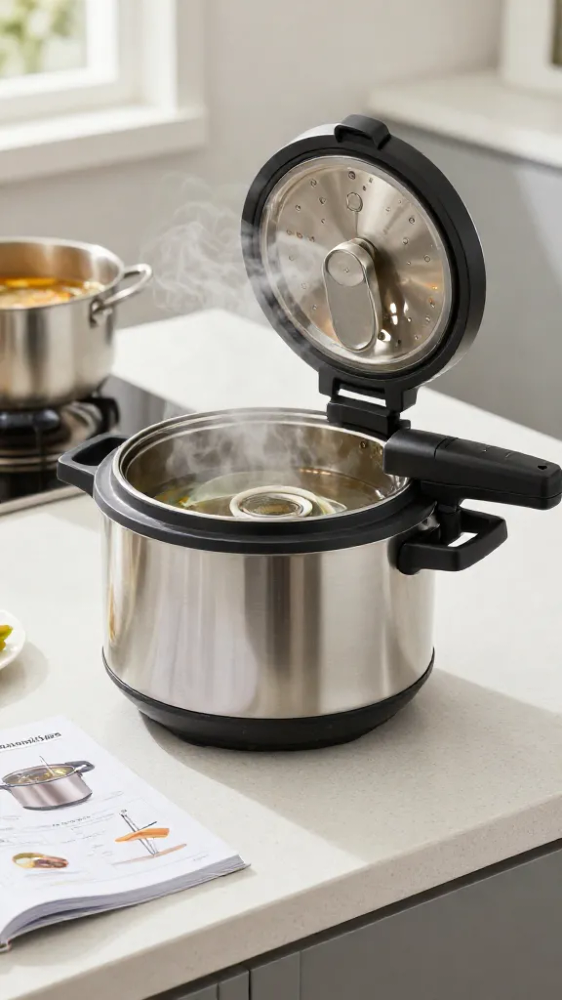
8. Sticky Float Valve Preventing a Proper Seal
Your pressure cooker won’t build heat if the float valve stays stuck in the down position. This little pin is responsible for locking the lid and creating the airtight environment required for cooking.
Sometimes, food residue or dried grease gets trapped around the valve, preventing it from popping up as the steam pressure rises. You can usually fix this by giving the valve a quick scrub with a soft brush and some warm soapy water.
Make sure to push it up and down a few times to ensure it moves freely without any resistance. If it still feels gritty or won’t budge, you might need to remove the silicone gasket around it for a deeper clean. A clean valve is the only way your pot will actually seal and start the cooking cycle.
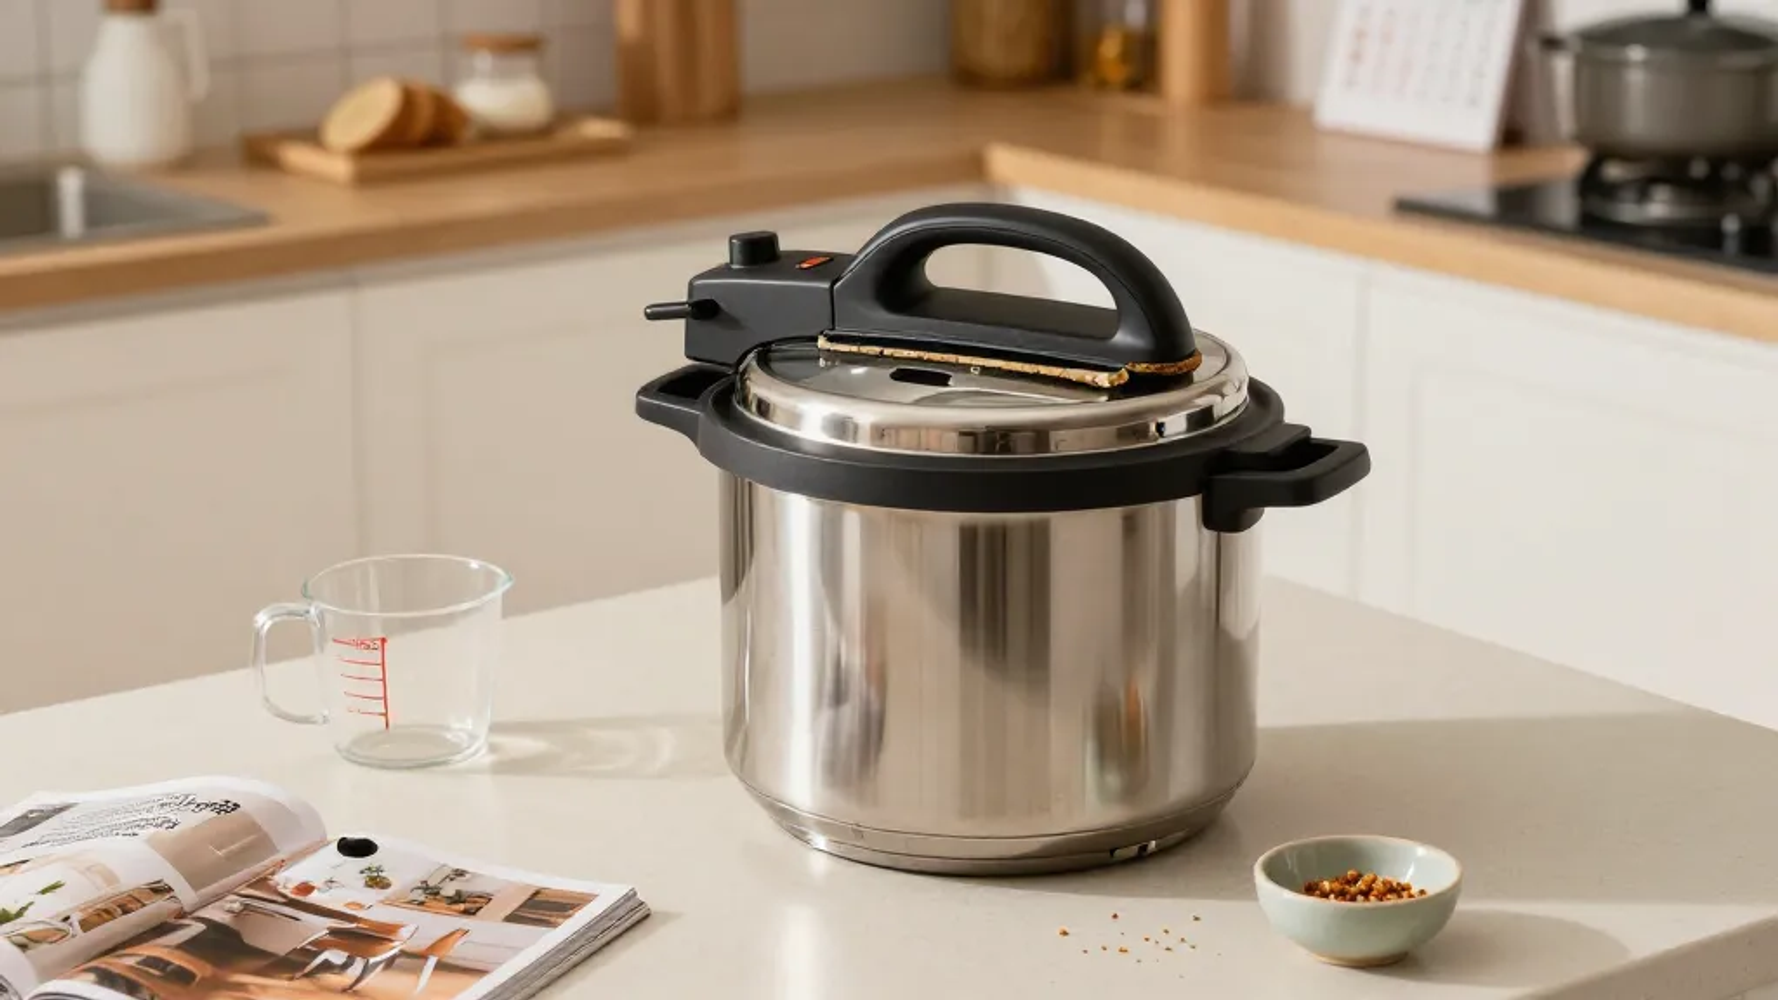
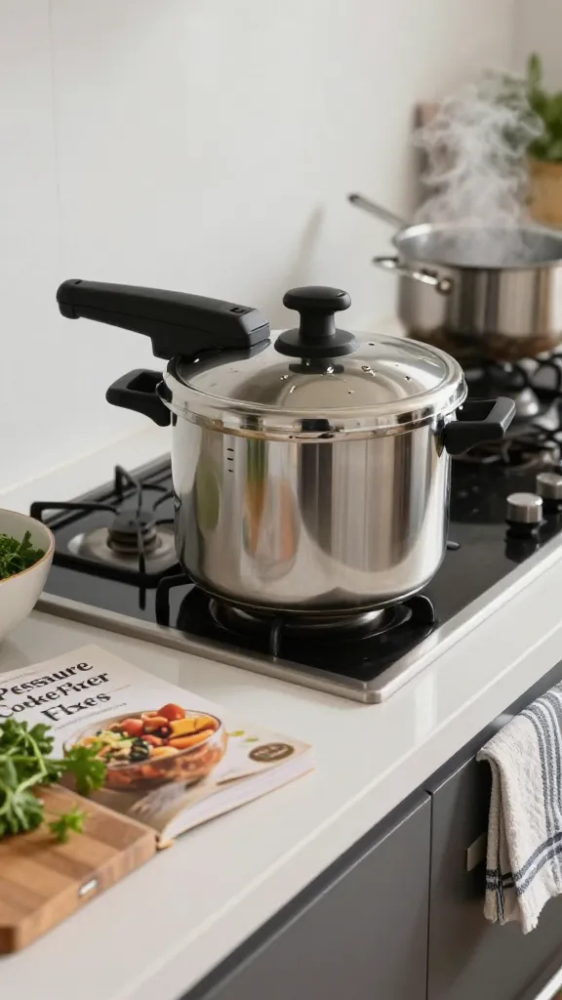
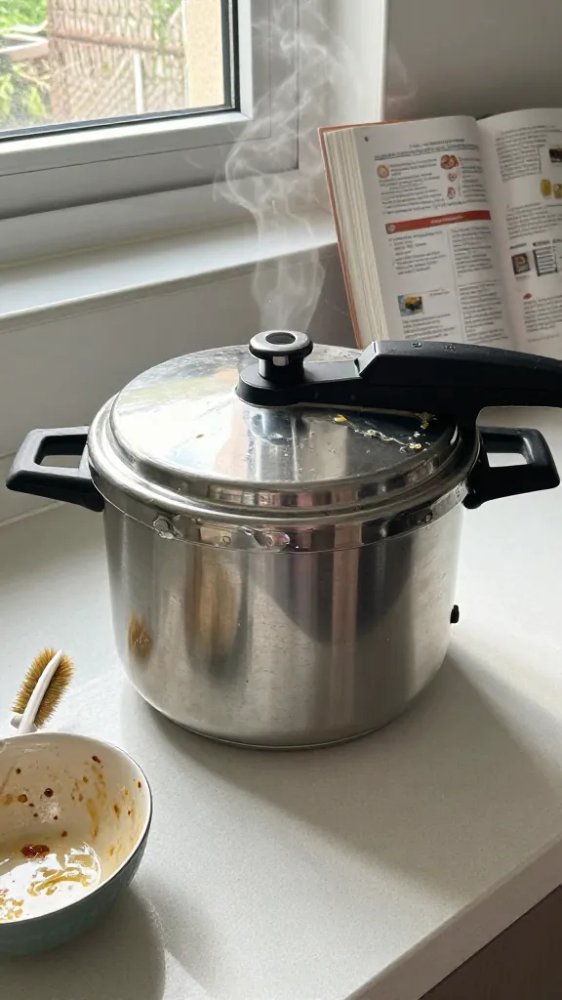
9. Bent or Dented Pressure Cooker Rim
I once dropped my favorite stainless steel pot on the kitchen tile, and it left a tiny flat spot on the rim. Even though it looked small, the silicone gasket couldn’t bridge that gap anymore. The steam just hissed out the side instead of building pressure inside the pot.
You should run your finger carefully around the edge of the rim to feel for any uneven spots or dips. If you find a dent, it keeps the lid from sitting flush against the base. This tiny gap prevents the airtight seal necessary for the cooker to function safely.
Sometimes you can gently tap a rim back into shape with a rubber mallet, but be careful not to make it worse. If the metal is badly warped, it is usually safer to replace the lid entirely. Don’t try to force the lid shut if the metal is visibly bent.
10. Using the Wrong Size Sealing Ring
Your pressure cooker will never build up enough steam if the sealing ring is even a fraction of an inch too small or too large. Many people buy generic rings that claim to be universal, but those rarely fit the specific grooves of name-brand cookers properly.
If you suspect the ring is the culprit, check the model number on the bottom of your pot before buying a replacement. You should also make sure the silicone is seated completely flat against the lid, because any tiny gap allows the pressure to leak out immediately.
Wrapping Up
Dealing with a stubborn appliance is frustrating, but these ten fixes should get your meal back on track quickly. Now that you understand why is my pressure cooker not coming to pressure, you can check your seals and valves with confidence. Take a moment to inspect your equipment before your next cook, and you will be back to making delicious, fast dinners in no time at all.