Here’s An Easy Guide On How Long You Should Cook Brown Rice in The Pressure Cooker
Brown rice tastes great, is pretty cheap and is a healthy grain that can fuel you like a champ, and… takes forever on the stove. You might have a pressure cooker and wonder if you can make it easy on yourself and cook it in there. And here is the deal, the pressure cooker can give you get fluffy, nutty brown rice in a fraction of the time. Want the quick answer? You’ll cook it for minutes, not hours—and yes, it actually turns out better.
The Short Answer: Its All About Time, Ratio, and Setting
Cook brown rice at high pressure for 20-22 minutes, then natural release for 10 minutes. That’s the sweet spot for most varieties. Use a 1:1.25 to 1:1.5 rice-to-water ratio by volume, depending on how firm or soft you like it.
– For firmer, more separate grains: 1 cup rice + 1.25 cups water, 20 minutes
– For softer, slightly stickier rice: 1 cup rice + 1.5 cups water, 22 minutes
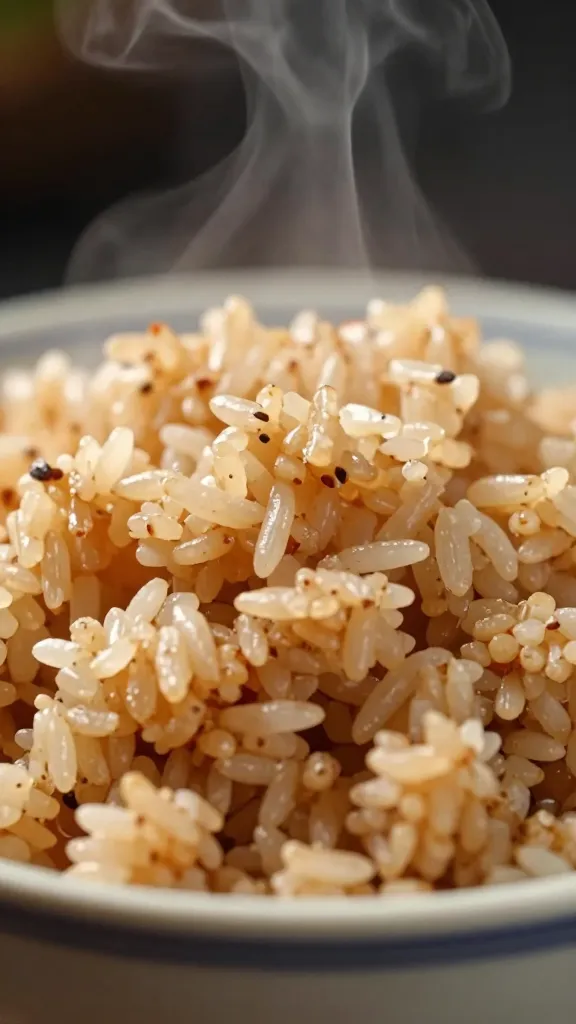
After cooking, let pressure drop naturally for 10 minutes, then quick release any remaining pressure. Fluff, taste, and brag a little. You earned it.
Why Pressure Cooking Brown Rice Works (And Rocks)
Brown rice has an outer bran layer that laughs at quick cooking. Even in a rice cooker, you have to do it much longer than white rice because of this. Whereas pressure cooking uses hotter steam and consistent high heat to penetrate that layer fast. You get tender grains without babysitting a pot that boils over at the worst moment. Also, less evaporation means your water ratio stays predictable. FYI, predictability in rice land is priceless.
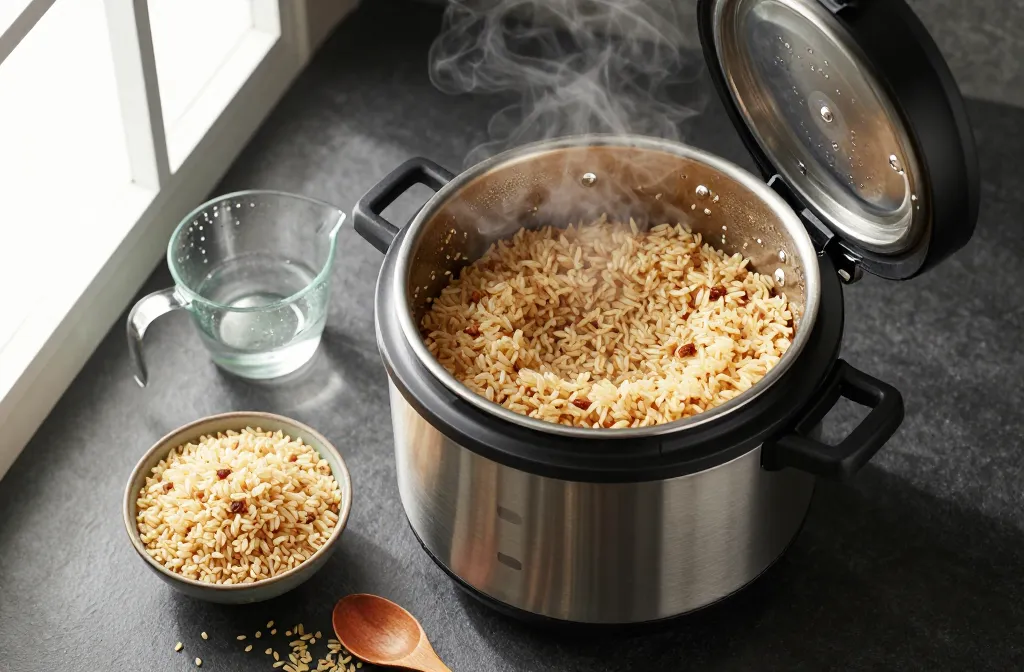
Step-by-Step: Foolproof Brown Rice
1) Rinse (yes, it matters)
I’ve found that rinsing the rice in a fine-mesh sieve until the water runs mostly clear can help. And even better, soak it for a few hours in a bowl. You’ll wash off extra starch and dust, and some say the levels of arsenic can be lessened by doing this. Not sure on the research around this, but regardless, I’d do it anyway. Less clumping, cleaner flavor. Two minutes well spent, IMO.
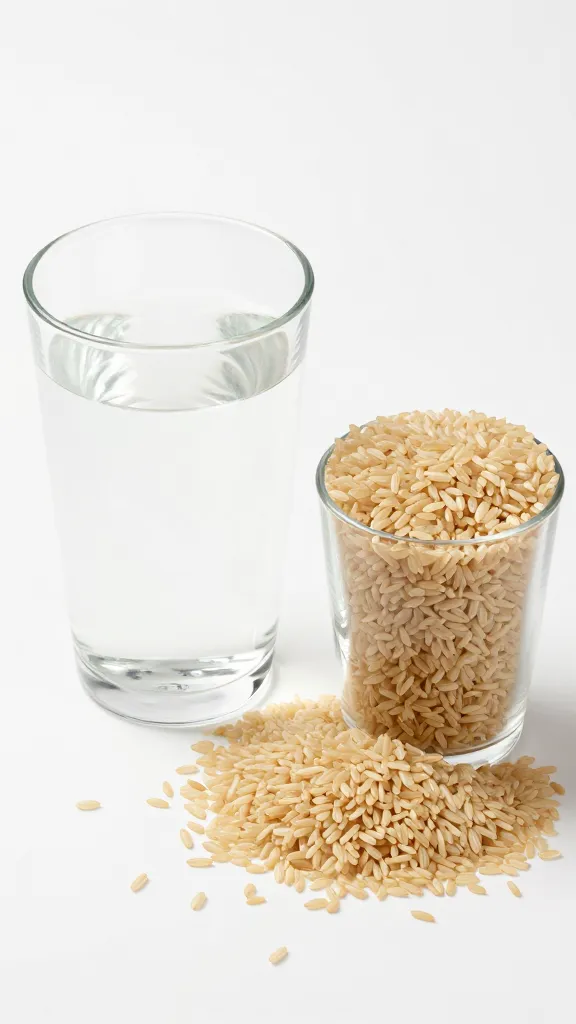
2) Measure Like You Mean It
– 1 cup brown rice
– 1.25–1.5 cups water or broth
– Pinch of salt (optional, but highly recommended)
– 1 teaspoon oil or butter (optional, reduces foaming)
3) Set It and Forget It (Almost)
– Add everything to the pot.
– Seal and cook on High Pressure: 20-22 minutes.
– Natural release: 10 minutes.
– Vent, fluff with a fork, and taste.
Dialing It In: Texture Tweaks and Variations
You like choices? Cool. Brown rice plays nice with a few tweaks.
For Meal Prep (stays fluffy in the fridge)
– Use 1:1.25 ratio, 20 minutes, 10-minute natural release.
– Spread cooked rice on a sheet pan to steam off extra moisture before storing.
For Bowls and Curries (softer, saucy-friendly)
– Use 1:1.5 ratio, 22 minutes, 10-minute natural release.
– Add a splash of oil for silkier grains.
For Pilafs (separate, toasty vibes)
– Rinse and drain well.
– Sauté the rice in a little oil right in the pressure cooker on Sauté for 2 minutes until it smells nutty.
– Then add liquid and pressure cook as usual.
Know Your Rice: Different Types, Slightly Different Rules
Not all brown rice cooks the same. The kernel length and processing matter.
- Long-grain brown rice: Classic firm, separate grains. 20 minutes + 10-minute natural release with 1:1.25–1.5 ratio.
- Short-grain brown rice: Plumper and stickier. 22 minutes, 1:1.25 ratio for less sticky, 1:1.5 for more tender.
- Brown basmati: Aromatic and delicate. 20 minutes, 1:1.25 ratio. Natural release 10 minutes. Fluff gently.
- Sprouted brown rice: Slightly quicker. 18-20 minutes, 1:1.25 ratio. Same 10-minute natural release.
- Parboiled brown rice: Pre-steamed, cooks faster. 15-18 minutes, 1:1.25 ratio. Check at 15 minutes if you like it firmer.
Altitude, Burn Warnings, and Other Drama

Pressure cookers can be a little dramatic. Here’s how to keep them chill.
High Altitude Adjustment
Above 3,000 feet? Add 2-3 minutes to cook time. The boiling point drops, so your cooker needs more time to get the same tenderness.
Burn Message Prevention (Instant Pot fans, I see you! I’ve been there!)
– Add 1 teaspoon oil or butter to reduce foaming.
– Don’t skimp on liquid. Stay at or above 1:1.25 for plain rice.
– Make sure the silicone ring sits properly and the float valve moves freely.
If It’s Undercooked
Add 2-3 tablespoons water, reseal, and cook 2-3 more minutes. Natural release 5 minutes. Fluff. No shame. Happens to the best of us.
Flavor Boosters That Don’t Mess Up the Timing
You can keep it plain, or you can make your rice taste like you tried.
- Swap water for broth (low-sodium so you control the salt).
- Add aromatics: 1 bay leaf, smashed garlic clove, or a thumb of ginger.
- Toast the rice in a bit of oil with minced onion before adding liquid.
- Finish with: lemon zest, chopped herbs, or a drizzle of sesame oil.
- For Tex-Mex vibes: cumin, coriander, and a splash of lime after cooking.
Batch Cooking and Storage (AKA Future You Says Thanks)
Cook extra. It reheats like a champ and saves your weeknights.
Storage
– Cool quickly on a sheet pan, then pack into shallow containers.
– Refrigerate up to 4-5 days or freeze up to 3 months.
– Portion into 1-cup freezer bags for easy grabs.
Reheating
– Microwave: Splash 1 tablespoon water per cup, cover, 60-90 seconds. Fluff.
– Stovetop: Add a splash of water, cover, low heat, 3-5 minutes.
– From frozen: Microwave covered with a damp paper towel, 2-3 minutes, stir halfway. Zero mush, maximum convenience.
FAQ
Do I need to soak brown rice before pressure cooking?
You don’t have to, but I do. The pressure cooker handles the tough bran layer without soaking. If you soak 30-60 minutes anyway, shave 2-3 minutes off cook time. Not required, just optional.
Can I double or triple the recipe without changing the time?
Yes. Keep the same cook time. Scale the water to match the rice ratio, but don’t fill the pot more than halfway with rice and liquid. Grains expand and need breathing room.
Why did my rice turn out mushy?
Too much water or too much time. Next batch, drop the water to 1:1.25 and cook 20 minutes. Also, fluff right away after releasing pressure to let steam escape. Trapped steam = soggy rice, FYI.
Why did my rice burn or stick to the bottom?
You likely didn’t use enough liquid or you had residue stuck to the bottom after sautéing. Deglaze well and use at least a 1:1.25 ratio. Adding a teaspoon of oil helps reduce foaming and sticking, IMO.
Can I cook rice and veggies together?
Yes, but choose sturdy veggies. Add carrots or cubed sweet potato on top of the rice. Avoid delicate greens—they’ll disintegrate. If you want broccoli, steam it after while the rice rests.
Is the natural release really necessary?
If you want evenly cooked grains, yes. The 10-minute natural release lets steam finish the center without overcooking the outside. Quick-releasing immediately can lead to uneven texture.
Conclusion
Brown rice in a pressure cooker isn’t just faster—it’s reliably good. Set it for 20-22 minutes at high pressure with a 1:1.25–1.5 ratio, let it rest for 10, and you’re golden. Tweak for your texture, toss in some flavor, and batch-cook like a pro. Dinner just got smarter, easier, and a lot less “is this pot boiling over again?” energy.