Complete Guide To Cooking Rice In The Instant Pot
The first time I made rice in my Instant Pot, I thought it would be foolproof and a piece of cake… and it absolutely wasn’t.
I ended up with a pot that was somehow mushy on top, slightly burned on the bottom, and just weirdly sticky all around. Not exactly what I was going for.
After messing it up a few times (and trying way too many “perfect ratio” tips online), I realized most advice either skips important steps or assumes every type of rice behaves the same, which it doesn’t.
So instead of just repeating the usual tips, I’ve put together what actually works based on trial, error, and a few frustrating batches along the way.
If you’ve been dealing with rice that turns out too soft, too dry, or just inconsistent, this should help you fix it for good. Consider this your complete guide to all things rice in a pressure cooker or instant pot.
Rinse or Soak Every Time
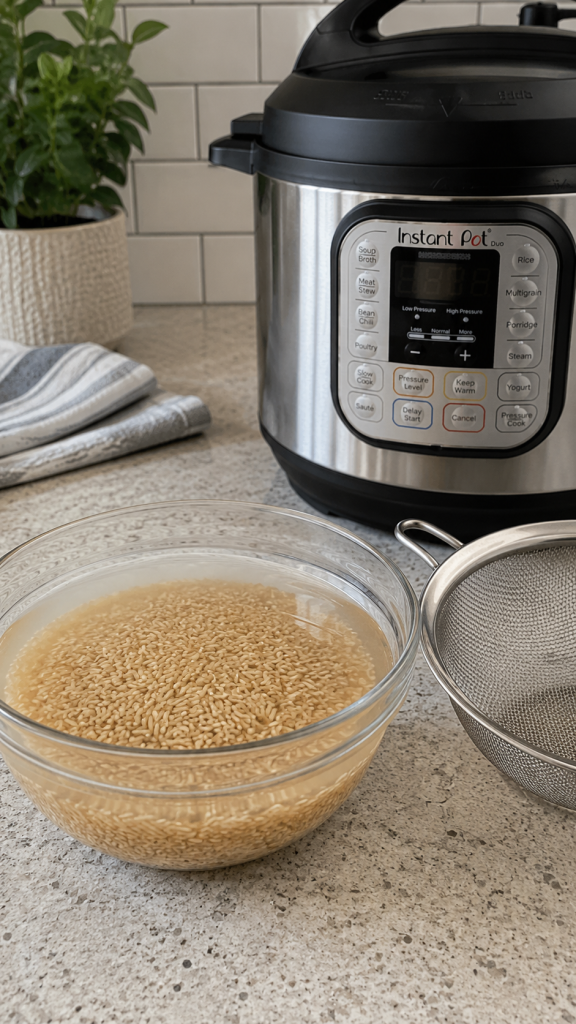
Most bags of rice are coated in a fine layer of starch that turns into a gummy, thick paste once you start cooking. Rinsing your grains under cold water gets rid of this excess powder before it hits the pot.
Also there is some research that shows soaking can remove some of the arsenic levels in brown rice Soaking brown rice in water allows some arsenic to leach out into the soaking water, which you then discard. According to some, if you soak for up to 24 hours, arsenic can be reduced slightly or even up to 40% of total arsenic.
You will notice a huge difference in the final texture if you take this extra step. Without rinsing, your rice often clumps together into a mushy mess that lacks individual grain definition.
If your rice keeps turning mushy, here’s what’s actually causing it → How To Fix Mushy Rice For Good
To do this right, place your dry rice in a fine-mesh strainer and hold it under the cold water tap. Use your hand to gently swirl the grains around until the water running out of the bottom looks clear rather than cloudy.
It usually takes about thirty seconds of agitation to wash away that surface starch. Once the water runs clear, give the strainer a firm shake to remove any trapped moisture before you pour the rice into your Instant Pot.
In General, Follow a One to One Ratio
If you have ever ended up with a pot of mushy rice, you probably used too much liquid. Most stovetop recipes call for extra water to account for evaporation, but your pressure cooker keeps all that steam trapped inside.
Sticking to a one-to-one ratio is the secret to getting fluffy grains every single time. Simply measure one cup of water for every cup of dry white rice.
This exact measurement works because the machine doesn’t lose any moisture during the cooking cycle. You don’t need to guess or add extra splashes, so just keep it simple and consistent. That being said, if you’re cooking brown rice, adding more water is necessary since the rice is tougher.
Add Fat to Prevent Sticking
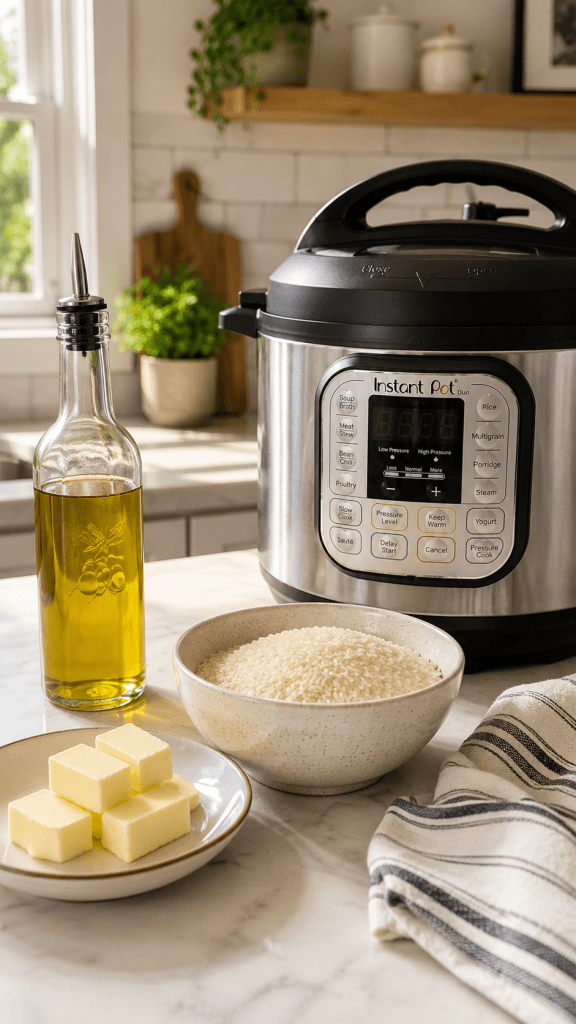
If you hate scrubbing stuck rice off the bottom of your pot, adding a little fat before you start cooking may do the trick. A small splash of oil or a pat of butter keeps the grains from bonding to the steel.
This simple step creates a thin barrier that stops the starch from turning into a gluey mess. Your cleanup will be much faster, and the rice will taste better too.
- Use one tablespoon of neutral oil like avocado or canola.
- Drop in a half tablespoon of butter for a richer flavor.
- Swirl the fat around the base of the pot before adding your water.
- Avoid using too much, or your rice might end up feeling greasy.
You will notice that the rice scoops out clean every single time once you start using this method.
Avoid the Rice Button Setting

You might be tempted to hit that pre-programmed rice button on your machine, but I suggest you skip it entirely. I used to always hit the rice button and regret it later. That setting is often calibrated for a specific type of grain that might not match what you have in your pantry.
Most of the time, the automatic cycle runs for too long or uses a pressure level that leaves your rice mushy. It treats every variety exactly the same, which is a recipe for disaster if you are cooking jasmine versus brown rice.
Instead, you should use the Manual or Pressure Cook setting to control the timing yourself. You will have much better luck if you set the time based on the specific grain you are using.
Think of this button as a suggestion rather than a rule you have to follow. Taking control of the timer is the easiest way to ensure your grains come out fluffy instead of turning into a sticky paste at the bottom of the pot.
6. Allow for Natural Pressure Release
Waiting for the pressure to drop on its own is the secret to perfect rice. If you flip the steam release valve too early, the sudden pressure change often makes the starch boil over and leave your rice dry or crunchy.
I usually let my pot sit for at least ten minutes after the cooking cycle finishes. This short rest allows the moisture to redistribute evenly throughout the grains.
- Consistency matters: Letting the pressure release naturally keeps the texture uniform from the top to the bottom of the pot.
- Prevent mess: A natural release stops starchy water from spraying all over your cabinets and countertops.
- Better fluffing: The grains firm up while they sit, which makes them much easier to fluff with a fork later.
- Flavor absorption: The rice soaks up any remaining liquid in the pot, which keeps the finished dish from tasting bland.
You really don’t want to rush this part of the process. It is the easiest way to avoid mushy or unevenly cooked batches.
7. Cook Times By Rice Type
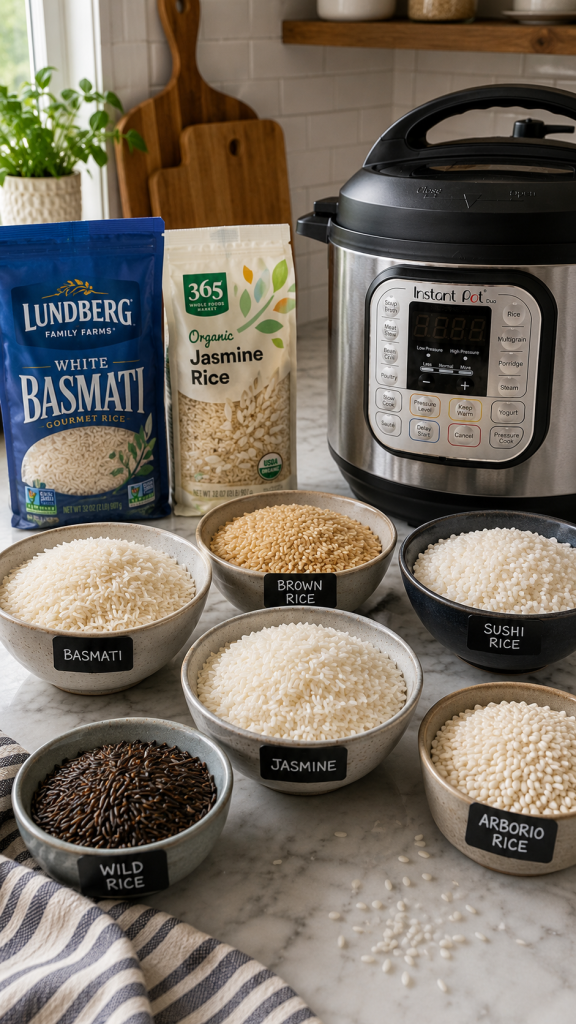
Short-grain brown rice and long-grain brown rice aren’t the same, so they shouldn’t cook for the same amount of time. Long-grain varieties usually need about 20 to 22 minutes under pressure to reach a perfect texture.
On the flip side, short-grain brown rice is denser and holds more moisture. It often performs better with 25 minutes of pressure cooking time to ensure the center isn’t still crunchy.
Related: Check Out Our Simple Guide to Cooking White Rice In The Instant Pot
I always suggest starting with 20 minutes for long-grain and 25 minutes for short-grain. If you find the grains are still too firm for your liking, you can always add an extra minute or two next time.
Don’t forget to let the pressure release naturally for at least 10 minutes, too. This natural release is the real secret to getting that fluffy, consistent texture across any brown rice variety you choose.
Instant Pot Rice Water Ratios and Cook Times (Quick Cheat Sheet)
| Rice Type | Water Ratio (Rice:Water) | Cook Time (High Pressure) | Natural Release |
| White Rice | 1:1 | 3–4 minutes | 10 minutes |
| Jasmine Rice | 1:1 | 3 minutes | 10 minutes |
| Basmati Rice | 1:1 | 4–5 minutes | 10 minutes |
| Brown Rice | 1:1.5 to 1:2 | 20–22 minutes | 10–15 minutes |
| Short Grain Rice | 1:1.25 | 5–6 minutes | 10 minutes |
| Wild Rice Blend | 1:1.25–1.5 | 25–30 minutes | 10–15 minutes |
I’ve found the 1:1 ratio works almost perfectly for most white rice, but brown and wild rice definitely need a little extra water or they’ll come out too firm (I learned that one the hard way).
Brown rice took me way longer to figure out than jasmine rice.
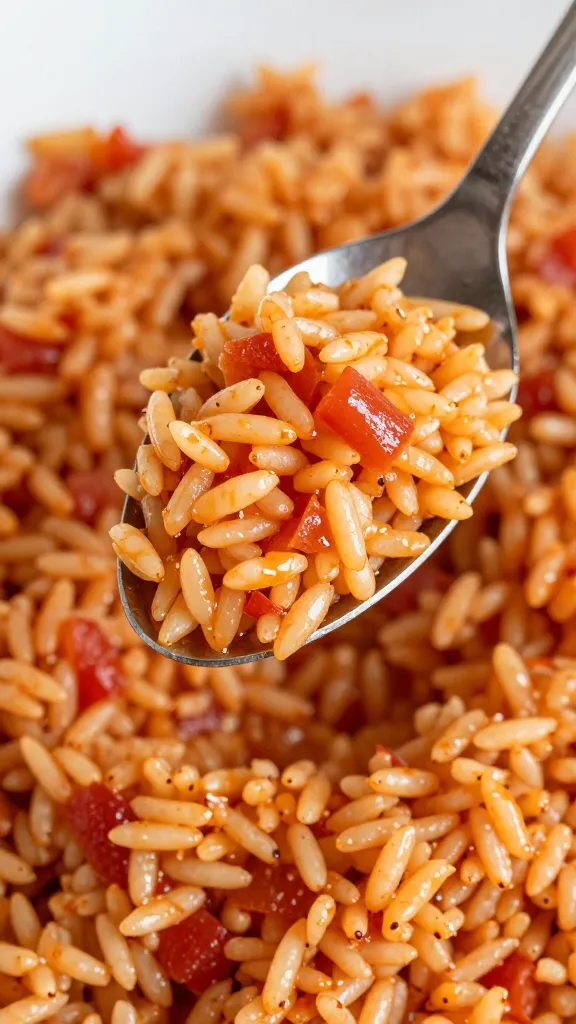
| Problem | Cause | Fix |
| Mushy Rice | Too much water | Reduce ratio slightly |
| Burn Notice | Starch on water | Rinse + scrape pot |
| Undercooked | Not enough time or water | Add 1–2 mins + more liquid |
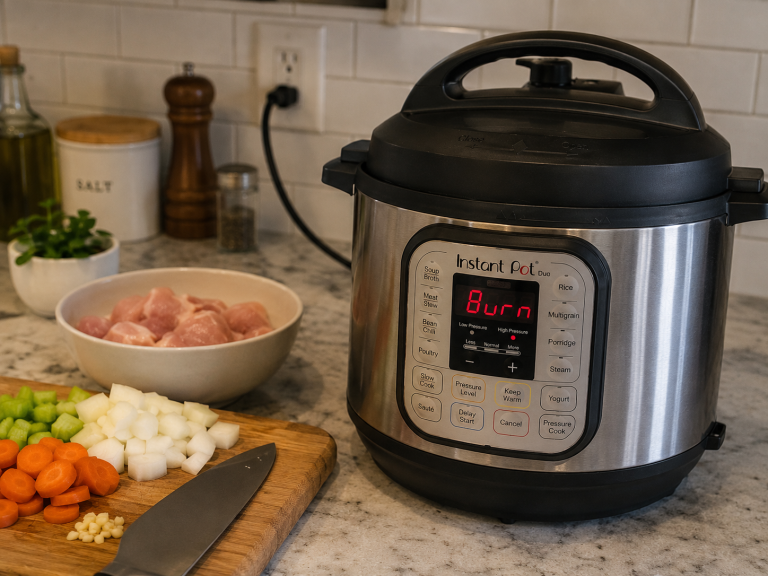
Scrape the Bottom to Prevent Burns
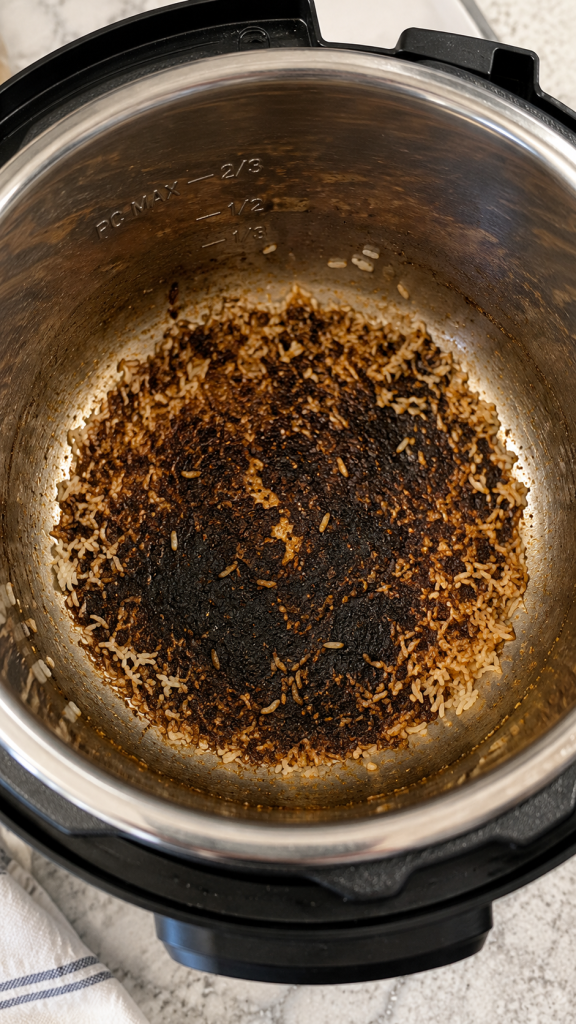
As shown in the table of potential issues above, you might have experienced the dreaded burn notice. Upon opening, you notice a thin, stuck-on layer of starch at the bottom of your pot after cooking a batch of jasmine rice. This happens because starch settles and heats up quickly against the metal before the water fully absorbs. If your rice smells slightly scorched when you open the lid, there’s usually starch stuck underneath.
Always take a wooden spoon or silicone spatula to scrape the bottom of the inner pot right before you lock the lid. This simple step ensures that any grains stuck to the surface get mixed back into the water.
When you break up those starch clumps, you prevent the Instant Pot from throwing a burn error. It makes cleaning the stainless steel much faster later on too.
See this article on 5 common reasons why you get a burn error in your Instant Pot and how to fix.
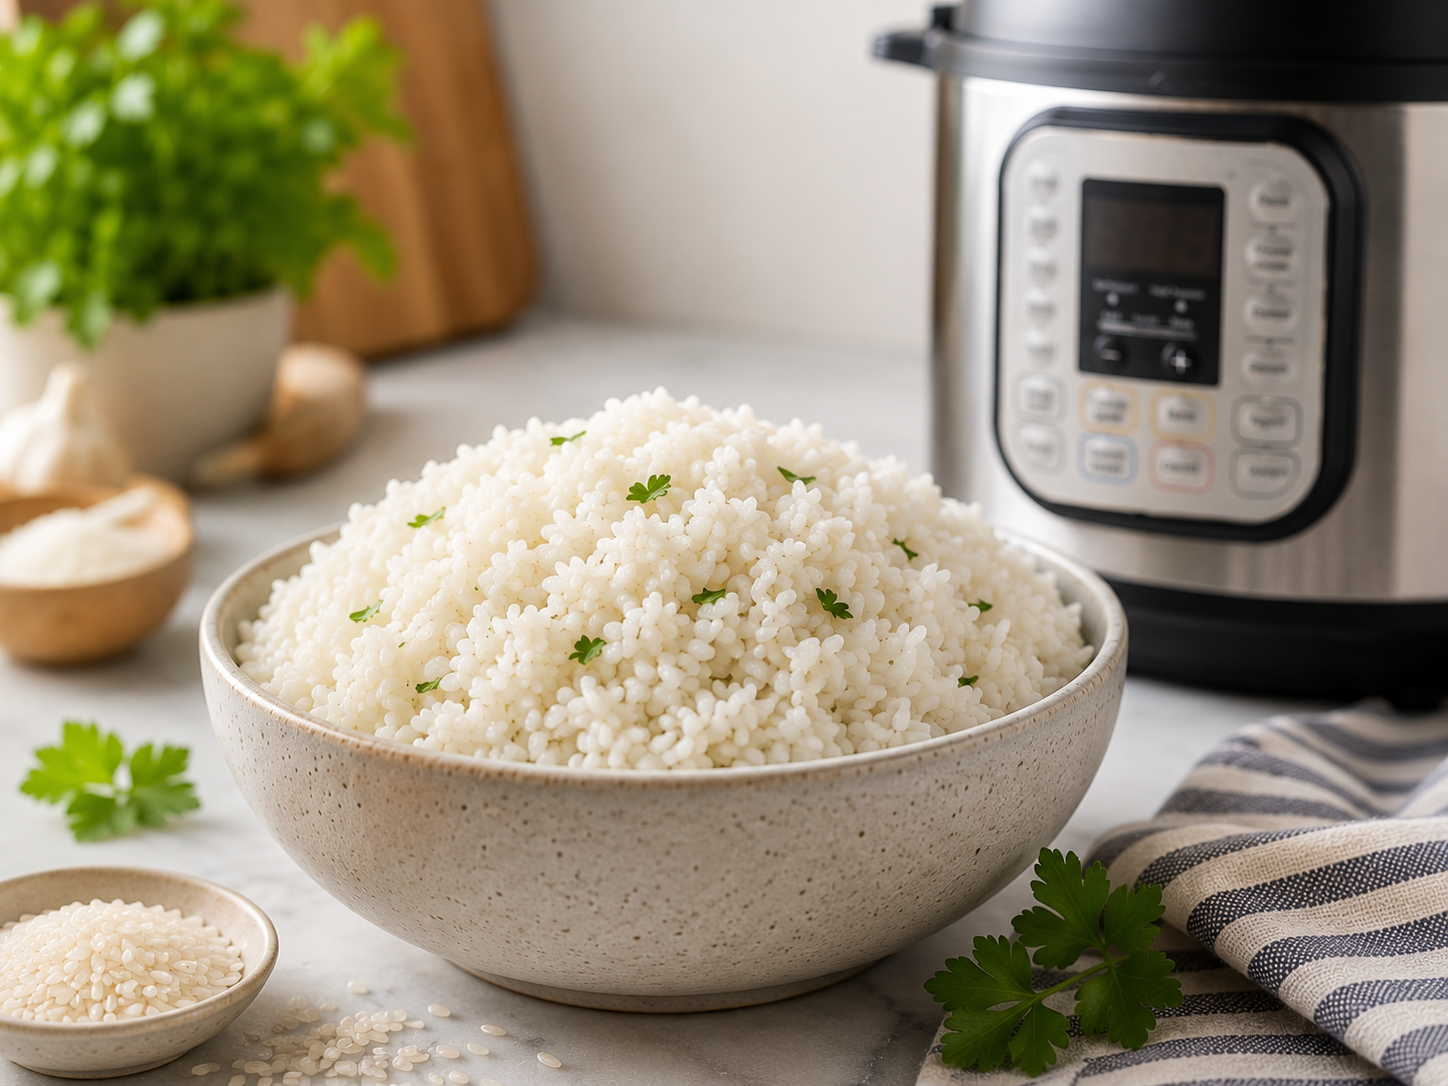
Fluffing Immediately After Opening Lid Helps
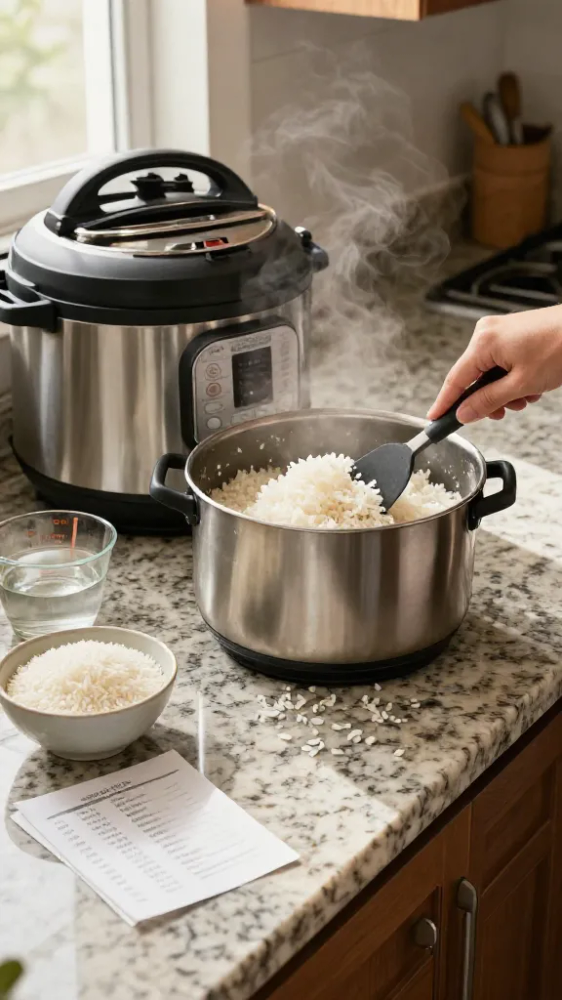
Fluffing your rice the second you lift the lid makes a difference as well. If you let it sit undisturbed, the trapped steam will keep cooking the bottom grains while the top gets gummy and clumps together.
Grab a silicone spatula or a flat rice paddle and gently fold the grains from the bottom up. This simple movement releases excess moisture and ensures every single grain stays light, airy, and perfectly fluffy instead of turning into a soggy brick.
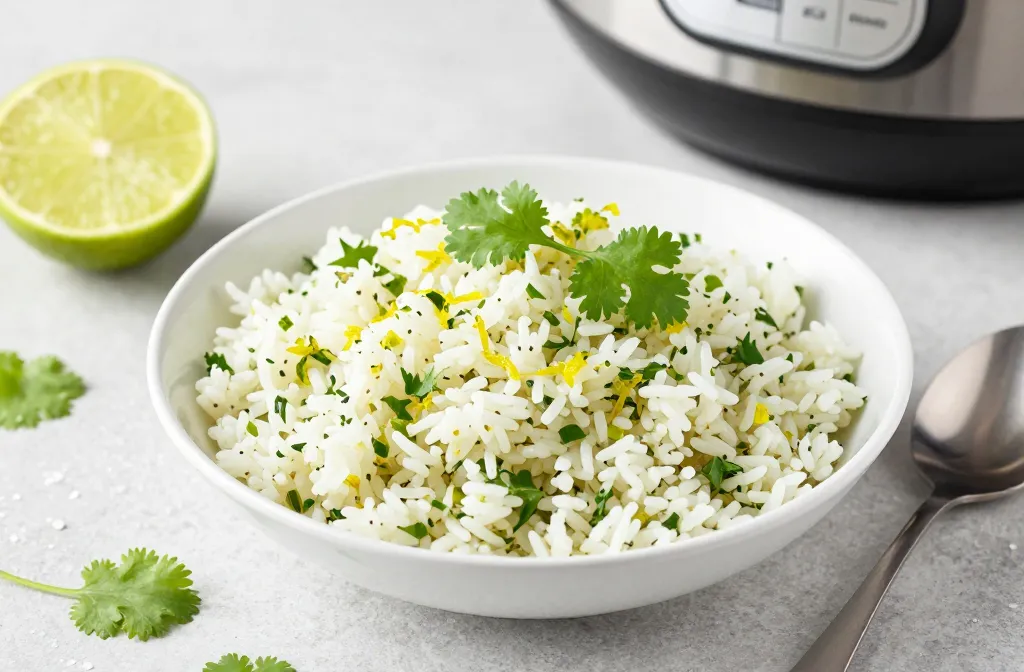
Easy Ways to Add Flavor (your broth + toasting tips)
Raw rice can taste a bit bland on its own, but toasting it turns that flavor profile around completely. You get a deep, nutty aroma that makes the final dish taste like it came from a professional kitchen.
Before you add any water to your pot, toss the dry grains in with a tablespoon of butter or oil. Sauté them on the medium heat setting for about two or three minutes until they turn golden and smell like toasted popcorn.
You need to keep the grains moving so they don’t burn on the bottom of the steel insert. Once they smell fragrant, pour in your liquid and proceed with the pressure cooking cycle as you normally would.
This simple step changes the texture of the rice by creating a slightly firmer bite. It is a small effort that yields a big reward in flavor, especially when you are making long-grain white rice or basmati.
Using plain water for your rice is a massive missed opportunity for flavor. You should replace the water with chicken, beef, or vegetable stock to infuse every single grain with depth and richness.
I find that store-bought cartons work perfectly fine, but homemade bone broth creates an even more savory result. Just make sure you adjust your salt levels, as packaged broths often contain extra sodium that might make your finished pot taste too salty.
What Actually Worked for Me
After trying a bunch of different methods, here’s what I’ve found works most consistently:
- Soaking and rinsing for a couple hours every time (this made the biggest difference)
- Sticking to a true 1:1 ratio for white rice
- Letting it sit for at least 10 minutes before opening
- Fluffing right away instead of letting it steam
I tried skipping a few of these steps early on, and that’s usually when things went wrong, especially the natural release.
Recipes to Try Next
Instant Pot Shrimp Orzo Salad Recipe

Wrapping Up
Mastering your Instant Pot Rice (Complete Guide + Times, Ratios & Fixes) takes the stress out of meal prep once you understand the basic science behind the steam. Now that you have these ten reliable methods, you can stop worrying about burnt bottoms or mushy grains. Grab your pressure cooker today and start testing these techniques to see how easy it is to get perfect results every single time you cook.