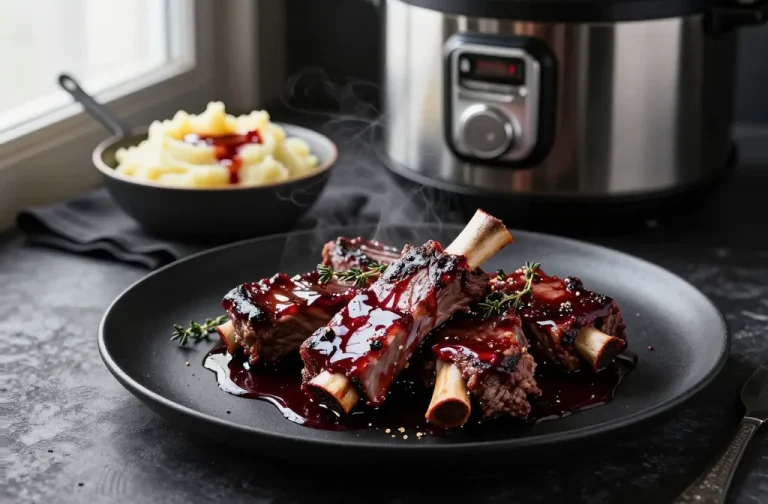
Easy Power Pressure Cooker Xl Frozen Chicken Breast Recipe
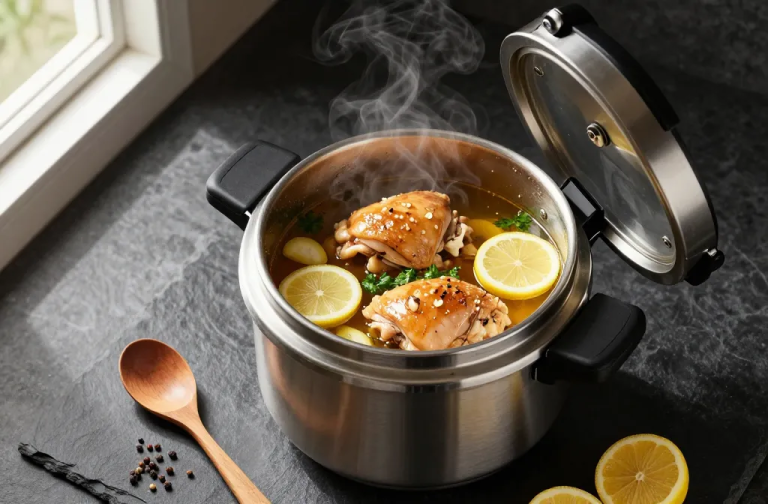
You’ve got frozen chicken breasts, a hungry crew, and approximately zero patience. Good news: your Power Pressure Cooker XL can turn that icy block into tender, flavorful chicken in a fraction of the time it takes to preheat your oven. No thawing. No dry, stringy disappointment. Just juicy chicken breast you can shred for tacos, toss on top of rice, or slice for salads. Sound like magic? It’s just high pressure doing its thing.
Why Pressure Cooking Frozen Chicken Works
The Power Pressure Cooker XL uses high pressure to push heat into the meat fast. Frozen chicken breasts usually scare people because they worry about dryness or uneven cooking. With enough liquid and the right cooking time, you’ll get tender chicken that tastes like you actually planned ahead.
The best part: You can go from freezer to fork in about the amount of time it takes to scroll your grocery store app debating brands of taco seasoning.
What You’ll Need (Keep It Simple)
You don’t need much to nail this instant pot chicken breast recipe-style approach in your PPXL.
- 2–3 frozen chicken breasts (about 1.5–2 lbs; larger chicken breasts add a minute or two)
- 1 cup of liquid: chicken broth for a little extra flavor or a cup of water in a pinch
- 1 teaspoon salt + 1/2 teaspoon pepper
- 1 teaspoon garlic powder (non-negotiable IMO)
- Optional flavor boosts: soy sauce, taco seasoning, lemon juice, or Italian seasoning
Rule of thumb: Always use at least a cup of liquid so steam can build. No liquid = no pressure = sad dinner.
Step-by-Step: Frozen Chicken in the Power Pressure Cooker XL
You want an easy way? Here’s the easiest way.
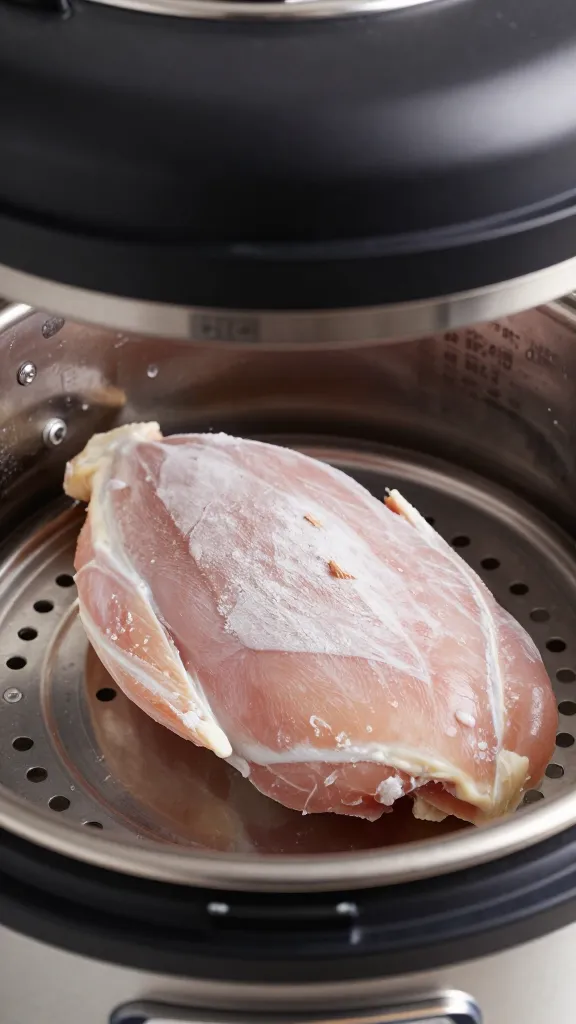
- Pour 1 cup of liquid into the pot. Chicken broth if you’ve got it; water works.
- Place the frozen chicken breasts on the trivet if you have one. If not, straight in the pot is fine.
- Season with salt, pepper, and garlic powder. Add soy sauce or taco seasoning for fun.
- Lock the lid. Set to Chicken/Meat or Manual on high pressure.
- Cooking time: 10–12 minutes for average frozen breasts. Larger chicken breasts (10–12 oz each)? Go 13–15 minutes.
- When the timer beeps, let a natural release for 5–10 minutes. Then quick release the rest.
- Check safe temperature with a meat thermometer. You want 165°F in the thickest part.
Minute cook time reality check: Pressure cookers need time to come to pressure. Your “12-minute cook time” takes closer to 25–30 minutes total. Still fast. Still worth it.
Natural Release vs Quick Release
– Natural release: Let the steam drop on its own for a few minutes. You’ll get better texture and more tender chicken.
– Quick release: Flip the valve to vent now. Use it after a short natural release so you don’t dry things out.
– Compromise move: Natural pressure release for 5–10 minutes, then quick release. That’s the sweet spot.
Flavor Ideas So You Don’t Get Bored
Pressure cooking makes a great base, but let’s give it personality. Here are some favorite ways to flavor:
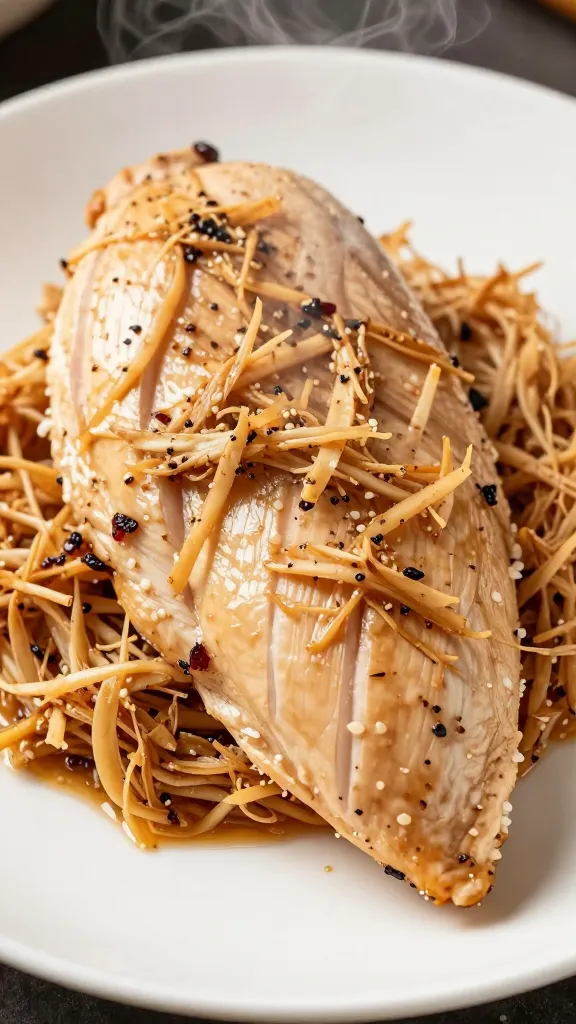
- Fiesta chicken: 1 tbsp taco seasoning + 1 cup chicken broth. Shred for chicken tacos with salsa and lime.
- Garlic-soy: 2 tbsp soy sauce + 1 tsp garlic powder + 1/2 tsp ginger. Serve on top of rice with scallions.
- Lemon-herb: 1/2 lemon juice + Italian seasoning + broth. Slice for salads or pasta.
- Buffalo: Pressure cook plain, then toss shredded chicken with buffalo sauce. Hello, game day.
Want Extra Flavor Without Extra Work?
– Use chicken broth over water for a little extra flavor.
– Add aromatics like onion powder or smoked paprika.
– Finish with a sauce after cooking—BBQ, teriyaki, pesto—so the chicken stays juicy.
How to Use Your Cooked Chicken All Week
You just made a batch—now what? Weekly meal prep to the rescue.
- Chicken salad: Chop or shred, mix with Greek yogurt, celery, dill, and Dijon. Boom—lunch.
- Chicken tacos: Toss with taco seasoning and a splash of broth, heat, and pile into tortillas.
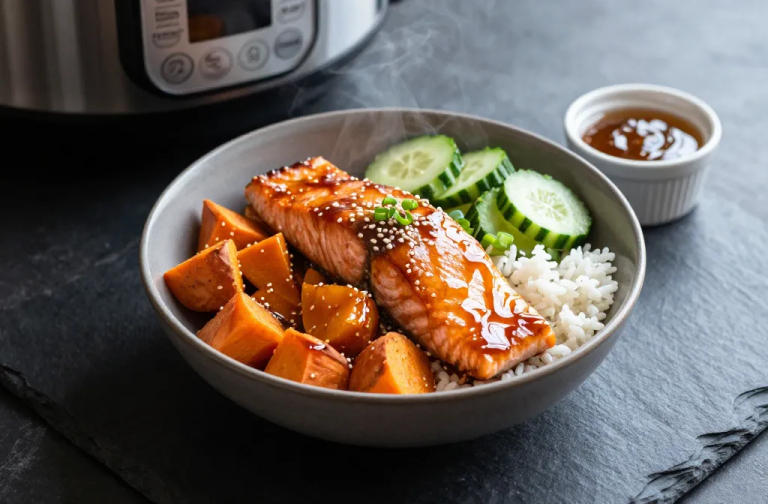
- Top of rice bowls: Layer rice, veggies, and soy-sesame sauce. Add sriracha if you like drama.
- Healthy meals: Add to salads, quinoa bowls, or wraps. It’s the protein cheat code.
Storage tip: Keep it in an airtight container with a few spoonfuls of cooking liquid for better texture.
Troubleshooting: Dry, Rubbery, or Undercooked?
We’ve all been there. Here’s how to fix it.
- Dry chicken: You likely overcooked or did an immediate quick release. Next time, choose a slightly shorter cooking time and do a partial natural release.
- Rubbery chicken: Needs either a bit more time or a rest. Put the lid back on for 2–3 minutes on warm.
- Undercooked at 150–160°F: Close the lid and cook on high pressure for 2–3 more minutes, then quick release.
- Tastes bland: Use broth, more garlic powder, or finish with a sauce. Pressure cooking highlights simple flavors—help it out.
Fresh vs Frozen
– Fresh chicken cooks faster: 6–8 minutes on high pressure for average breasts.
– Frozen chicken breasts: 10–12 minutes, plus natural release.
– IMO, the difference is minor, and frozen lets you avoid the 5 p.m. panic.
Instant Pot vs Power Pressure Cooker XL
You’ll see a million instant pot chicken recipes out there. Your PPXL works the same way as an instant pot pressure cooker for this chicken breasts recipe, with tiny button differences. The logic stays identical: cup of liquid, high pressure, natural release, safe temperature.
Great question: Can you follow an instant pot chicken breast recipe with your PPXL? Yes. Just choose the Chicken/Meat or Manual setting and keep the same timings.
Recipe Card: Power Pressure Cooker XL Frozen Chicken Breasts
Ingredients:
- 2–3 frozen chicken breasts
- 1 cup chicken broth (or water)
- 1 tsp salt, 1/2 tsp pepper
- 1 tsp garlic powder
- Optional: 1 tbsp soy sauce or 1 tbsp taco seasoning
Instructions:
- Add 1 cup broth to the pot. Place chicken in.
- Season with salt, pepper, garlic powder, and optional add-ins.
- Seal lid. Cook on high pressure 10–12 minutes (13–15 for larger chicken breasts).
- Natural release 5–10 minutes, then quick release.
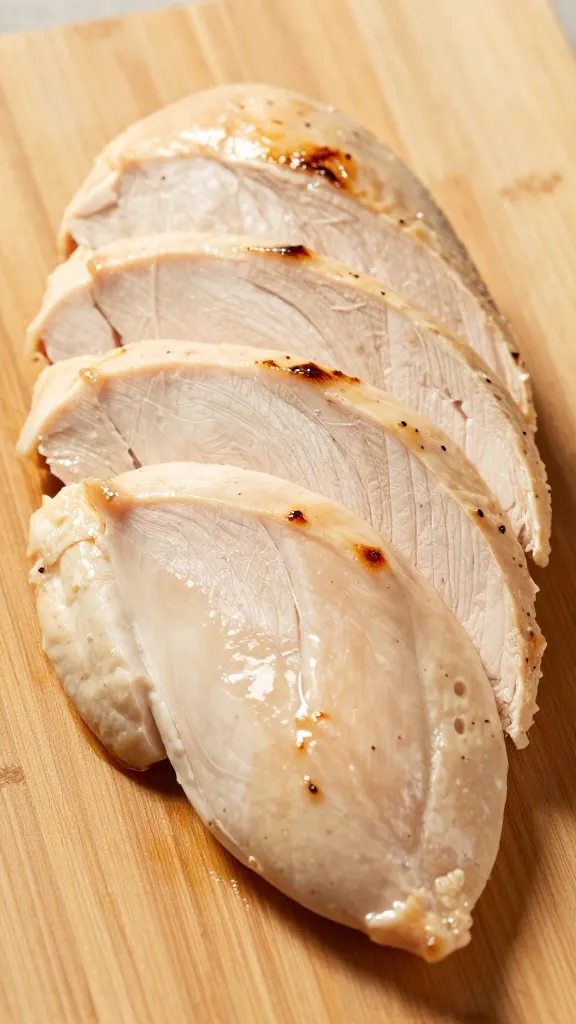
- Check 165°F with a meat thermometer. Rest 5 minutes. Shred or slice.
Serving ideas:
- On top of rice with soy-ginger drizzle
- Shredded for chicken tacos
- Chopped for chicken salad
FAQ
Can I stack frozen chicken breasts?
Yes, but separate them if you can. If they’re fused together, increase the cooking time by 2–3 minutes. Always confirm doneness with a meat thermometer for a safe temperature of 165°F.
Do I need a trivet?
No. A trivet helps with better texture, but the chicken cooks just fine directly in the liquid. If you plan to slice neatly, the trivet gives a slight edge.
What if I only have water?
Use a cup of water and season more aggressively. Add garlic powder, salt, and a splash of soy sauce for a quick flavor win. Broth brings more depth, but water works if you bring the seasoning.
Can I use chicken thighs instead?
Totally. Thighs make super tender chicken with a richer taste. Cook frozen boneless thighs 12–14 minutes with a 5–10 minute natural release for flavorful chicken that shreds like a dream.
How much liquid is enough?
A cup of liquid does the job for most batches. If you cook a mountain of chicken, scale up a bit. You need enough liquid to build steam and keep the bottom from scorching.
Is the slow cooker a better option?
For texture, slow cooker chicken can be lovely, but it takes hours. Pressure cooking wins for speed and, IMO, still gives a juicy result—especially with a short natural pressure release. Use the slow cooker when you want set-it-and-forget-it all day.
Conclusion
Frozen chicken breasts and a Power Pressure Cooker XL make a weeknight power couple. With a cup of liquid, a smart cooking time, and a brief natural release, you’ll get juicy chicken breast you can use a dozen ways—on top of rice, in chicken tacos, or mixed into chicken salad. It’s the best way to dodge the takeout trap and still serve healthy meals. FYI: once you try this, your freezer stash becomes your secret weapon for new recipes and family favorites—no thawing required.
Small note: Some links online for tools or seasonings may include affiliate links, which can earn a small commission at no extra cost to you.
Printable Recipe Card
Want just the essential recipe details without scrolling through the article? Get our printable recipe card with just the ingredients and instructions.